Hadoop has two core components which are HDFS and YARN. HDFS is for storing the Data, YARN is for processing the Data. HDFS is Hadoop Distributed File System, it has Namenode as Master Service and Datanode as Slave Service.
Namenode is the critical component of Hadoop which is storing the metadata of data stored in HDFS. If the Namenode goes down, the entire cluster will not be accessible, it is the single point of failure (SPOF). So, the production environment will be having Namenode High Availability to avoid the production outage if one Namenode goes down because of various reasons like machine crash, planned maintenance activity, etc.
Hadoop 2.x provides the feasibility where we can have two Namenodes, one will be Active Namenode and another will be Standby Namenode.
- Active Namenode – It manages all client operations.
- Standby Namenode – It is redundant of Active Namenode. If Active NN goes down, then Standby NN will take all the responsibility of Active NN.
Enabling Namenode High Availability requires Zookeeper which is mandatory for automatic failover. ZKFC (Zookeeper Failover Controller) is a Zookeeper client that is used to maintain the state of Namenode.
Requirements
- Best Practices for Deploying Hadoop Server on CentOS/RHEL 7 – Part 1
- Setting Up Hadoop Pre-requisites and Security Hardening – Part 2
- How to Install and Configure the Cloudera Manager on CentOS/RHEL 7 – Part 3
- How to Install CDH and Configure Service Placements on CentOS/RHEL 7 – Part 4
In this article, we are going to enable Namenode High Availability in Cloudera Manager.
Step 1: Installation of Zookeeper
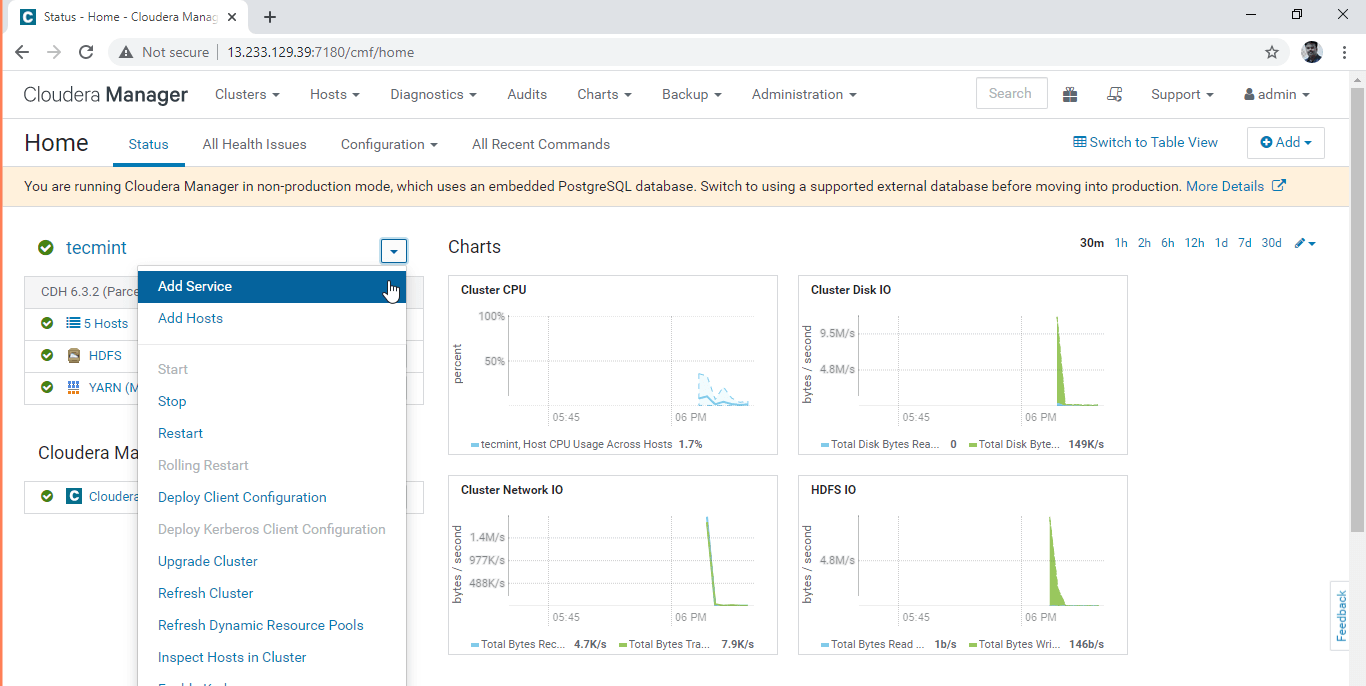
1. Log in to Cloudera Manager.
http://Your-IP:7180/cmf/home

2. In the Cluster (tecmint) action prompt, select “Add Service”.
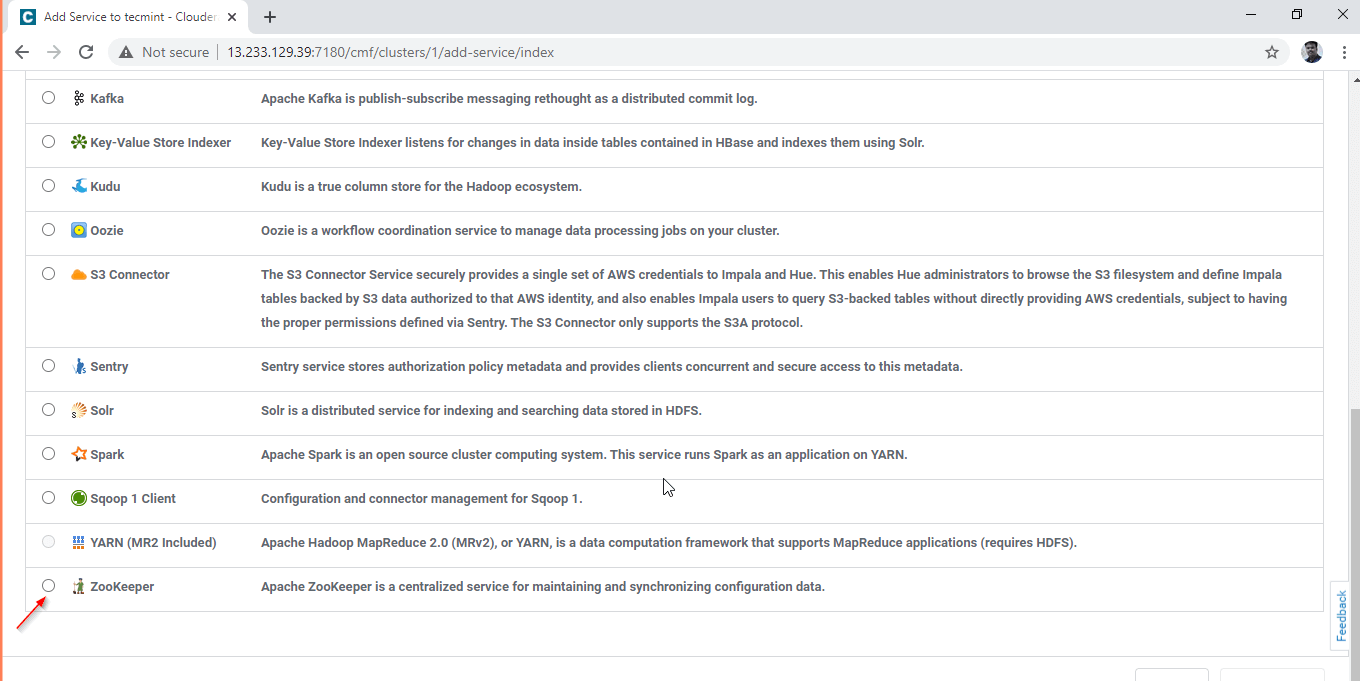
3. Select the service “Zookeeper”.
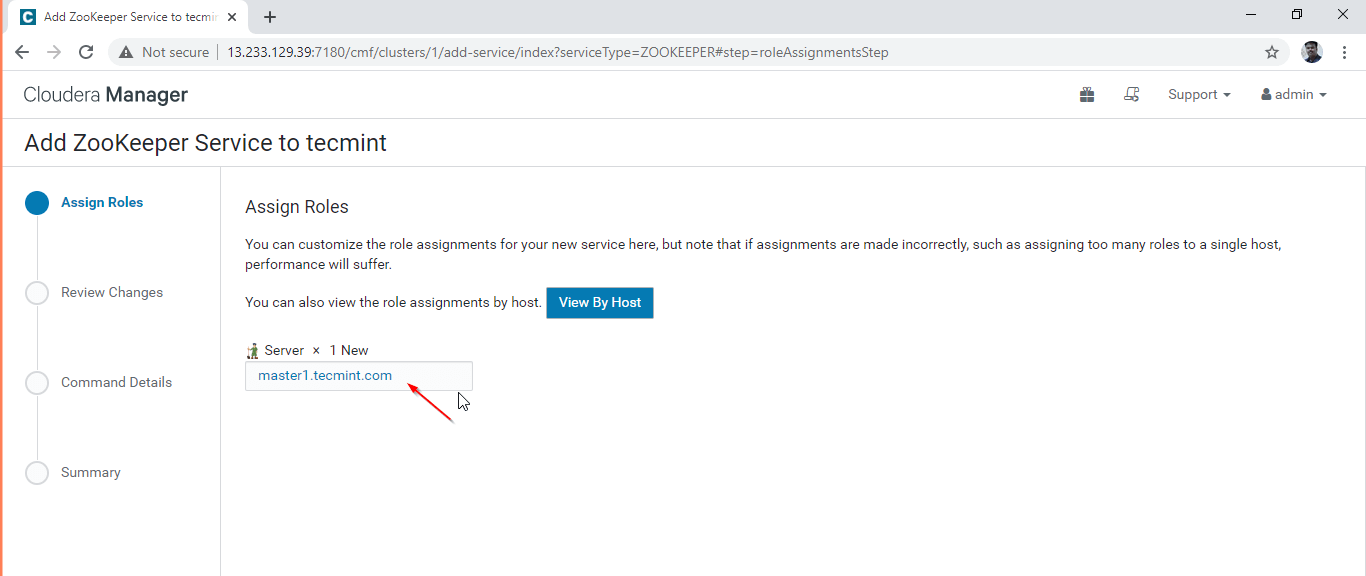
4. Select the servers where we are going to have Zookeeper installed.
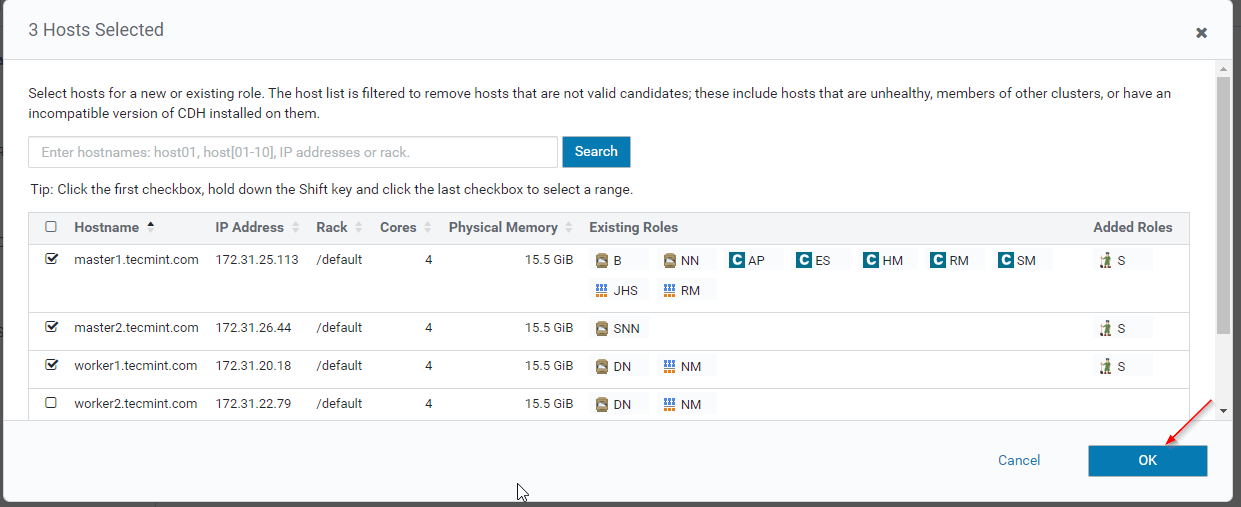
5. We are going to have 3 Zookeepers to form Zookeeper Quorum. Select the servers as mentioned below.
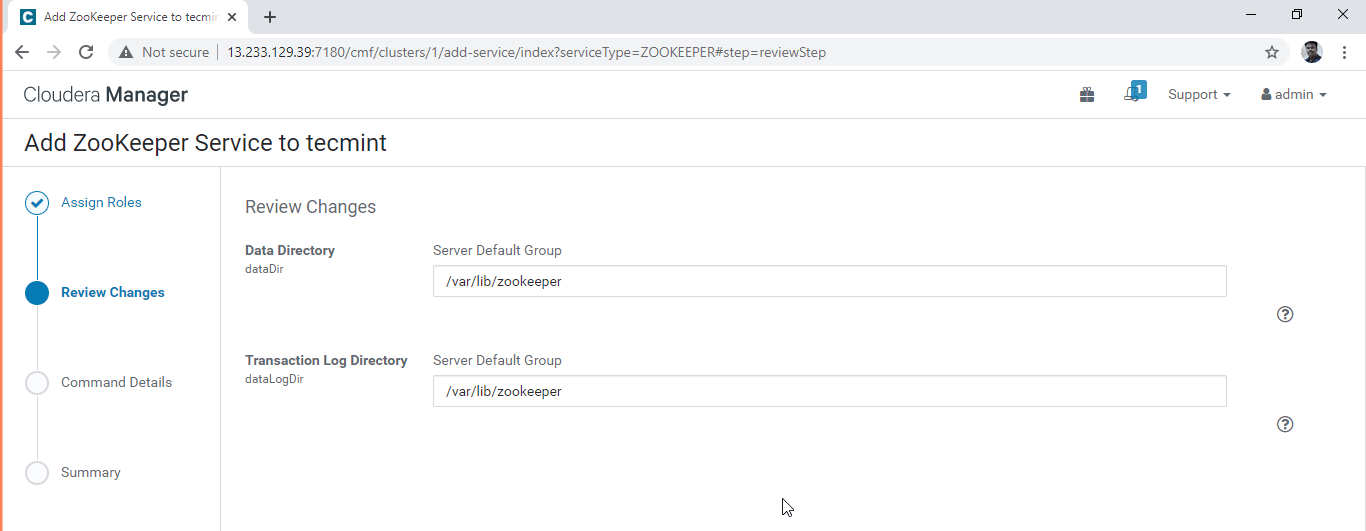
6. Configure the Zookeeper properties, here we are having the default ones. In real-time, you have to have separate directory/mount points for storing Zookeeper data. In Part-1, we have explained about storage configuration for each service. Click ‘continue’ to proceed.
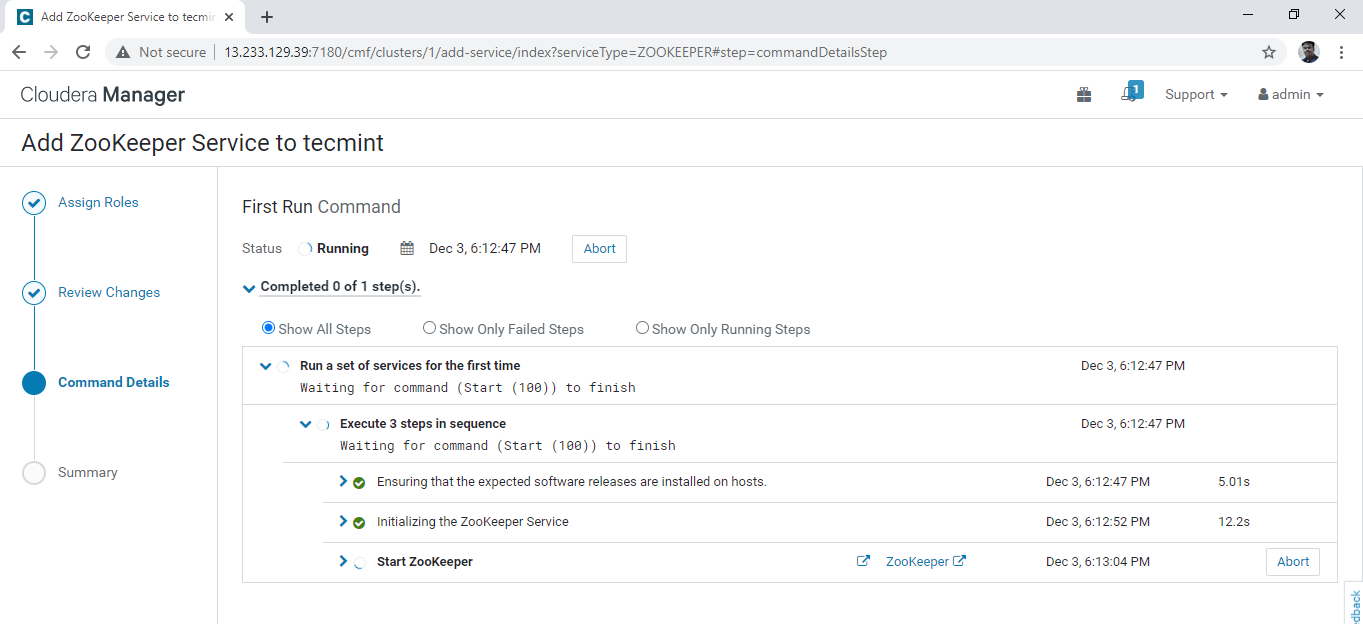
7. Installation will begin, once installed Zookeeper will be started. You can view the background operations here.
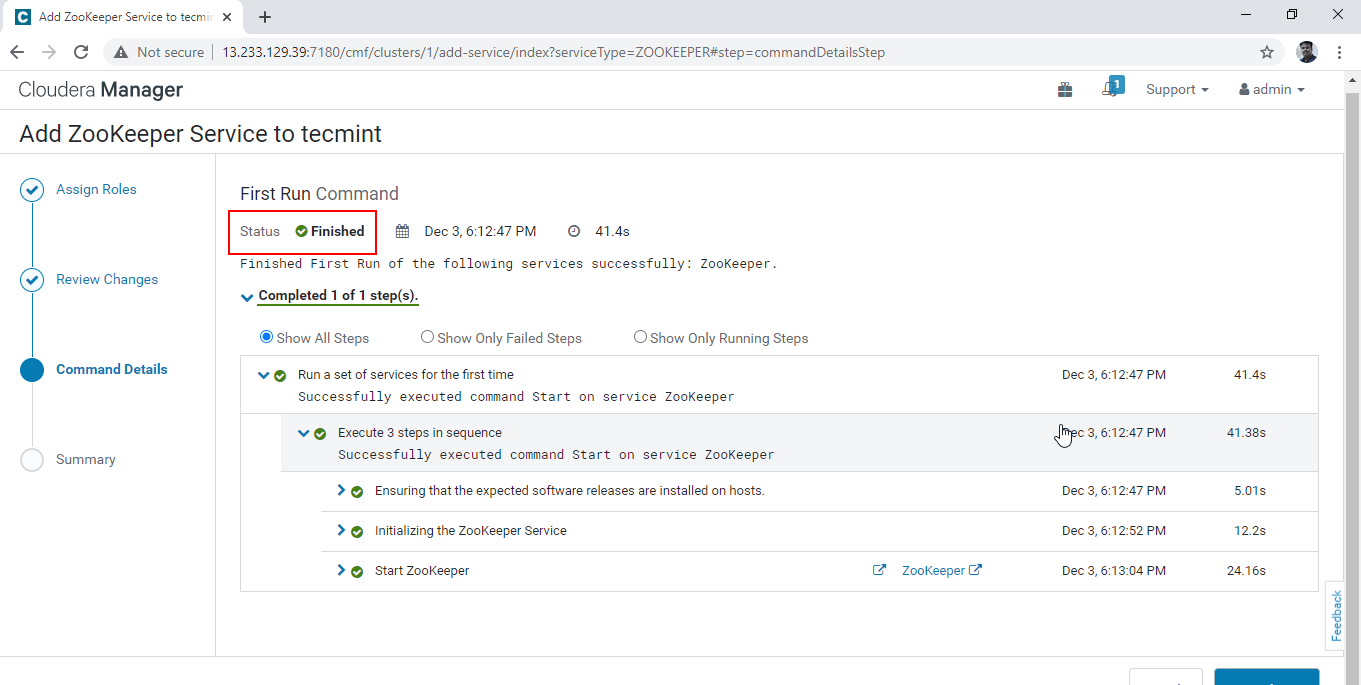
8. After successful completion of the above step, Status will be ‘Finished’.
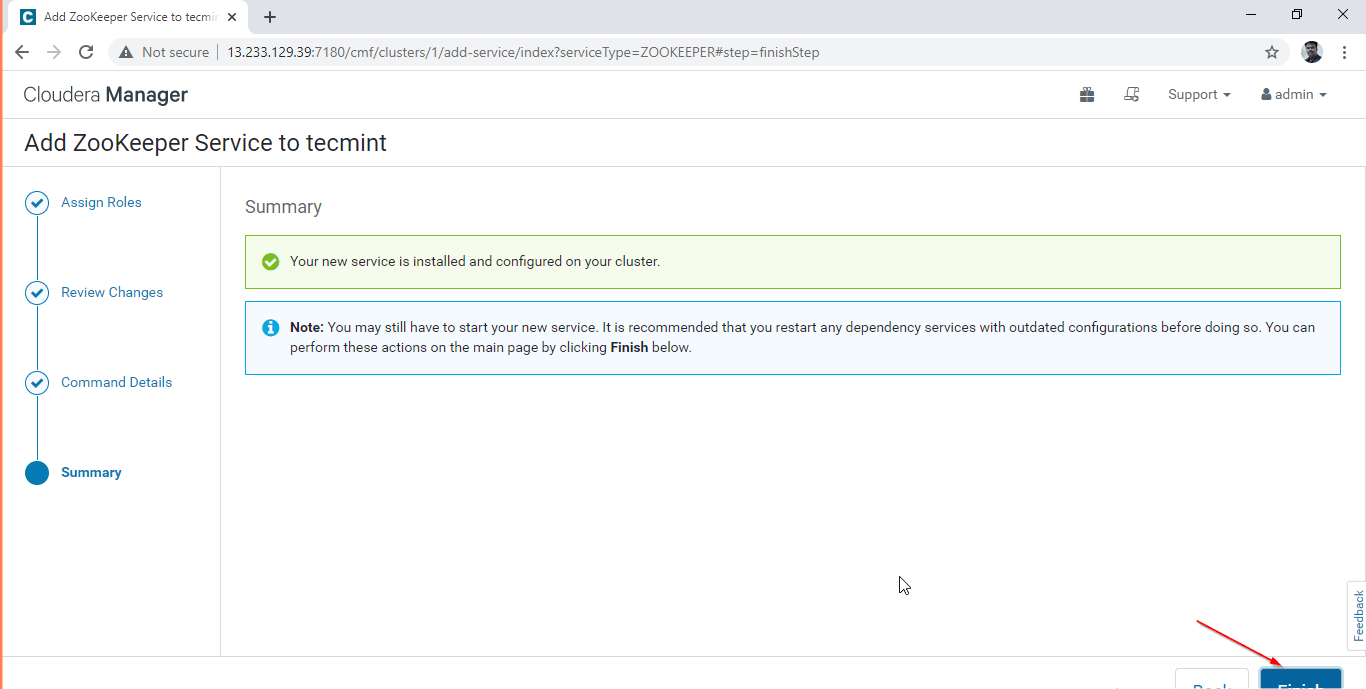
9. Now, Zookeeper is successfully Installed and Configured. Click the ‘Finish’.
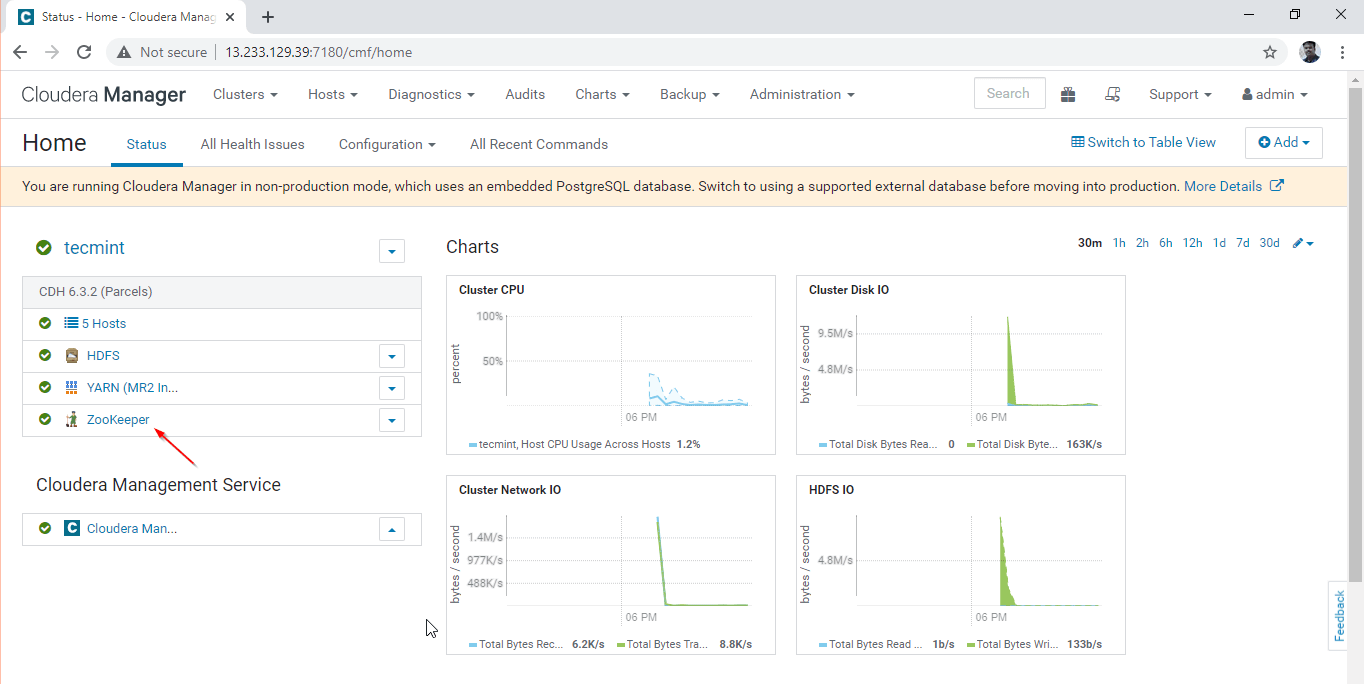
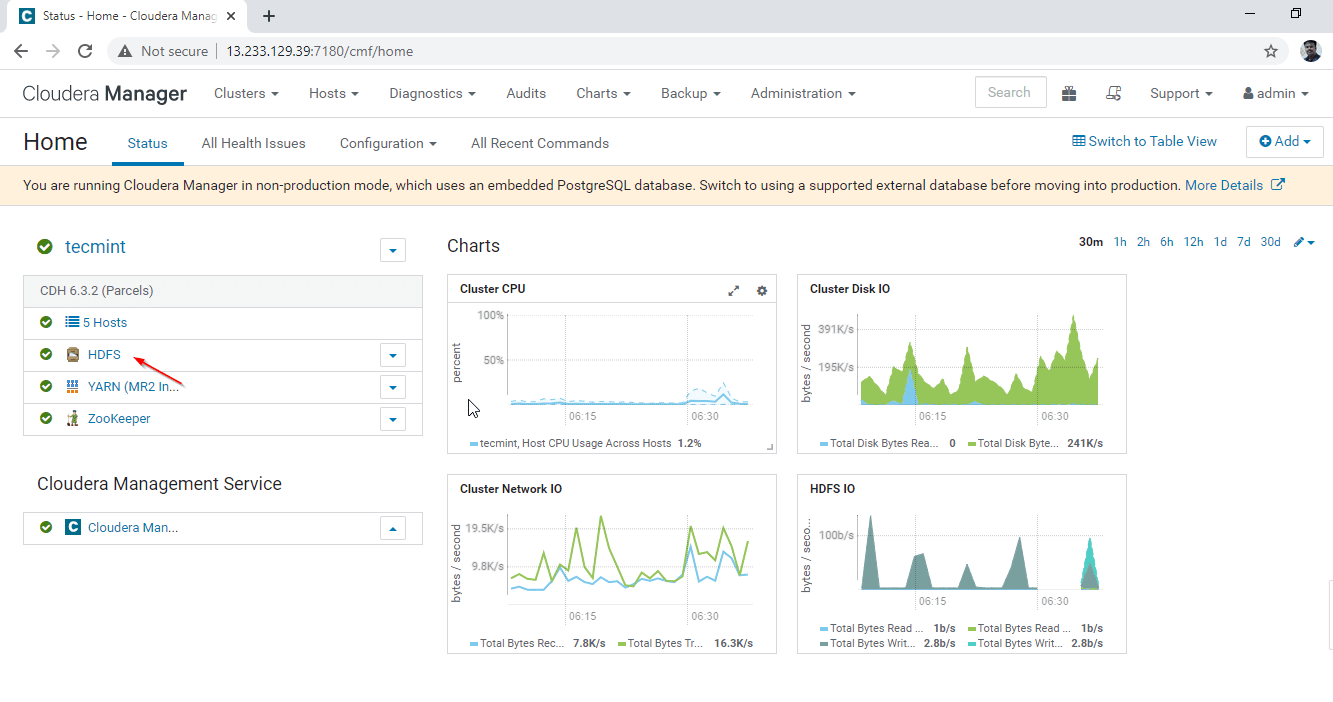
10. You can view the Zookeeper service on the Cloudera Manager Dashboard.
Step 2: Enabling Namenode High Availability
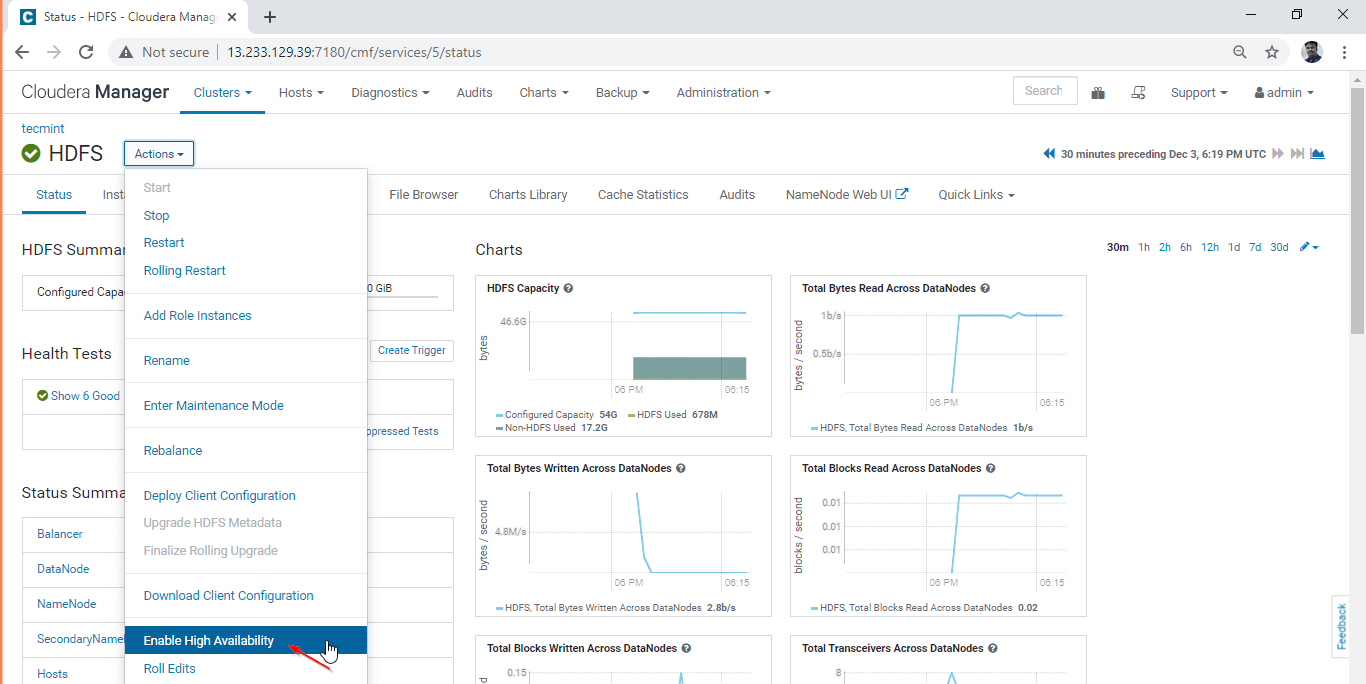
11. Go to Cloudera Manager –> HDFS –> Actions –> Enable High Availability.
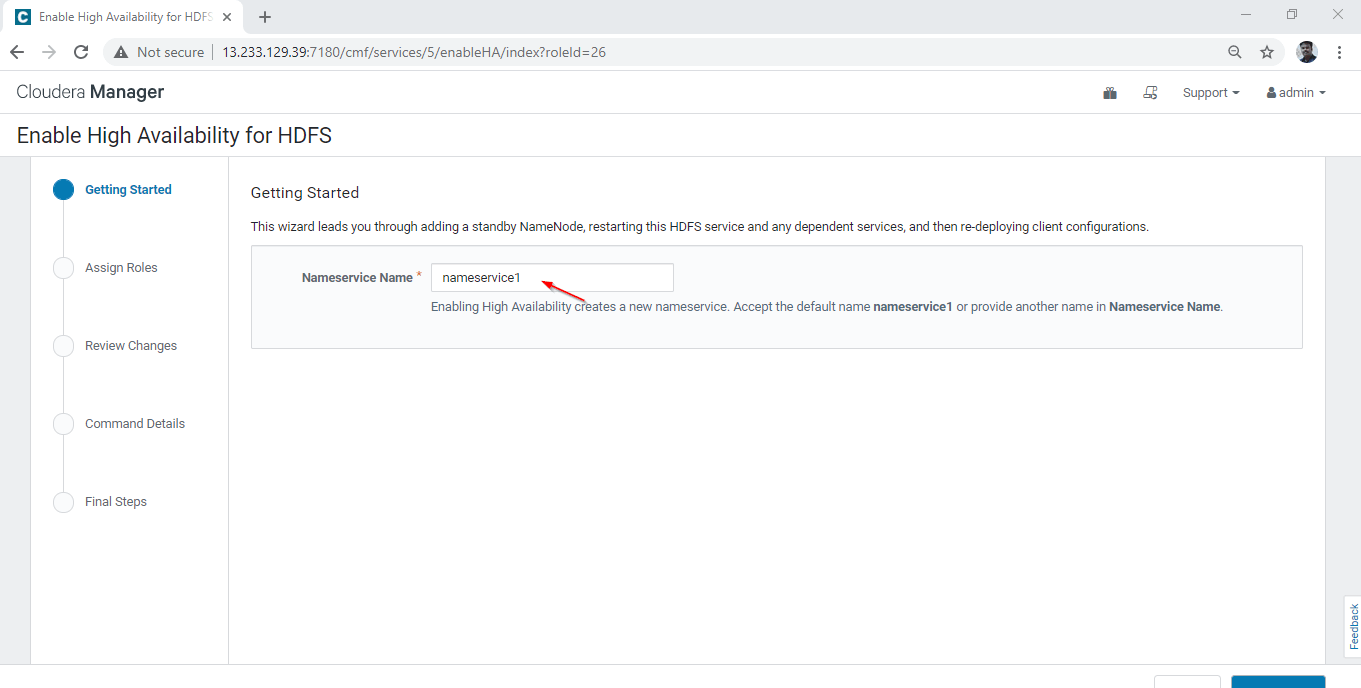
12. Enter the Nameservice Name as “nameservice1” – This is a common Namespace for both Active and standby Namenode.
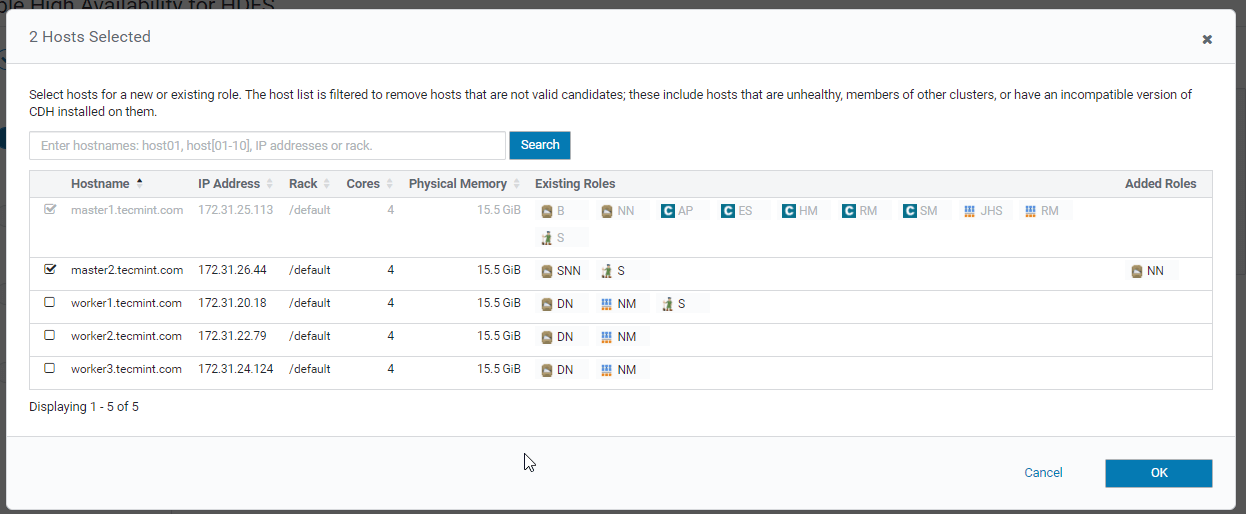
13. Select the Second Namenode where we are going to have standby Namenode.
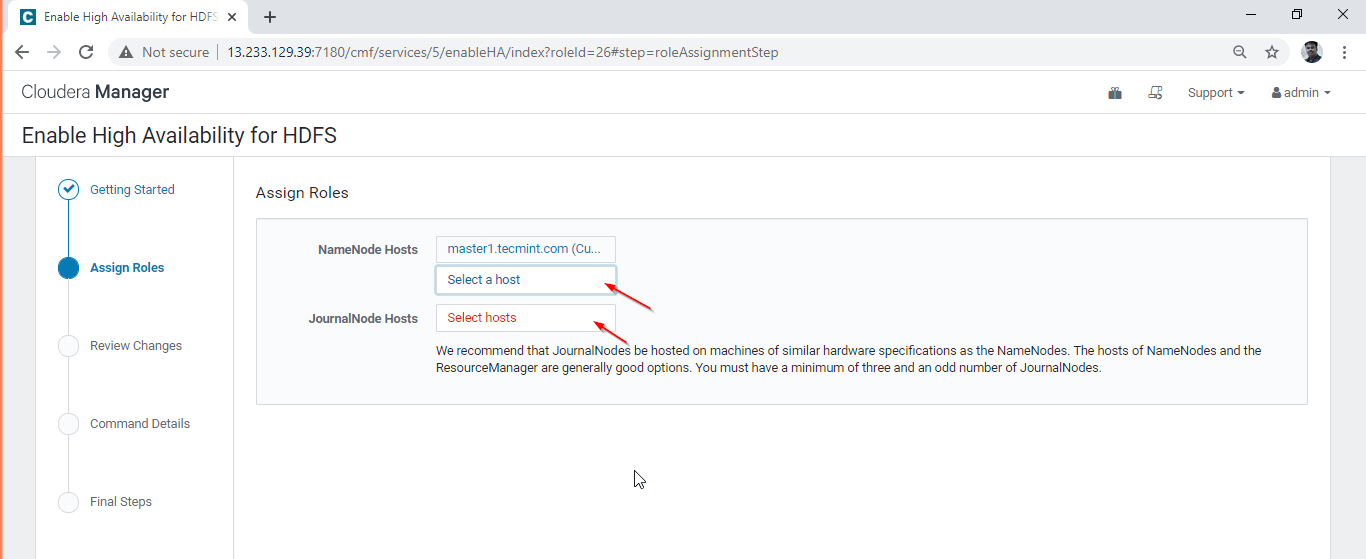
14. Here we are selecting master2.tecmint.com for standby Namenode.
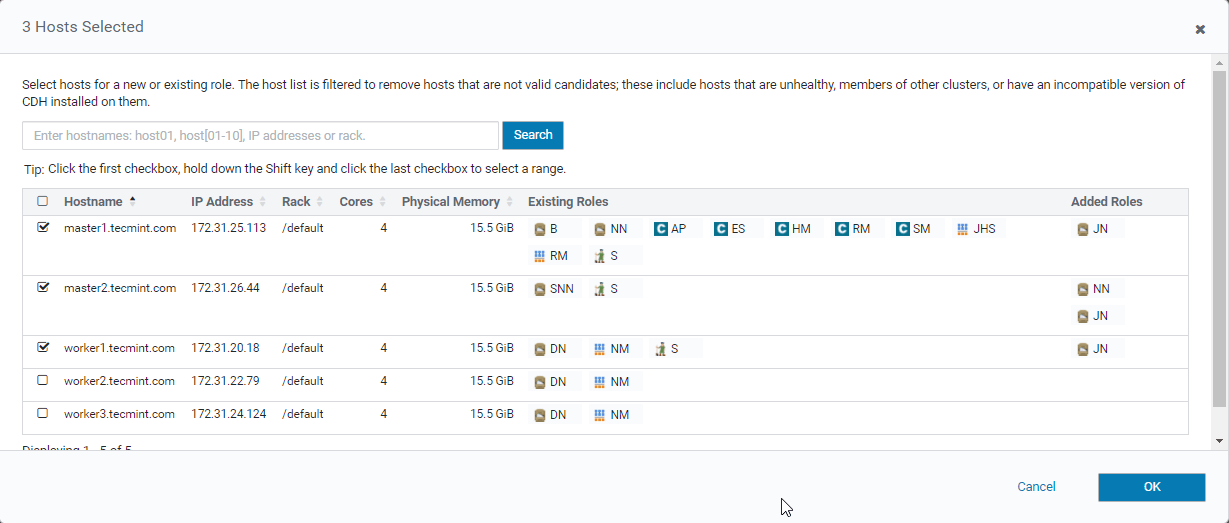
15. Select the Journal nodes, these are mandatory services for synchronizing Active and Standby Namenode.
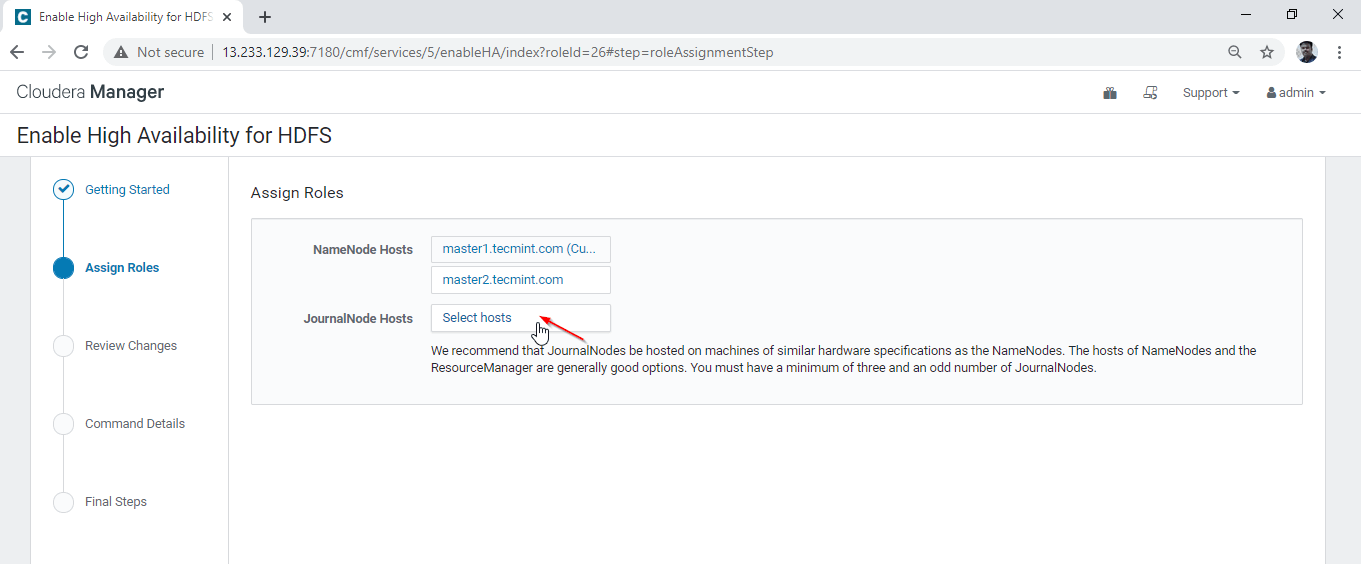
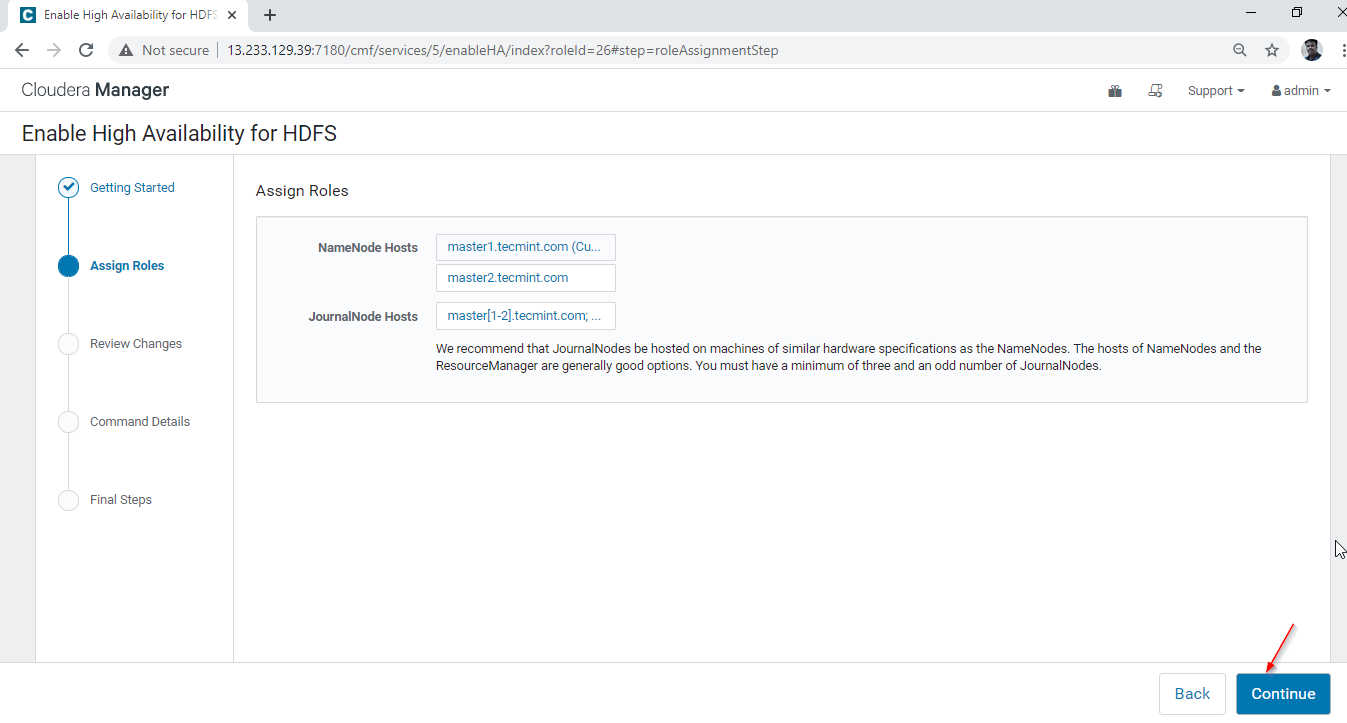
16. We are making Quorum Journal by placing the Journal node in 3 servers as mentioned below. Select 3 servers and click ‘OK’.
17. Click ‘Continue’ to proceed.
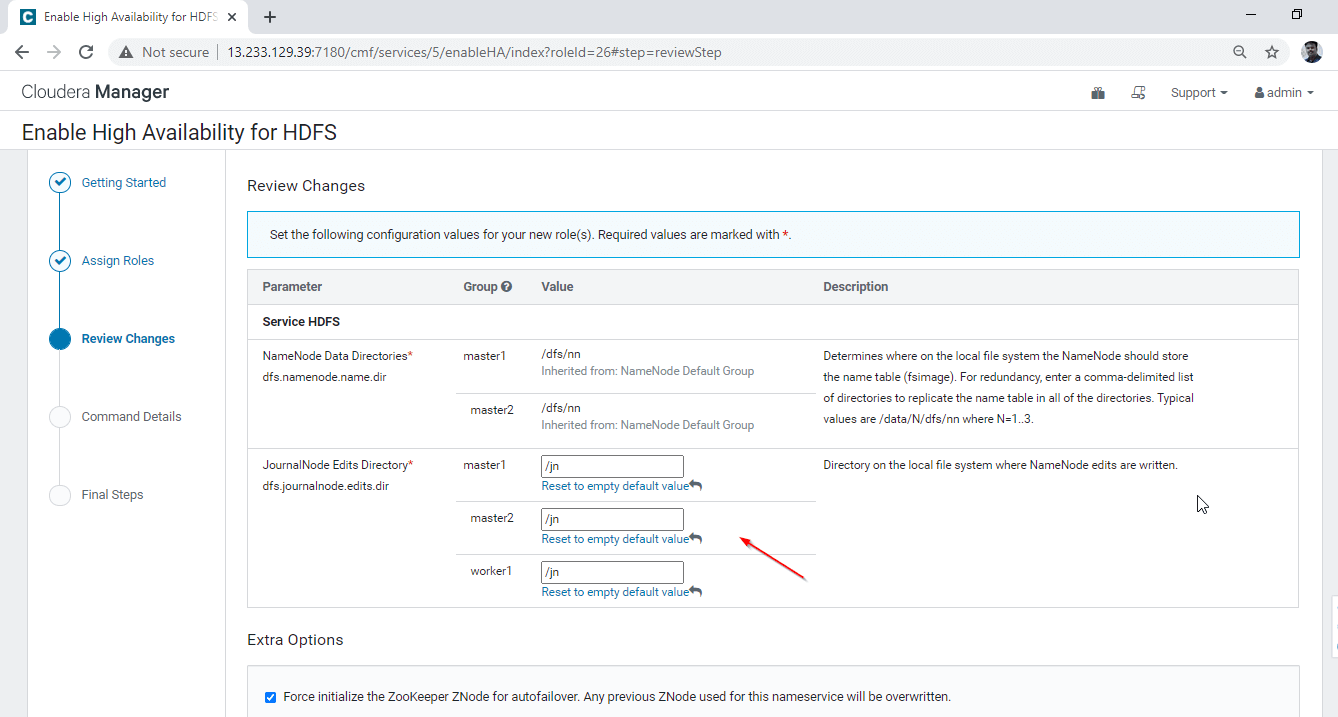
18. Enter the Journal Node directory path. Just we need to mention the path while installing this directory will be automatically created by the service itself. We are mentioning as ‘/jn’. Click ‘Continue’ to proceed.
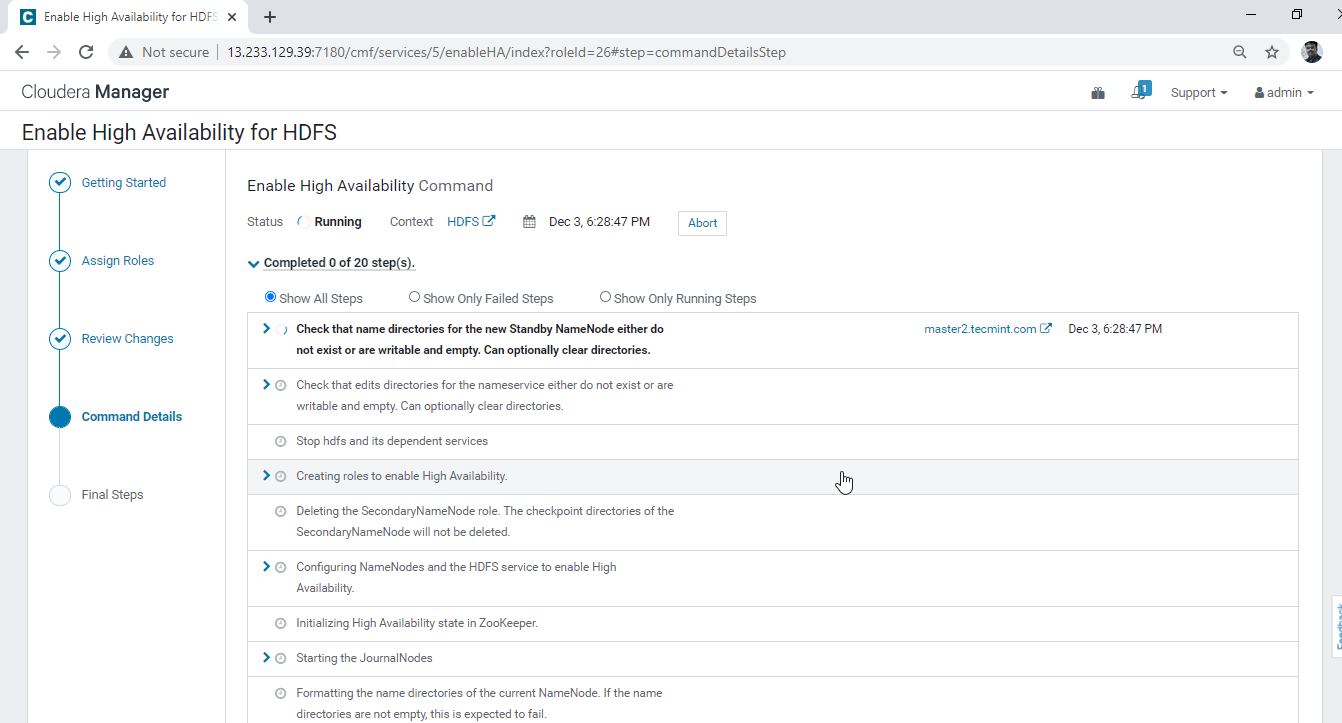
19. It will start enabling the High Availability.
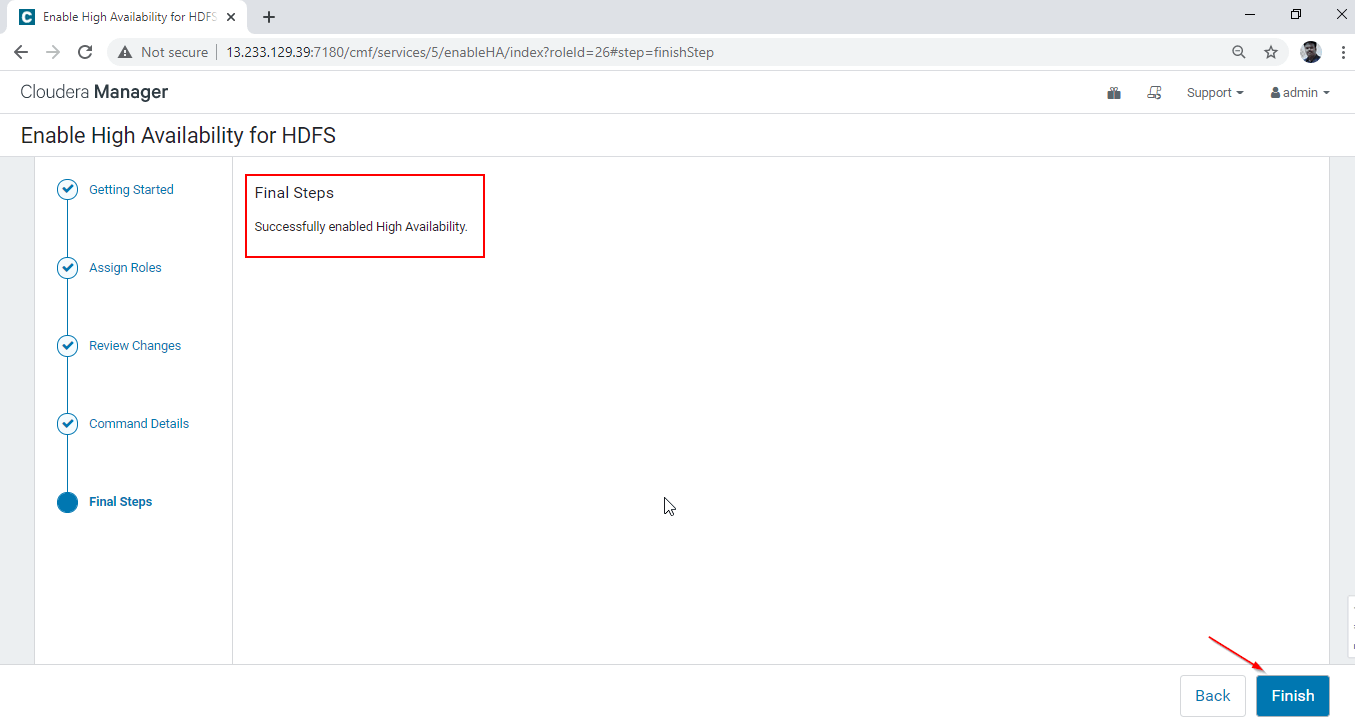
20. Once completed all the background processes, we will get ‘Finished’ Status.

21. Finally, we will get a notification ‘Successfully enabled High Availability’. Click ‘Finish’.
22. Verify the Active and Standby Namenode by going to Cloudera Manager –> HDFS –> Instances.
23. Here, you can wee two Namenodes, one will be in the ‘Active’ state and another will be in ‘Standby’ state.

Conclusion
In this article, we have gone through the step by step process to enable Namenode High Availability. It is highly recommended to have Namenode High Availability in all the clusters in a real-time environment. Please post your doubts if you face any error while doing this process. We will see Resource Manager High Availability in the next article.


