Creating a mail server on Linux-powered machines can be one of the most essential tasks that every system administrator needs to perform while configuring the servers for the first time.
If you’re unfamiliar with what it entails, it’s quite simple. For example, if you have a website like “example.com“, you can create an email account such as “[email protected]“, this enables you to send and receive emails easily without relying on services like Hotmail, Gmail, Yahoo Mail, etc.
In this article, we’ll learn how to do so by installing the Postfix mail server with the “Roundcube” webmail application and its dependencies on Debian and Ubuntu distribution.
Step 1: Set a Hostname and DNS Records for Domain
1. First, set a valid FQDN (Fully Qualified Domain Name) hostname for your Ubuntu server using the hostnamectl command as shown.
sudo hostnamectl set-hostname mail.tecmint.com
2. Next, you need to add a MX and A records for your domain in your DNS control panel that guides other MTAs that your mail server mail.yourdomain.com domain is responsible for email delivery.
MX record    @           mail.tecmint.com
mail.tecmint.com        <IP-address>
Step 2: Installing Apache, MariaDB, and PHP on Ubuntu
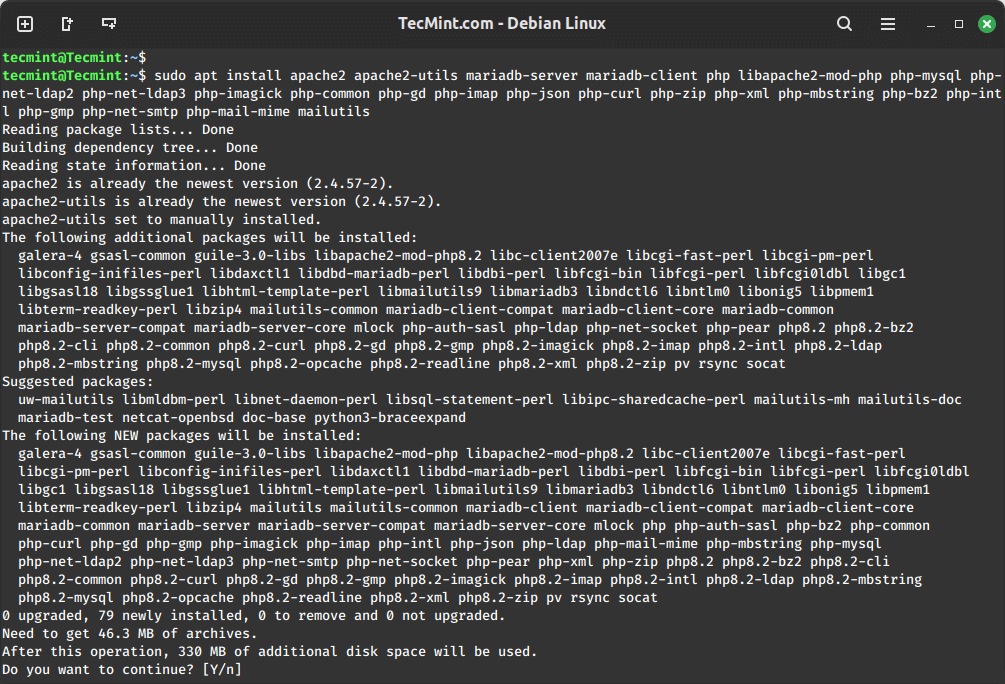
3. To create a running mail server using “Roundcube”, we’ll have to install Apache2, MariaDB, and PHP packages first, to do so, run.
sudo apt update -y
sudo apt upgrade -y
sudo apt install apache2 apache2-utils mariadb-server mariadb-client php libapache2-mod-php php-mysql php-net-ldap2 php-net-ldap3 php-imagick php-common php-gd php-imap php-json php-curl php-zip php-xml php-mbstring php-bz2 php-intl php-gmp php-net-smtp php-mail-mime mailutils
Step 3: Installing Postfix Mail Server on Ubuntu
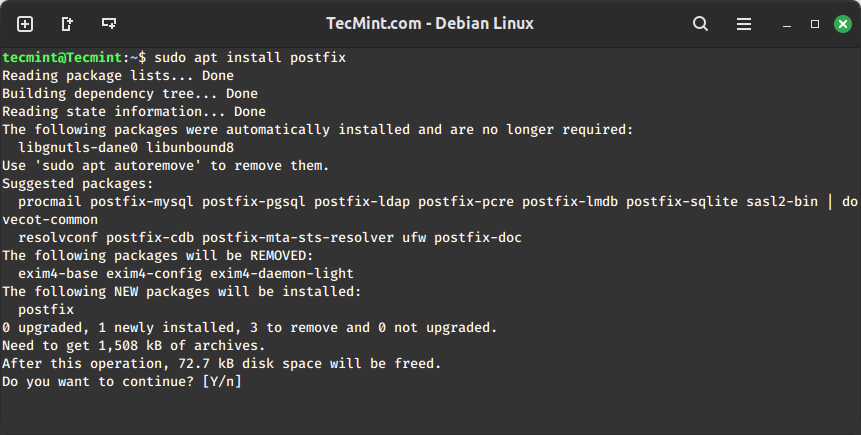
4. Postfix is a mail transfer agent (MTA) which is the responsible software for delivering & receiving emails, it’s essential in order to create a complete mail server.
To install it on Ubuntu/Debian or even Mint, run:
sudo apt install postfix
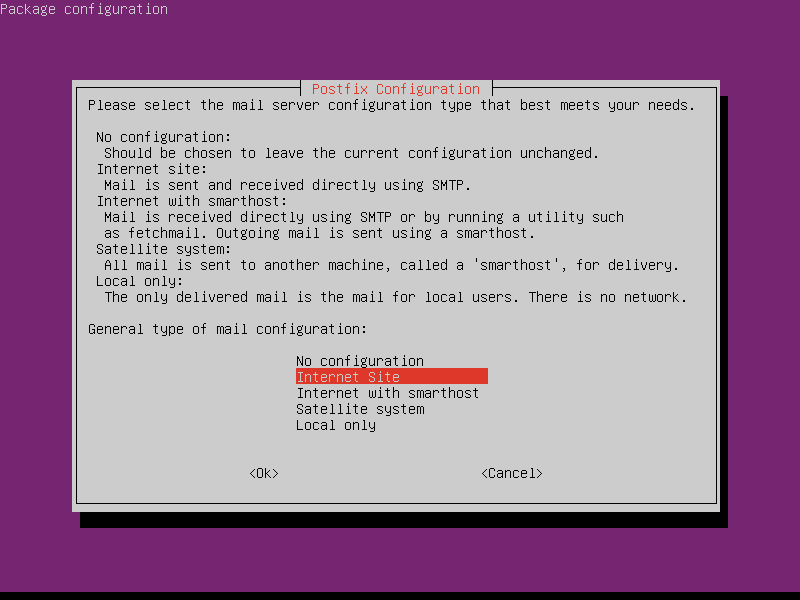
During installation, you will be asked to choose the type of mail configuration, and choose “Internet Site”.
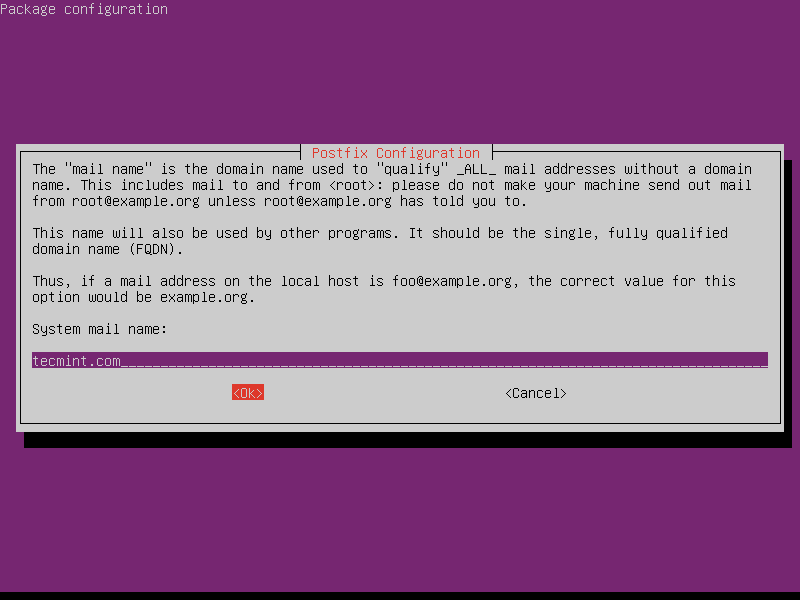
5. Now enter the fully qualified domain name that you want to use for sending and receiving emails.
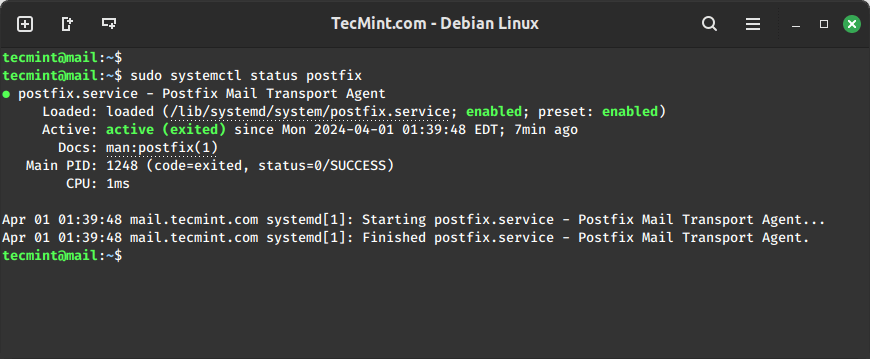
6. Once Postfix is installed, it will automatically start and create a new /etc/postfix/main.cf file. You can verify the Postfix status of the service using the following commands.
sudo systemctl status postfix
Step 4: Testing Postfix Mail Server on Ubuntu
7. Now try to check your mail server is connecting on port 25 using the following command.
$ telnet gmail-smtp-in.l.google.com 25

Trying 74.125.200.27...
Connected to gmail-smtp-in.l.google.com.
Escape character is '^]'.
220 mx.google.com ESMTP k12si849250plk.430 - gsmtp
The above message indicates that the connection is successfully established. Type quit to close the connection.
8. You can also use a mail program to send and read emails using the following command.
$ mail [email protected]

Cc:
Subject: Testing My Postfix Mail Server
I'm sending this email using the postfix mail server from Ubuntu machine
Step 5: Installing Dovecot IMAP and POP in Ubuntu
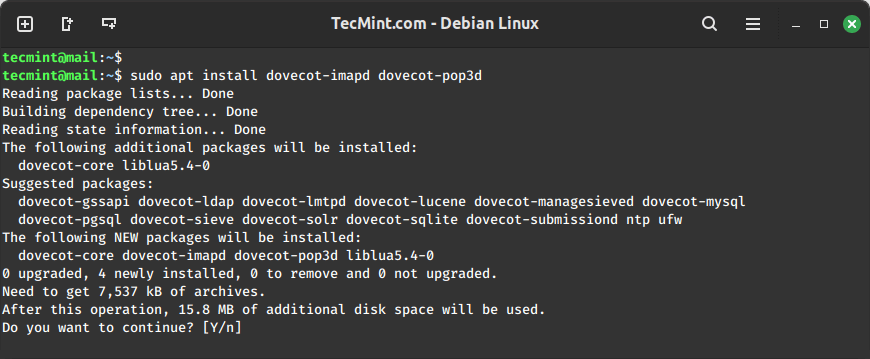
9. Dovecot is a mail delivery agent (MDA), it delivers the emails from/to the mail server, to install it, run the following command.
sudo apt install dovecot-imapd dovecot-pop3d
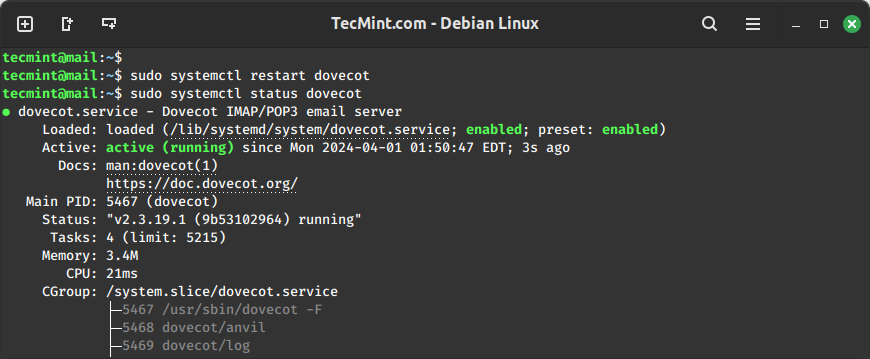
10. Next, restart the Dovecot service and verify the status using the following commands.
sudo systemctl restart dovecot
sudo systemctl status dovecot
Step 6: Installing Roundcube Webmail in Ubuntu
11. Roundcube is the webmail server that you’ll be using to manage emails on your server, it has a simple web interface to do the job, it can be customized by installing more modules & themes.
wget https://github.com/roundcube/roundcubemail/releases/download/1.6.6/roundcubemail-1.6.6-complete.tar.gz
tar -xvf roundcubemail-1.6.6-complete.tar.gz
sudo mv roundcubemail-1.6.6 /var/www/html/roundcubemail
sudo chown -R www-data:www-data /var/www/html/roundcubemail/
sudo chmod 755 -R /var/www/html/roundcubemail/
12. Next, you need to create a new database and user for roundcube and grant all permission to a new user to write to the database.
$ sudo mysql -u root
CREATE DATABASE roundcube DEFAULT CHARACTER SET utf8 COLLATE utf8_general_ci;
CREATE USER roundcubeuser@localhost IDENTIFIED BY 'password';
GRANT ALL PRIVILEGES ON roundcube.* TO roundcubeuser@localhost;
flush privileges;
quit;
13. Next, import the initial tables to the Roundcube database.
sudo mysql roundcube < /var/www/html/roundcubemail/SQL/mysql.initial.sql
Step 7: Create an Apache Virtual Host for Roundcube Webmail
14. Create an Apache virtual host for Roundcube webmail.
sudo nano /etc/apache2/sites-available/roundcube.conf
Add the following configuration to it.
<VirtualHost *:80>
  ServerName tecmint.com
  DocumentRoot /var/www/html/roundcubemail/

  ErrorLog ${APACHE_LOG_DIR}/roundcube_error.log
  CustomLog ${APACHE_LOG_DIR}/roundcube_access.log combined

  <Directory />
    Options FollowSymLinks
    AllowOverride All
  </Directory>

  <Directory /var/www/html/roundcubemail/>
    Options FollowSymLinks MultiViews
    AllowOverride All
    Order allow,deny
    allow from all
  </Directory>

</VirtualHost>
15. Next, enable this virtual host and reload the Apache for the changes.
sudo a2ensite roundcube.conf
sudo systemctl reload apache2
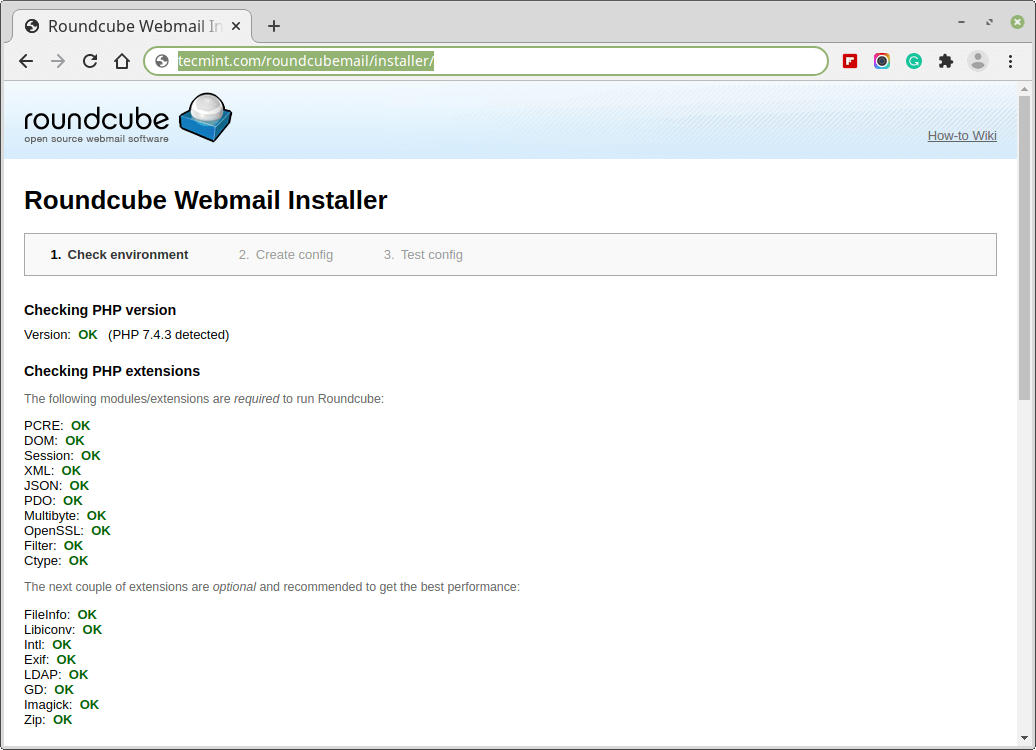
16. You can now access the roundcube webmail by going to the following url.
http://yourdomain.com/roundcubemail/installer/
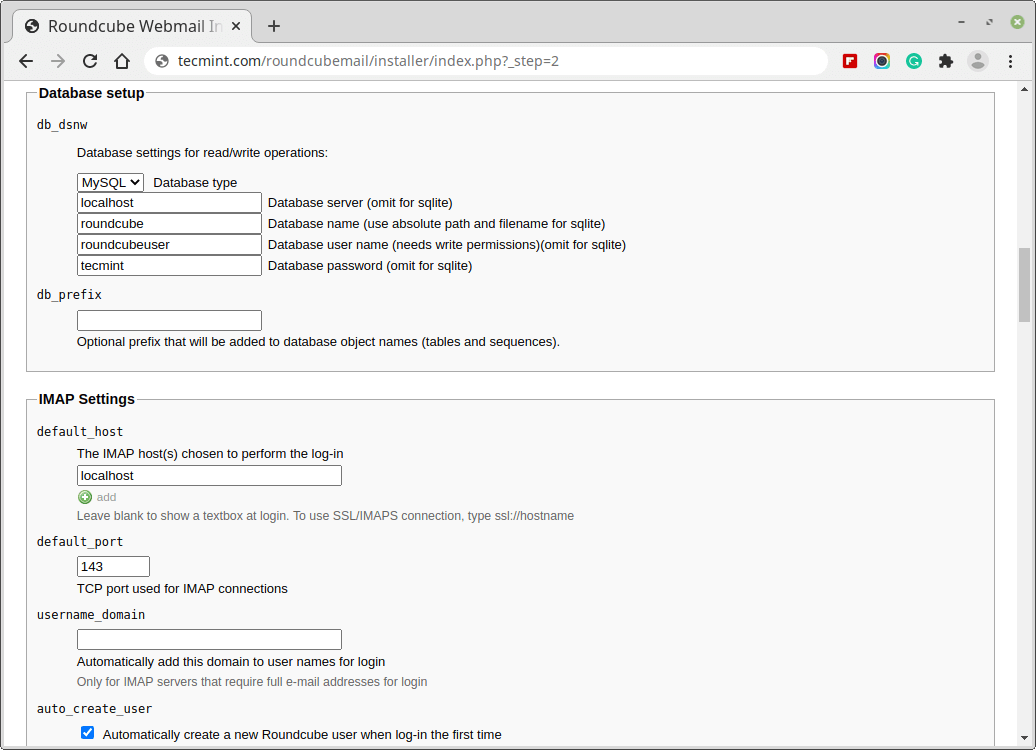
16. Next, go to the Database settings and add the database details.
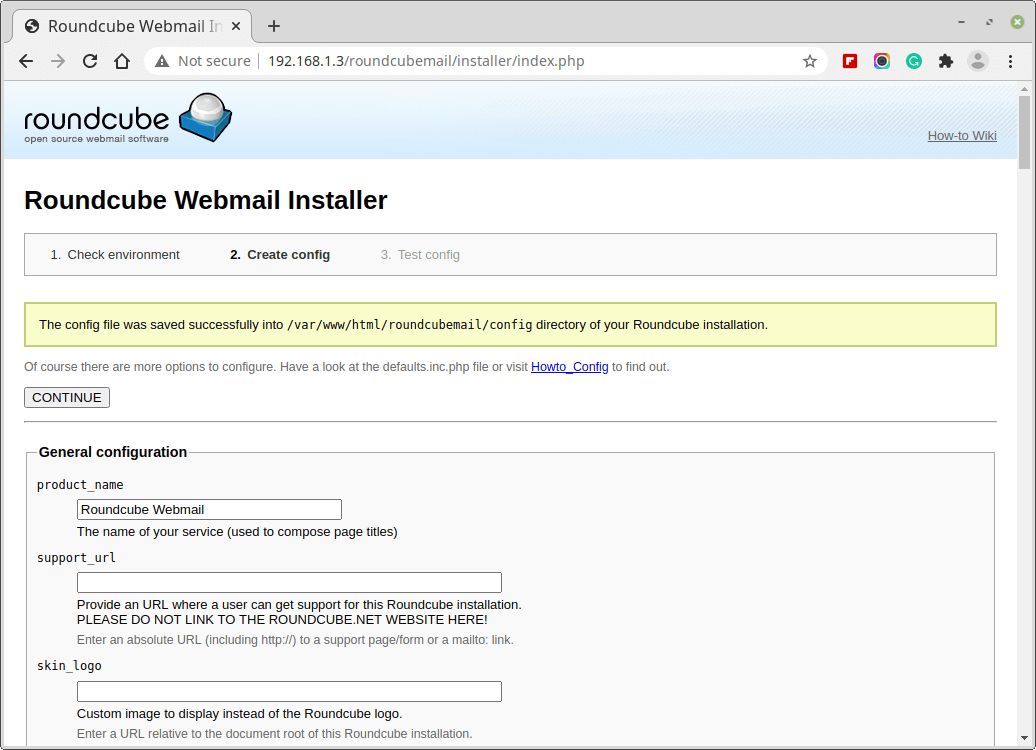
17. After making all the changes, create a config.inc.php file.
18. After finishing the installation and the final tests please delete the installer folder and make sure that enable_installer option in config.inc.php is disabled.
$ sudo rm /var/www/html/roundcubemail/installer/ -r
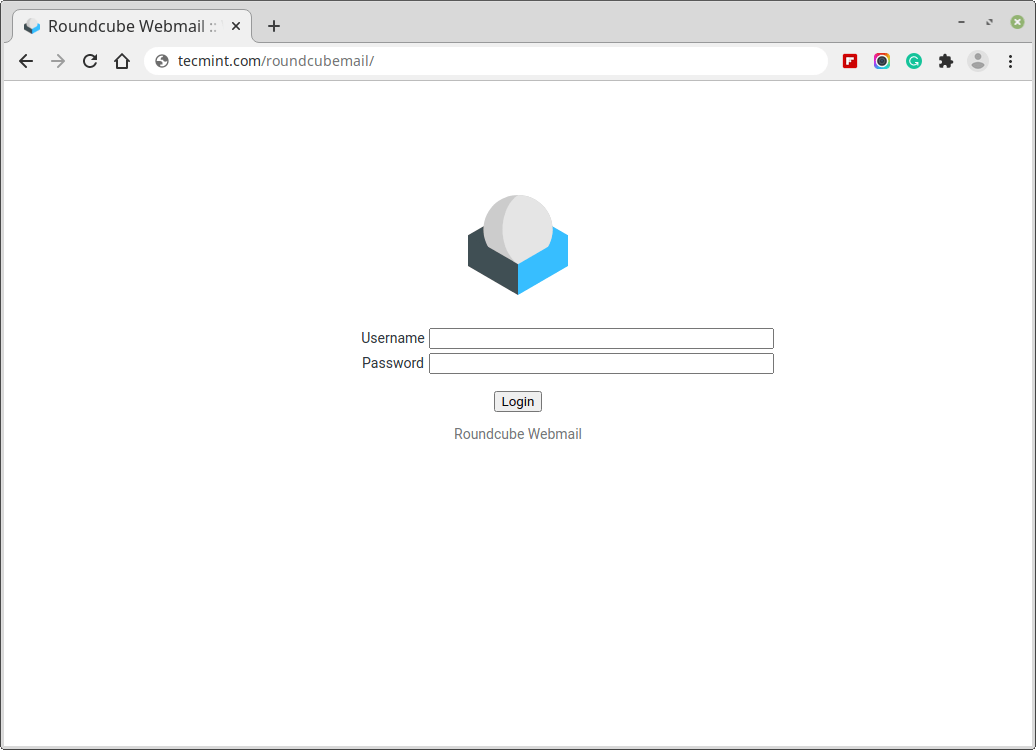
19. Now go to the login page and enter the username and password of the user.
http://yourdomain.com/roundcubemail/
Step 8: Creating Mail Users in Postfix
20. In order to start using the Roundcube webmail, you’ll have to create a new user, to do so, run.
sudo useradd myusername
Replace “myusername” with the user name you want, and create a password for the new user by running.
sudo passwd myusername
21. Now go back to the login page and enter the user name and the password of the newly created user.
Have you tried to create an email server before? How did it go? Have you used Roundcube or any other mail server before? What do you think about it?


