Pop!_OS is a rather new player in the world of Linux operating systems but it has quickly risen up the ranks to become one of the more enjoyable options overall.
With a custom Pop!_OS Shop and a variety of user experience optimizations, it certainly does appeal to the target audience of beginners, and professionals alike.
In order to maximize the potential of your new Pop!_OS install, follow the steps below to begin customization.
1. Pop!_OS Initial Setup
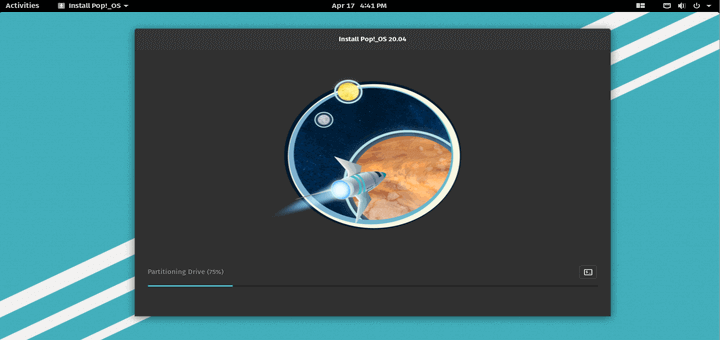
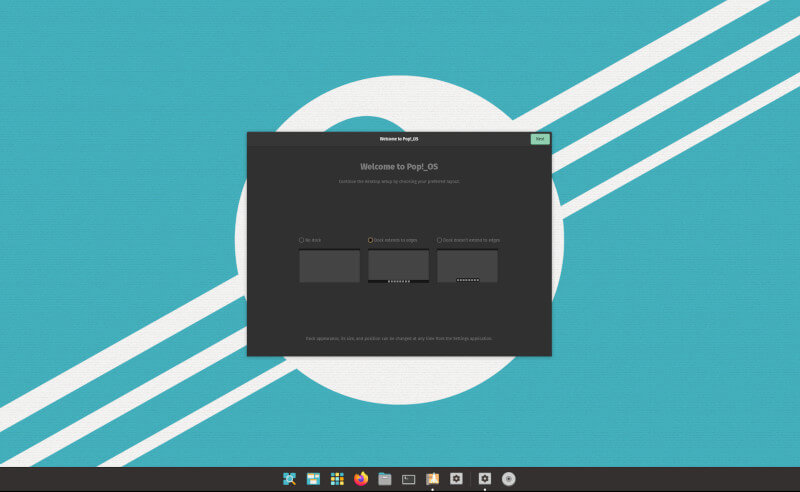
An often disregarded part of setting up a new Linux install is generally going through the designated initial setup included in the operating system. In this case, Pop!_OS is the operating system in question that is essentially bundled with an initial setup that will automatically launch after you’ve finished the install on your system.
As the screenshots below indicate, I was able to configure the dock, top bar, application launcher, finger gestures, appearance, privacy, timezone, and lastly, connect your online accounts.
2. Update and Upgrade
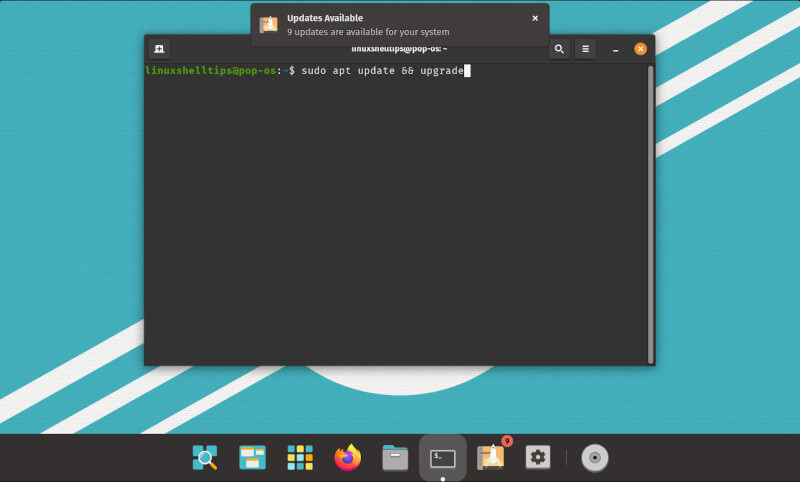
An important part of the continual setup of your new Pop!_OS install is the inherent need to update and upgrade your system which can be done securely from the terminal. This is important to limit the potential of hacks or security exploits that you may be unaware of.
$ sudo apt update && upgrade
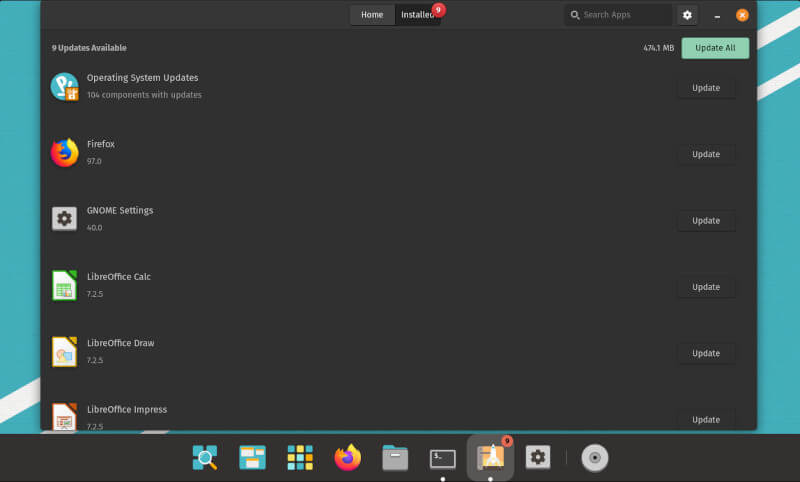
You’re also provided with the option to update your system via the designated Pop!_OS shop as indicated below.
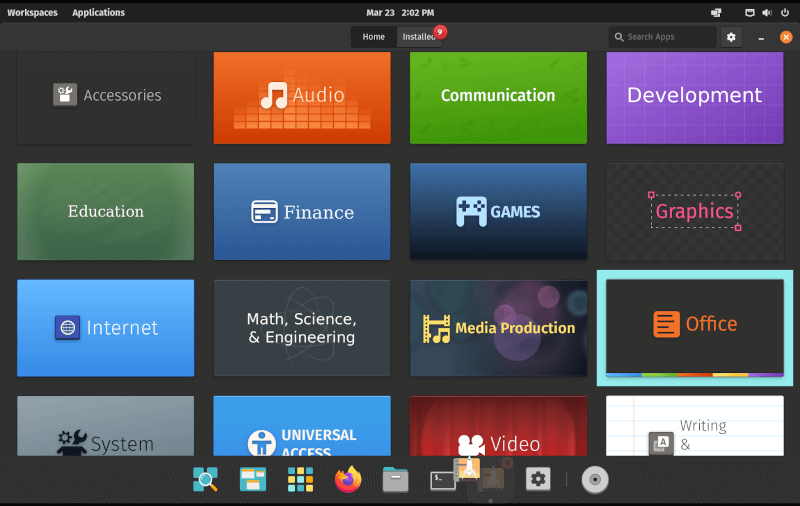
3. Install Essential Apps
RIght from the same Pop!_OS shop, you can install a wide variety of applications that are made available to the Pop!_OS system. Although the app repository may not be as extensive.
Pop!_OS is based on Ubuntu so you will be able to enjoy the benefit of having access to a large Ubuntu repository that goes beyond what’s available via the same Pop!_OS shop app. With apps nicely categorized, you can quickly jump into the category of your choice to begin your installation.
4. Configure Snap and Flatpak
An alternative package manager to the traditional apt command that comes with Debian/Ubuntu-based systems is Snap which was created by the folks over at Canonical for just about any Linux system.
The advantage is the streamlining of applications as Snap bundles all the dependencies an app may need. Flatpak on the other hand is an alternative system that is also well-rounded in functionality with a primary advantage being its universality and nuanced control over your dependencies.
Use the commands below to install and configure both Snap and Flatpak before proceeding to the next step.
Install Snap in Pop!_OS
$ sudo apt install snapd
$ snap install hello-world && hello-world
Install Flatpak in Pop!_OS
$ sudo apt install flatpak
$ flatpak remote-add --if-not-exists flathub https://flathub.org/repo/flathub.flatpakrepo
5. Spice Things Up with GNOME Software
The GNOME software is the undisputed champion when it comes to GUI application repositories. This is because the GNOME platform is one of the oldest frameworks that many Linux-based distributions use to spice up their offerings in regard to operating systems.
Use the command below to install GNOME Software (provided you’ve preconfigured flatpak).
$ sudo apt install gnome-software-plugin-flatpak
Alternatively, you may use the apt package manager as well. The reason we decided to prioritize the Flatpak package manager is to further mitigate the chances of “dependency hell” which is a common issue that tends to rear its head later on in your use of your newly customized system with the default apt package manager.
Ideally, you should be able to manage your dependencies efficiently with Flapak to prevent any such thing but it’s not quite the same with the apt package manager which certainly requires some level of experience.
$ sudo apt install gnome-software -y
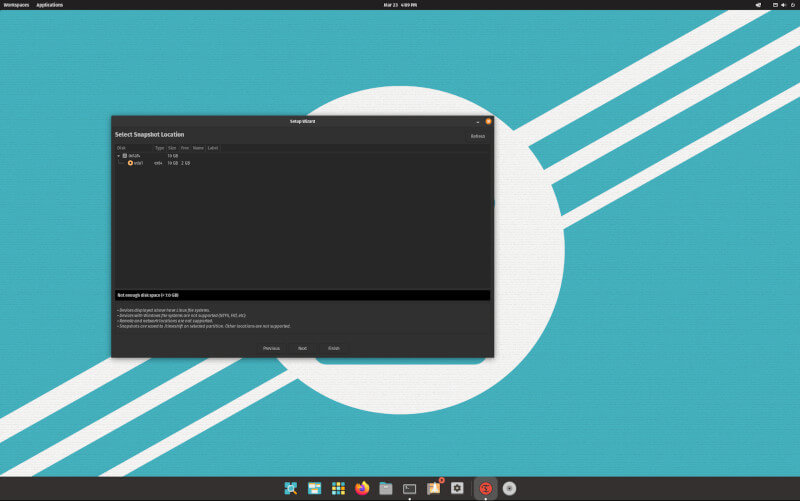
6. Setup Timeshift Backup
System backups have been the norm for operating systems today and that’s for a particularly good reason which is the safety of your data. Timeshift works like Time Machine.
You have the options of Rsync and BTRFS to configure Timeshift before using it. Typically, you want to have enough storage available to enjoy the use of the application.
$ sudo apt install timeshift -y
7. GNOME Tweak Tool
The GNOME tweak tool is the ultimate option for individuals that are looking to have maximum control over the user experience of their Linux-based operating system. It provides granular control for everything you might need to facilitate your unique customer experience.
$ sudo apt install gnome-tweaks
8. Install Proprietary Media Codecs and Fonts
In order to enjoy maximum comfort and media support on your system, you need proprietary codecs that don’t come by default. The command below will also get extra fonts onto your system.
$ sudo apt install ubuntu-restricted-extras
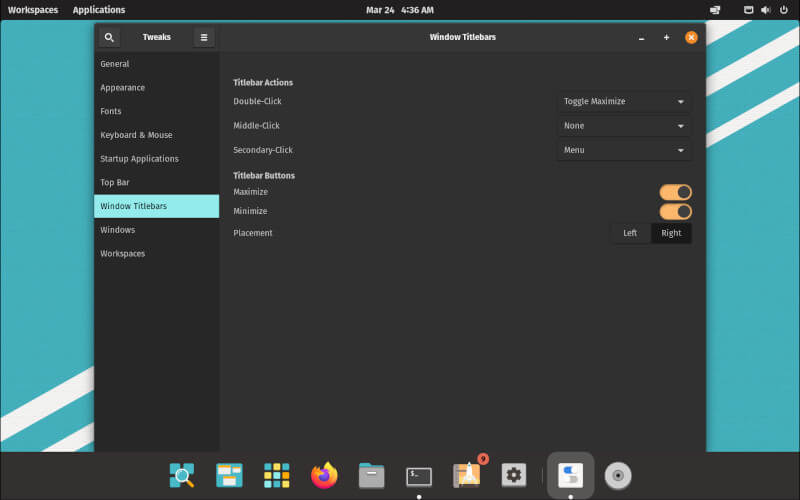
9. Enable Minimize and Maximize
This part of your system configuration requires that you’ve fulfilled the prerequisite of step number 7. The emphasis on enabling minimize and maximize has to do with the traditional desktop experience on other systems.
The reason for the omission in Pop!_OS has little to do with an intentional design but rather, the default mode of the GNOME shell.
From your terminal, launch GNOME tweaks using the command:
$ gnome-tweaks
Then proceed to the “Windows Titlebars” area of the GNOME tweaks app, then simply toggle the options “Maximize” and “Minimize” under Titlebar Buttons as necessary.
10. Play Around
When it comes to operating systems, exposure is the name of the game. This way, you can drastically improve your adaptability by exploring the entirety of the operating system. Over time, you will be able to master Pop!_OS and make it your own.
Conclusion
Once you’ve done a good job configuring your system, you’re now ready to branch into other areas of your personal concern. Do your best by aligning your personal preferences with the overall structure of your Pop!_OS system.
In the long term, you might have as well created your unique configuration that will stand the test of time. And if you were to break anything, you have Timeshift to come to the rescue.
Timeshift is your perfect companion for a rock-solid system that doesn’t break easily. What other Pop!_OS tips have you implemented on your system? Let us know in the comments!