As computing devices quickly surpass the requirements of operating systems, it has increasingly become more efficient for organizations to invest/migrate to virtualized systems. Operating system virtualization technologies aren’t anything new but over the last several years they have become more and more popular as data centers look to provide more functionality in the same or less amounts of physical space. By simply leveraging un-used resources on powerful servers/workstations companies can effectively run multiple logical servers on one or several physical servers.
Citrix offers such a solution, known as XenServer, which utilizes the popular Linux Xen hypervisor. The Xen hypervisor is referred to as a “bare-metal hypervisor” meaning that it is installed to the physical server and acts as a resource manager for all of the virtualized server instances that will be run on top of Xen.
This contrasts to systems such as Virtualbox which require a Linux/Mac/Windows operating system to be installed and then virtual machines created within the Virtualbox application. This type of hypervisor is generally referred to as a hosted hypervisor. Both types of hypervisors have their place and benefits but this particular article is going to look at the bare-metal hypervisor in XenServer.
In this 5-article Citrix Xenserver series, we will going to cover the following topics:
Update*: In May 2016, Citrix released the new version of the XenServer 7 platform.
This first article will walk through the process of installing and configuring Citrix XenServer. Future additions to this article will walk through adding virtual machine storage repositories, XenServer pooling, creating virtual machines on the XenServer, as well as managing XenServers with XenCenter and Xen Orchestra as discussed above series.
System Requirements
- XenServer 6.5 ISO : http://xenserver.org/open-source-virtualization-download.html
- Server capable of virtualization
- Hardware Compatibility List is here: http://hcl.xenserver.org/
- Many systems will work even if not listed but results may vary, use at your own risk.
- Minimum 2GB ram; 4GB or more recommended to run virtual machines
- Mimimum 1 64bit 1.5GHz cpu; 2GHz or more and multiple CPUs are suggested
- Harddrive space of at least 16GB; more required if virtual machines will be saved locally
- At least a 100mbps network card; multiple gigabit suggested
Test System Configuration
- 1 IBM X3850
- 4 hexcore 2.66 GHz CPUs
- 64gb ram
- 4 gigabit NIC cards
- 4 300GB SAS drives (overkill but it was all that was available)
- 24TB Dell PE5500E for storage of the virtual machine disks (Not necessary if enough local space exists on the XenServer)
All in all this server is primed to be a stellar XenServer so let’s begin the installation process.
Installation of Citrix Xenserver 6.5 Guide
1. The first step in the installation is to download the XenServer ISO file. This can easily be accomplished by visiting the link above or using the ‘wget‘ utility on a Linux system.
# wget -c http://downloadns.citrix.com.edgesuite.net/10175/XenServer-6.5.0-xenserver.org-install-cd.iso
Now burn the ISO to a CD or using ‘dd‘ to copy the ISO to a flash drive.
# dd if=XenServer-6.5.0-xenserver.org-install-cd.iso of=</path/to/usb/drive>
2. Now place the media into the system that XenServer will be installed and boot to that media. Upon successful boot the user should be greeted by the wonderful Citrix XenServer boot splash.
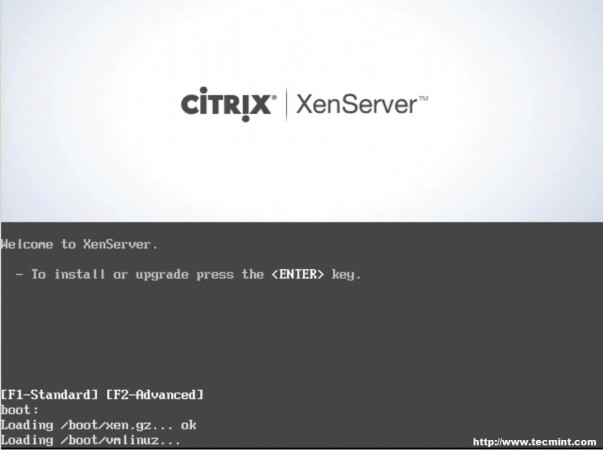
3. At this point simply press enter to begin the booting process. This will boot the user into the XenServer installer. The first screen will ask the user to provide a language selection.

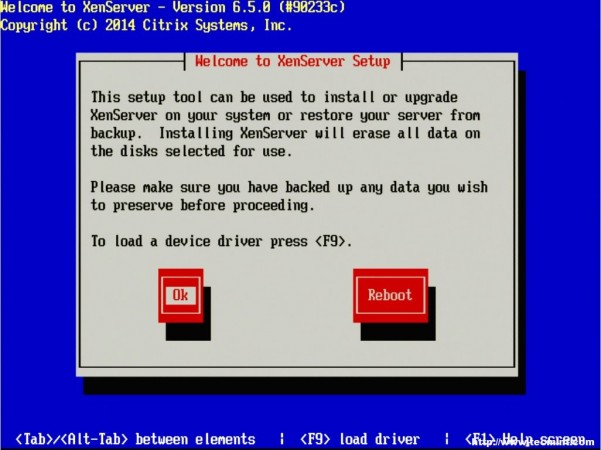
4. The next screen asks the user to confirm the reason for booting to this media as well as provide the option to load extra hardware drivers if needed. In this particular case, it is to install XenServer to the machine so it is safe to click “OK”.
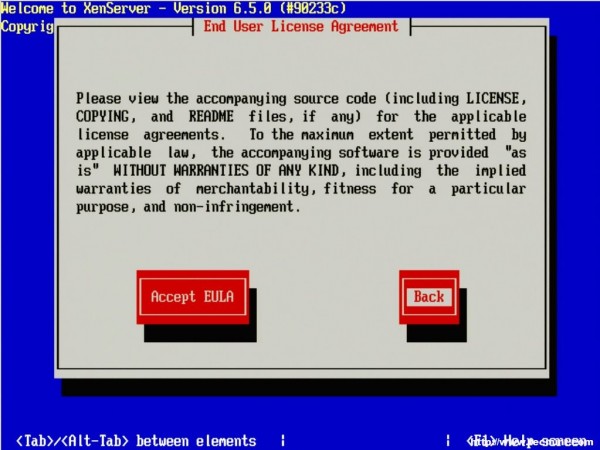
5. The next prompt is the obligatory EULA (End User License Agreement). Feel free to read the whole thing, as your supposed to anyways right, otherwise using the keyboard arrows move the cursor over to the “Accept EULA” button and hit enter.
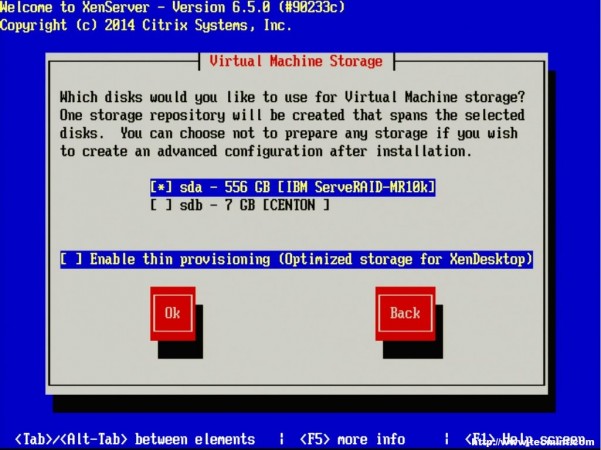
6. The next screen requests the installation device. In this example the RAID setup on the server is where XenServer will be installed.
The RAID system is reflected as “sda – 556 GB [IBM ServeRAID-MR10k]” For this guide, thin provisioning is not necessary. Make sure the the asterisk ( * ) character is next to the hard drive selection to install XenServer and tab to the “OK” button.
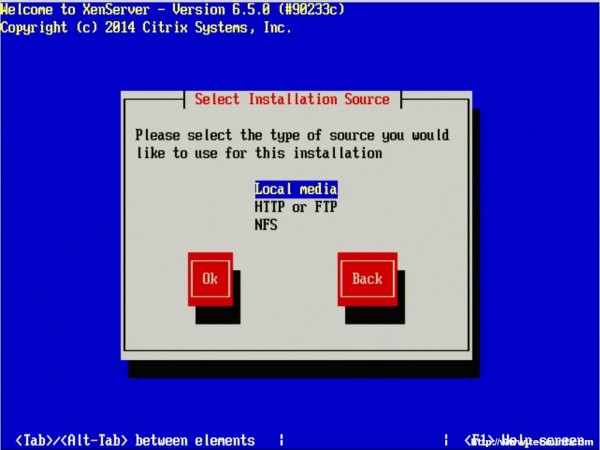
7. The next screen will prompt the user for the location of the installation files. Since the installer was boot locally with a CD/DVD/USB, make sure to select the “Local Media” option.
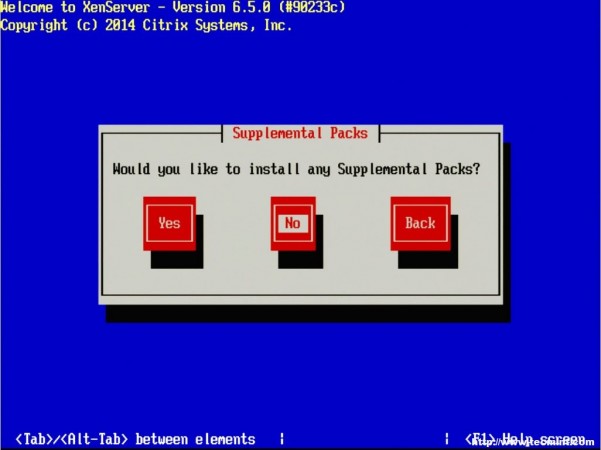
8. The next step allows for the installation of Supplemental Packs (SP) at the time of install. For this guide, none of the supplemental packs available will be installed at this point but will be covered later once XenServer is up and running.
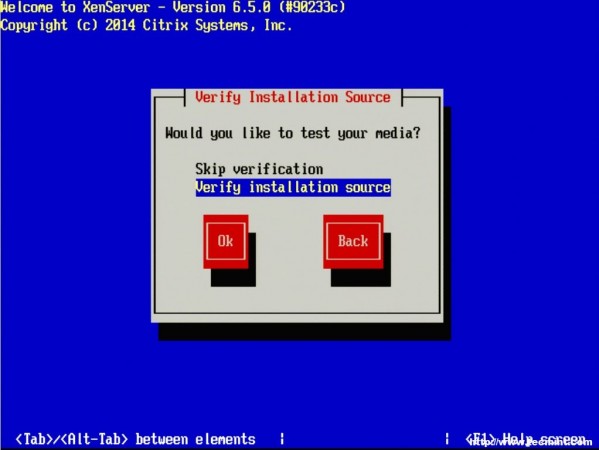
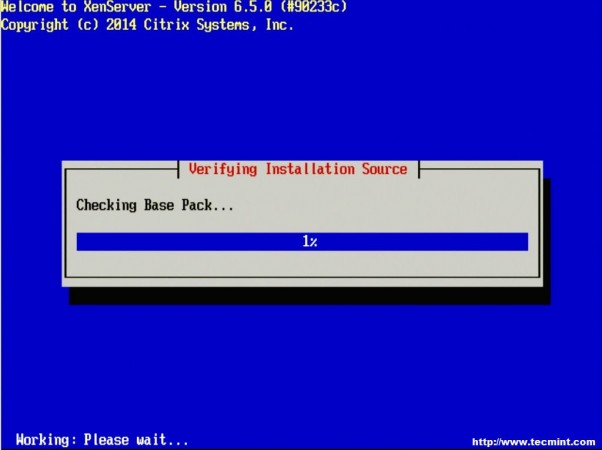
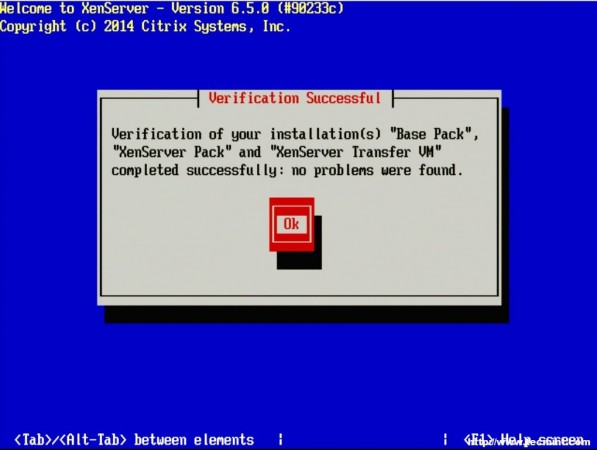
9. The next screen will ask if the user wishes to verify that the installer media is not corrupt. Generally this is a good idea but is a personal choice. All in all the verification on this test server took about 3 minutes from a CD.

well my system show nothing after installation they just show black screen with
(_)Ramzan,
XenServer 6.5 is outdated at this point. Have you tried following the XenServer 7 installation articles instead?
https://www.tecmint.com/installation-of-xenserver-7-upgrade-xenserver-6-5-to-7/
Hi Guys,
I installed Xenserver by USB and the system says that completed setup, but when i reboot server, it doesn’t receive kernel Xen.
I don’t Know why, this is the first time I do it. please help me. Thanks so much
Hi Bro,
I love all your post, thanks for your support.
I am looking document for Openstack installation with XenServer Hypervisor.
Thanks in Advance
By – Suresh
@Suresh,
Thanks for loving all our posts and support, regarding openstack, you find installation here: https://www.tecmint.com/openstack-installation-guide-rhel-centos/
Suresh,
Thanks for the kind words. Openstack and XenServer have been on my list of topics for a little while now. I’m hoping to get around to it in the future. Stay tuned!
My machine has SAS 5/iR.
http://hcl.xensource.com/servers/?serversupport__version=4&vendor=3&form_factor=2
says this is an unrecognized controller but that my motherboard (dell sc1435) is compatible.
Can I mirror the OS partition later on with this hardware RAID?
Jonathan,
While the machine may be supported, this doesn’t always mean the specific controller is supported. I used the HCL to look specifically for the Dell 5/iR controller and it doesn’t appear to be supported at all. XenServer 6.5 supports the Dell 6/iR but support doesn’t seem to be listed for the 5/iR at all. I sadly don’t have a box that has this controller either to attempt to install as well. Could you possibly invest in a PERC expansion card? Wish I had better news. Perhaps someone else will have more experience with this controller and comment.
http://hcl.xenserver.org/storagecontrollers/?storagecontrollersupport__version=5&vendor=3
I followed the tutorial, but I encounterd a problem.
After installing I tried to connect to it with virsh (libvirt-bin).
This was not successful. When I tried to connect to the machine it give me the error: “error:end of file while reading data: sh:nc:command not found: In-/out error”.
I do not have any experience with xen, so I am not even sure were to start.
Can you maybe help on were to start or what the solution may be?
Thanks in advanced
slowPC,
Thanks for your comment. Xen isn’t managed with ‘virsh’> XenServer can be managed a number of different ways ranging from the command line with the ‘xe’ utility, the Windows based XenCenter application, the open source Xen Orchestra utility, and/or a combination of these options. I personally use all three plus a BASH script I wrote for simply connecting to the console session of a guest. For more information, please check out this article: https://www.tecmint.com/manage-xenserver-with-xencenter-and-xen-orchestra/
I was trying to install XEN server through USB Boot Disk, on to a IBM X3200 tower server. I encountered following problems.
1. Though the USB boot worked, and installation started, it could not find the packages at all. I dont know why. I had created the Bootdisk using rufus.exe, i dont think that should matter because it booted through USB and installation had started.
Fix: I selected http during installation for packages, extracted the XEN Server ISO on to HTTP Serers root, and pointed it during installation. Installation Progressed.
2. I was not asked for supplemental packages, surprised to see it here in this manual.
3. After bootup it asked me to remove local media and reboot. I did, but the sevr could not find any OS in HDD. It bailed out.
I am not sure how to proceed further. Please help.
Harsha,
I’ve had poor results when using USB boot creators. That’s why the guide suggests using DD for this task. In theory, it “shouldn’t” matter but time and time again I’ve had issues.
The XenServer installer, as of lately, has always prompted for supplemental packs when I’ve used it (did a fresh install about a week ago even). There may be an issue with the ISO file you’ve downloaded. Have you run a sha256sum on the ISO file? The hash should be: “bc5f75c5168443ce14a391c29c34685b183b2b1c2babdb5c3de4e1fd197740bd” according to the Xenserver downloads page.
XenServer does it’s own partitioning during the install. Did you attempt to setup your own partitions? May need to boot into it again and see if you can install the boot loader.
I have IBM X3200. I made a USB boot disk with XenServer 6.5.0 Iso file, and started installing XEN Server. Unfortunately, it could not detect the packages when local media was selected. I am not sure why. Then I extracted the ISO and stored on my HTTP server, gave that path. It successfully started installation (though it did not ask for supplemental packages as described in the tutorial). After all installation, it asked to remove the local media and reboot. But Alas, my X3200 could not find where to boot from it looped through all boot options (PXE etc) and finally bailed out.
Please help. I suspect the boot partiton is not properly selected. It should be MBR or First partition of HDD right?
The “dd” command is not working, i tried “dd if=XenServer-6.5.0-xenserver.org-install-cd.iso of=/dev/sdc”
Jonathan,
Two things to verify.
1. Make sure that you are issuing the ‘dd’ command from the same directory as the ISO file. The command is a relative path command meaning that it assumes the file path specified is relative to the current directory.
2. The other thing to check is that you have root or sudo privileges. The ‘dd’ command modifies hardware and as such requires elevated privileges.
If that doesn’t solve the issue let me know and if you could provide any error messages seen both in the shell prompt and syslog (tail /var/log/syslog).
Thanks for this nice tutorial on xenserver. Please do the part 2 quick. Appreciate u all at tecmint
Raphael,
Patching XenServer is coming up shortly and then the rest of the articles will be available soon!
HEARTFELT Thank you for all team tecmint and RT. This site has been my “must visit” on daily bases since i stumble on it. I have learned much more from this site than my college/training class. KEEP UP THE GOOD WORK nothing but ON WARD AND UPWARD. If you guys offer XENAPP tutorial would be great. Looking forward for the next one XENAPP ;).
Mohamed,
You are quite welcome! I would like to do a Xenapp/Xendesktop write up but will need to knock out some of the other aspects of Xenserver first. Keep an eye out as one of these days, I’ll get to Xennapp/Xendesktop.
I definitely keep an eye on this topic. I used XenServer quite sometime but XenApp and XenDesktop I never try. keep up the good work guys. I usually a reader here but when I saw this topic I can’t help my help to be excited :)
Sid,
Glad you enjoyed the article. I hope to get to XenApp/XenDesktop after the XenServer series is completed. Not sure when but it would be a great follow up to XenServer.
Nice atrical thanks for the KT
You’re quite welcome!
Very nice article. Also please cover basic xen command line guide which will be helpful as well.
Dipanjan,
Thank you and that should be possible!