

Implemented in Erlang, Apache CouchDB, simply referred to as CouchDB, is an open-source NoSQL database that focuses on data storage in JSON format. CouchDB is a perfect choice for operation teams and businesses looking for a high-performance NoSQL database solution. Unlike relational databases such as MySQL, CouchDB uses a schema-free data model, simplifying records management across various computing devices.
This tutorial shows you how to install the latest version of Apache CouchDB on Ubuntu 20.04.
Step 1: Enable the CouchDB Repository
To start off, log in to your server instance and import the GPG key as shown.
$ curl -L https://couchdb.apache.org/repo/bintray-pubkey.asc | sudo apt-key add -
Next, be sure to enable the CouchDB repository as shown.
$ echo "deb https://apache.bintray.com/couchdb-deb focal main" >> /etc/apt/sources.list
Once the repository and key are added, proceed to the next step.
Step 2: Install Apache CouchDB in Ubuntu
Having enabled the CouchDB repository, the next step will be to update the package lists of Ubuntu and install Apache CouchDB as shown.
$ sudo apt update
$ sudo apt install apache2 couchdb -y

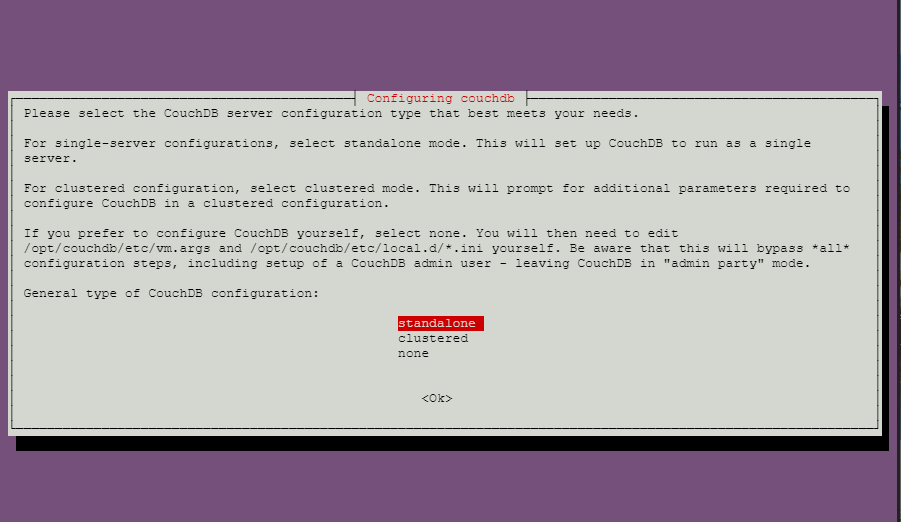
You will need to select options to configure your CouchDB. In this prompt, you configure either in standalone or clustered mode. Since we are installing on a single server, we will opt for the single-server standalone option.
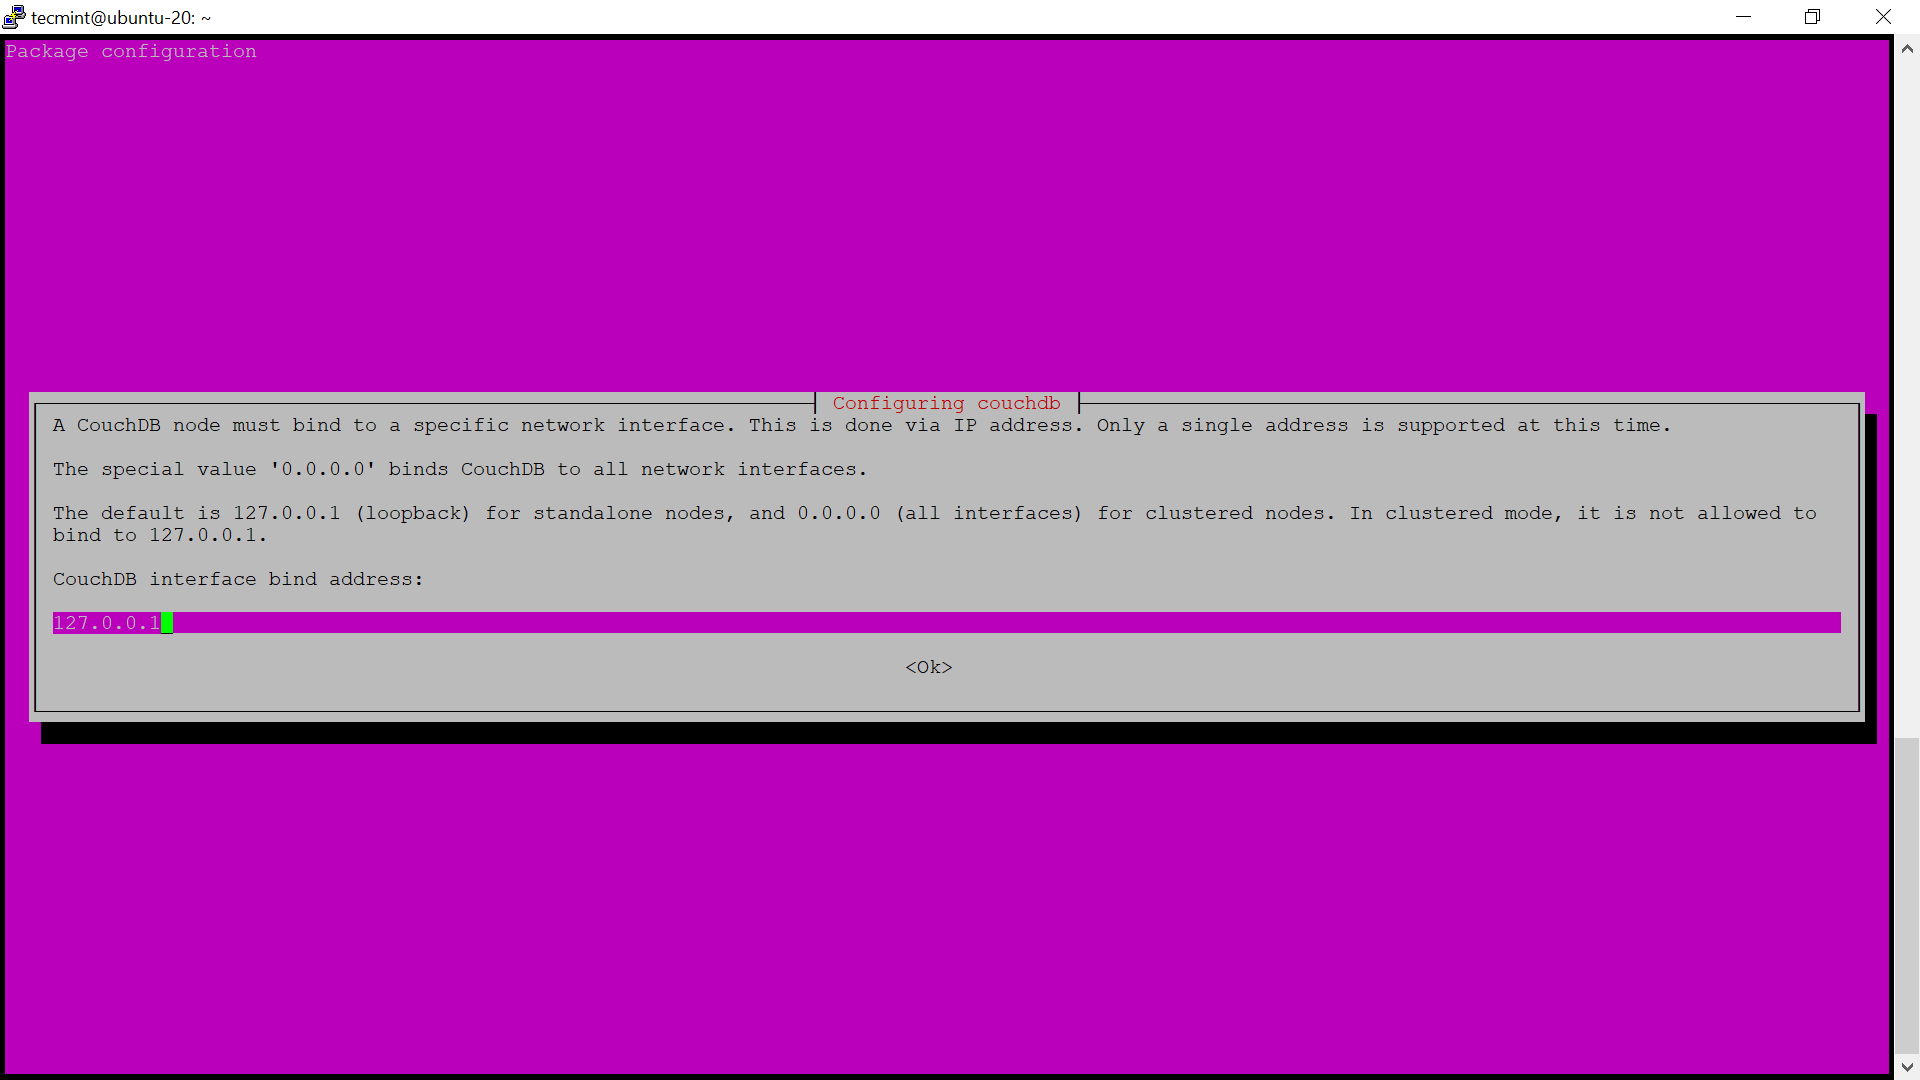
In the next prompt, you are supposed to configure the network interface on which the CouchDB will bind to. In standalone server mode, the default is 127.0.0.1 (loopback).
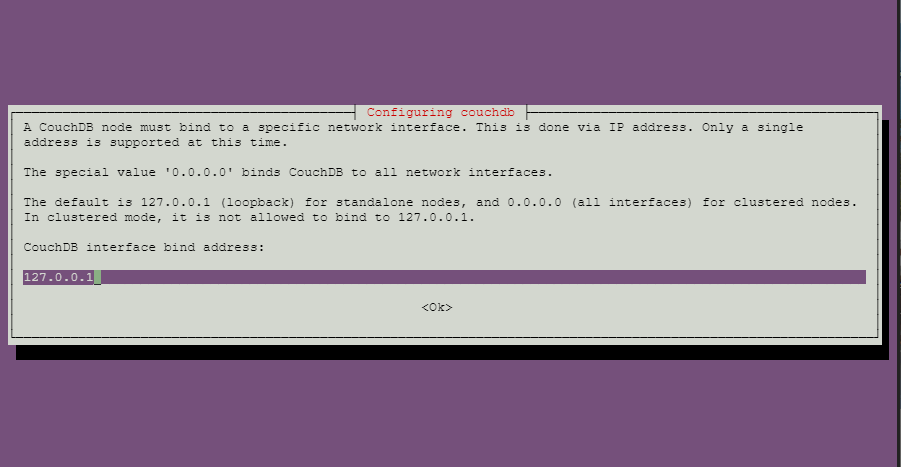
If it’s the clustered mode, enter the interface IP address of the server or type 0.0.0.0, which binds CouchDB to all network interfaces.
Next, set the admin password.
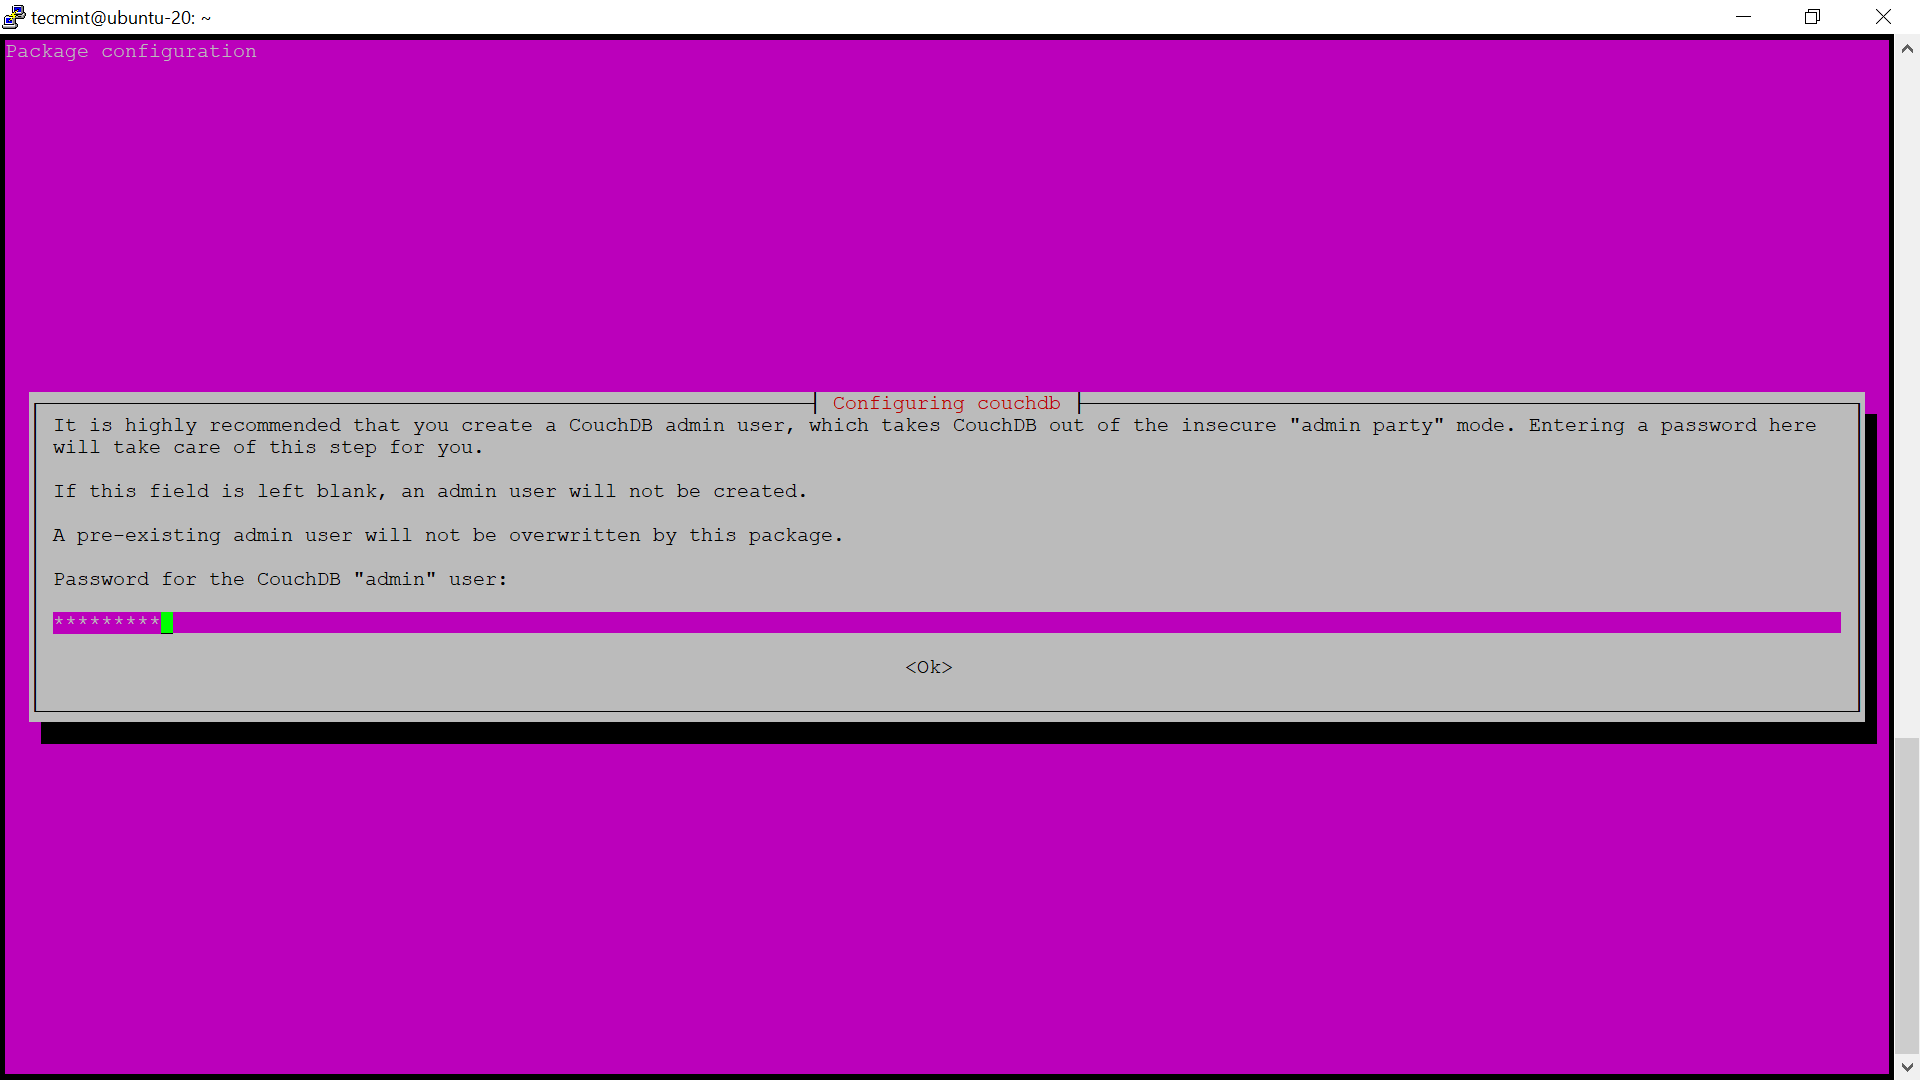
Confirm the set password to finalize your installation.
Step 3: Verify CouchDB Installation
The CouchDB server listens to TCP port 5984 by default. To quench your curiosity, run the netstat command as shown.
$ netstat -pnltu | grep 5984
To verify whether the installation was successful and the service is running, run the curl command below. You should get the following information about the CouchDB database which is printed in JSON format.
$ curl http://127.0.0.1:5984/
The output in your terminal will look like this:

Step 4: Access CouchDB Web Interface
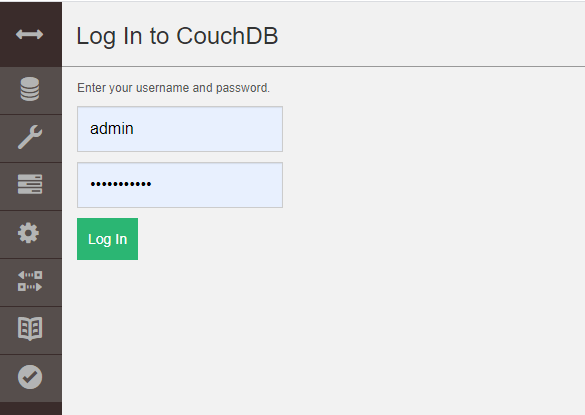
You can open your browser and browse to http://127.0.0.1:5984/_utils/ and type in the admin username and password to login to your database:
After Apache CouchDB is successfully configured and installed, use the commands below to start, enable, stop, and check its status.
$ sudo systemctl start couchdb.service
$ sudo systemctl enable couchdb.service
$ sudo systemctl stop couchdb.service
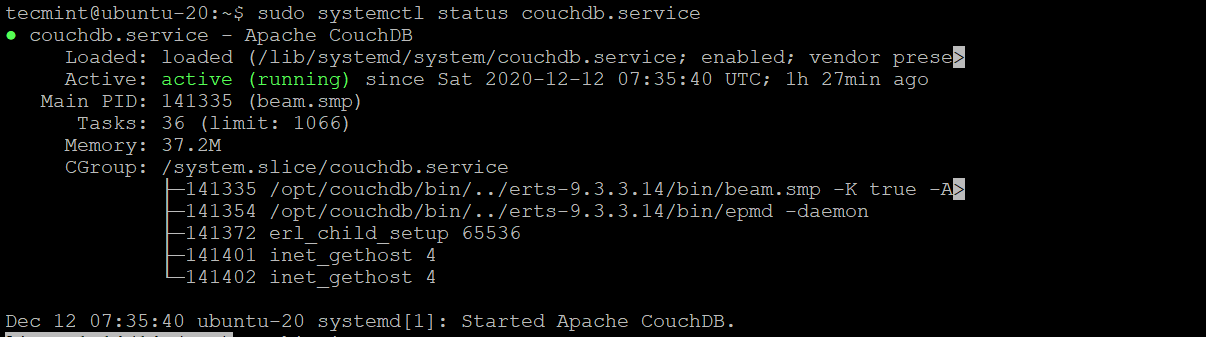
The check status command shows:
$ sudo systemctl status couchdb.service
Conclusion
For more information on CouchDB, refer to the Apache CouchDB Documentation. It’s our hope that you can now comfortably install CouchDB on Ubuntu 20.04.
