Written in Erlang language, Apache CouchDB is a free, reliable NoSQL database engine that natively supports data in JSON format. This makes it more scalable and easy to model your data as opposed to traditional SQL relational databases such as MySQL. The killer feature in CouchDB is its replication which spans a wide spectrum of computing devices and various computing environments to provide high availability and on-demand access to data.
In this guide, we take you through a step-by-step procedure of how to install and configure Apache CouchDB on CentOS 8.
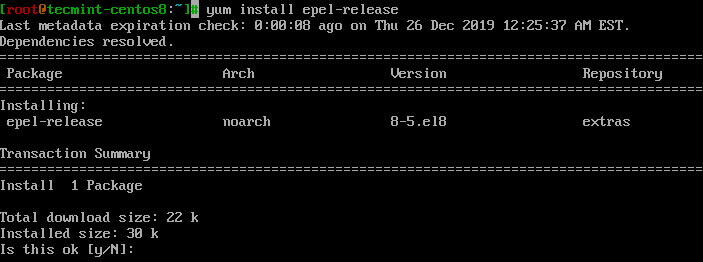
Step 1: Install the EPEL Repository
The first step in installing CouchDB is the installation of the EPEL repository on CentOS 8 using the following yum command.
# yum install epel-release
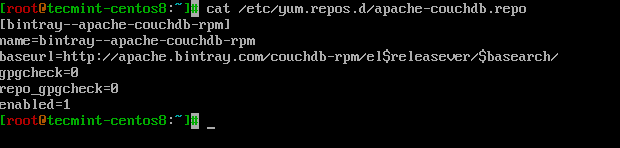
Step 2: Enable the CouchDB Repository
Having successfully installed the EPEL package, now proceed and enable the CouchDB repository by first creating a repository file as shown.
# vi /etc/yum.repos.d/apache-couchdb.repo
Next, paste the configuration below in the repository file and save.
[bintray--apache-couchdb-rpm]
name=bintray--apache-couchdb-rpm
baseurl=http://apache.bintray.com/couchdb-rpm/el$releasever/$basearch/
gpgcheck=0
repo_gpgcheck=0
enabled=1
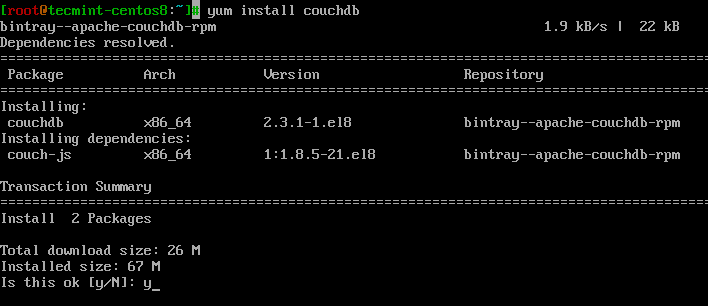
Step 3: Install CouchDB on CentOS 8
With the CouchDB repository defined in its configuration file, now proceed and install CouchDB using the command.
# yum install couchdb
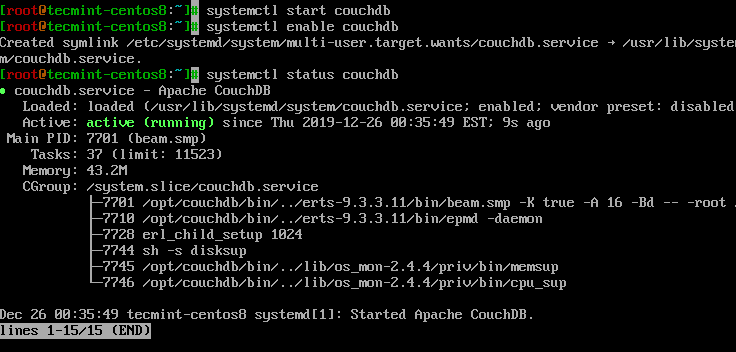
After the successful installation of CouchDB package and its dependencies, start, enable CouchDB to start on boot and verify the status by running the commands.
# systemctl start couchdb
# systemctl enable couchdb
# systemctl status couchdb
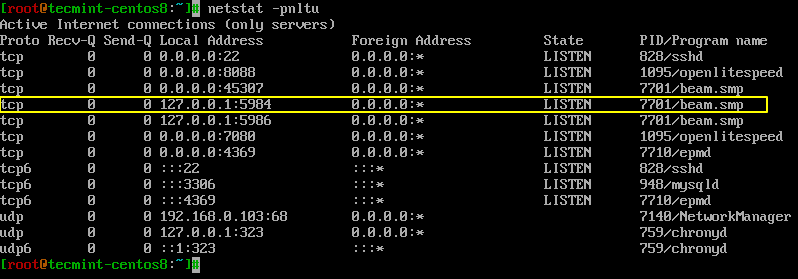
Additionally, you can verify the CouchDB listening port 5984 using the netstat command as shown.
# netstat -pnltu
Step 4: Configuration of CouchDB on CentOS 8
CouchDB can be configured either as a standalone mode or in a clustered mode. In this guide, however, we are going to configure the CouchDB server in the single-mode configuration. Also, we will configure CouchDB such that we can access it via a web browser
CouchDB’s configuration files are located in the /opt/couchdb/etc/ directory. We are going to make a few configurations in the local.ini file. So open the file using your favorite editor.
# vi /opt/couchdb/etc/local.ini
In the [admins] section, create an admin account by uncommenting the line just below it and define the password for admin in the format.
[admins]
admin = mypassword

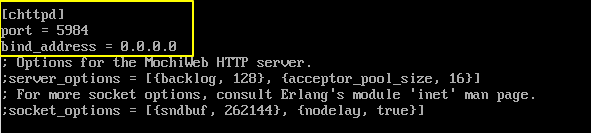
Next, scroll to the [chttpd] section. Uncomment the port and bind-address values. Also, set the bind-address to 0.0.0.0 to allow access from external IP addresses. You can later change this value for security reasons.
[chttpd]
port = 5984
bind_address = 0.0.0.0
Save the changes and exit the configuration file. For the changes to take effect, restart CouchDB.
# systemctl restart couchdb
If you are running firewalld on the server, you must open port 5984 to allow traffic CouchDB.
# firewall-cmd --zone=public --permanent --add-port=5984/tcp
# firewall-cmd --reload
Step 5: Access the CouchDB Web Interface
Going by our configuration, CouchDB should be running at localhost:5984. To confirm that CouchDB is working as expected, use the curl command to print CouchDB’s information in JSON format.
# curl http://127.0.0.1:5984/

You can further confirm that all went according to a plan by firing up your browser and browsing your server’s IP address as shown.
http://server-ip:5984/_utils/
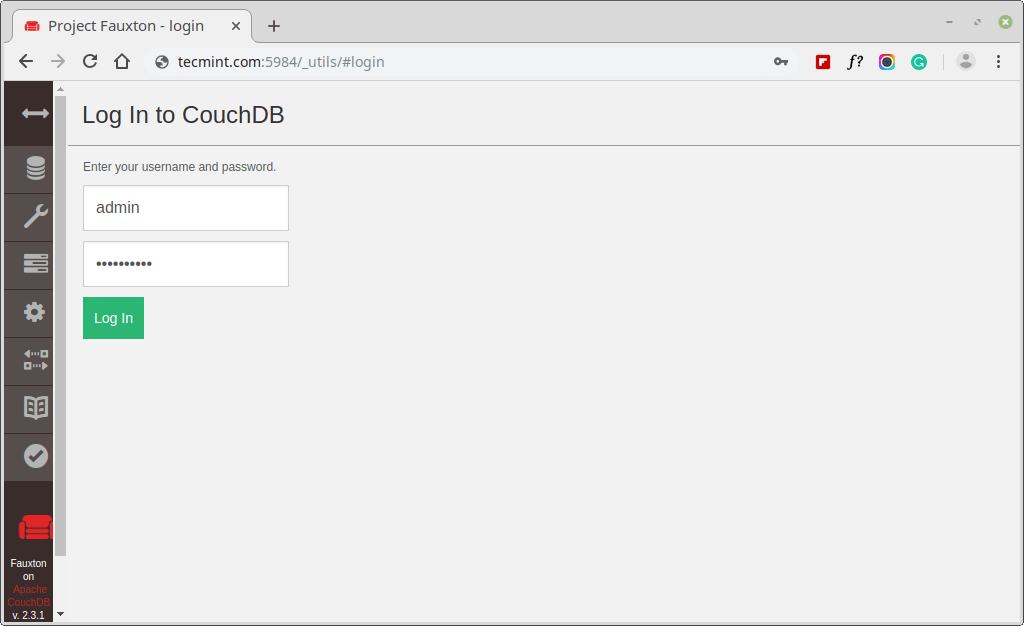
You should get the webpage below prompting you to log in using the username and password as you defined in the local.ini file and hit ENTER…
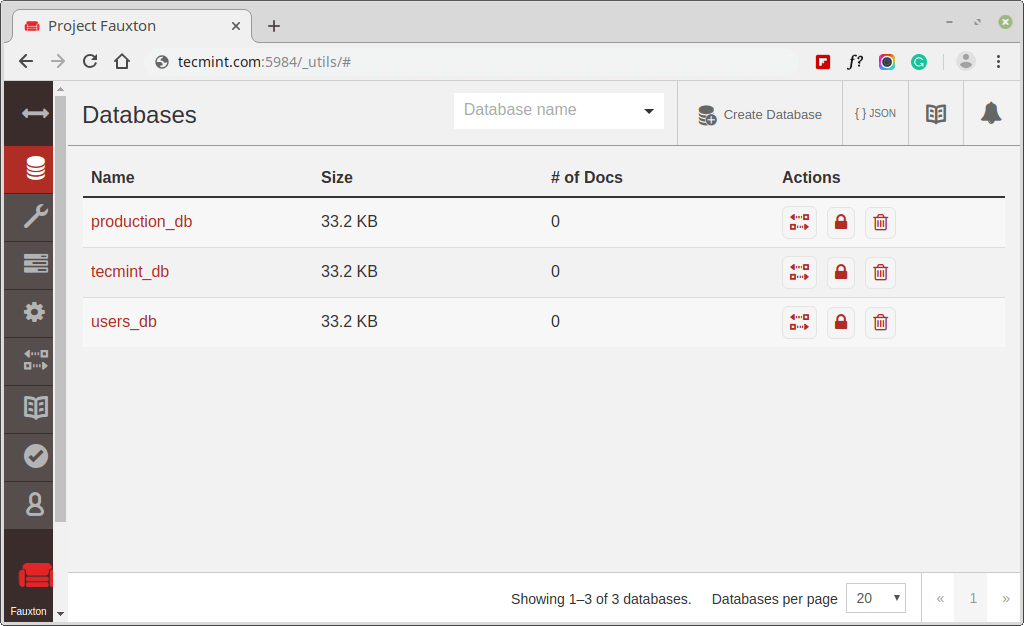
The dashboard will be displayed as shown below.
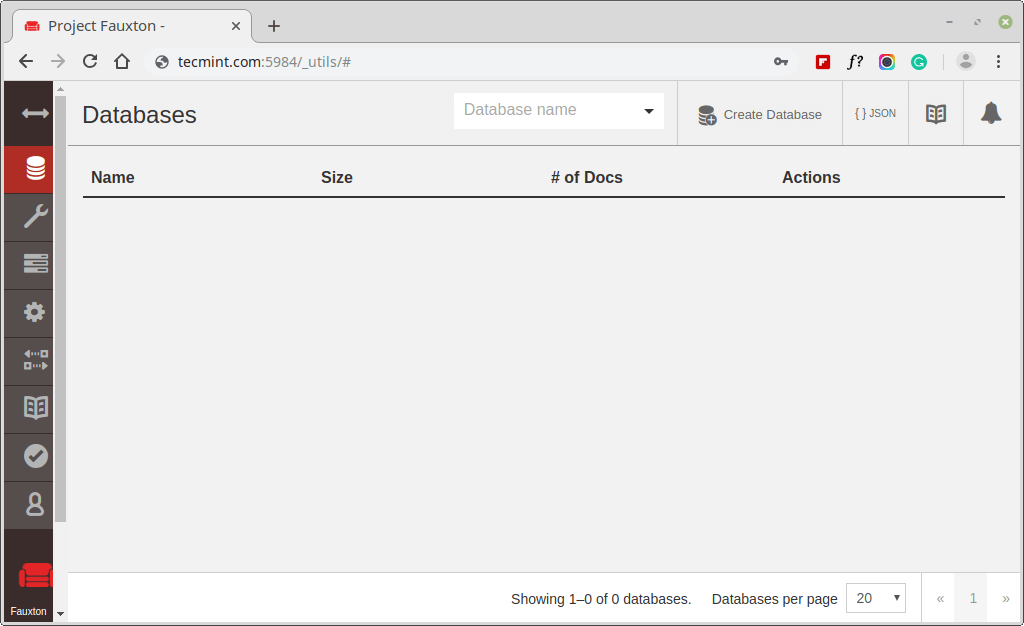
Nothing is displayed because we have not created any databases thus far. In the next section, we will create a few databases.
Step 6. Create Databases in CouchDB
To create a database in CouchDB on the terminal, use the curl command in the syntax shown.
# curl -u ADMINUSER:PASSWORD -X PUT http://127.0.0.1:5984
We are going to create 3 databases: tecmint_db, users_db, and production_db.
# curl -u admin:P@ssword123 -X PUT http://127.0.0.1:5984/production_db
# curl -u admin:P@ssword123 -X PUT  http://127.0.0.1:5984/tecmint_db
# curl -u admin:P@ssword123 -X PUT http://127.0.0.1:5984/users_db
For each command, you should get the output below.
{“Ok”: true}

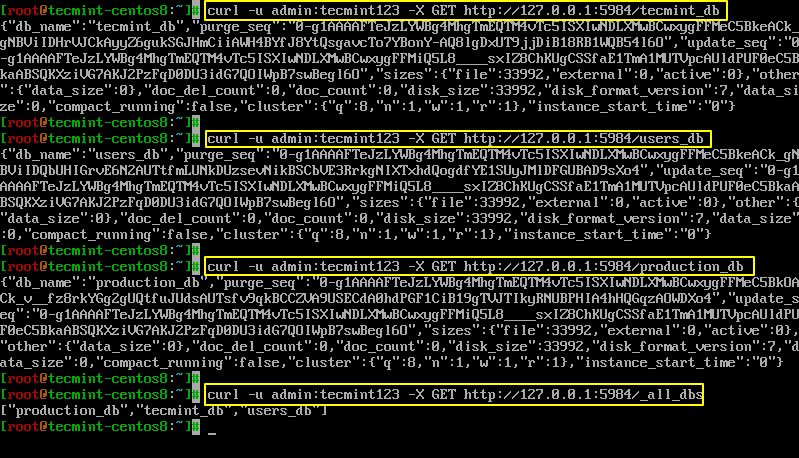
To check the databases created using the GET parameter in the command.
# curl -u admin:P@ssword123 -X GET http://127.0.0.1:5984/production_db
# curl -u admin:P@ssword123 -X GET  http://127.0.0.1:5984/tecmint_db
# curl -u admin:P@ssword123 -X GET http://127.0.0.1:5984/users_db
# curl -u admin:P@ssword123 -X GET http://127.0.0.1:5984/_all_dbs
To view the databases on your browser, simply refresh/reload your browser.
To delete a database, use the delete parameter as shown. For example, the command deletes users_db database.
# curl -u admin:P@ssword123 -X DELETE http://127.0.0.1:5984/users_db
Again to check the databases, run.
# curl -u admin:P@ssword123 -X GET http://127.0.0.1:5984/_all_dbs

As you can observe, only two databases are present as we have deleted the users_db database.
And this brings us to the end of this tutorial. We hope that you can comfortably install and configure CouchDB on CentOS 8 system.


