LEMP is a software stack that comprises a set of free and open-source tools that are used for powering high traffic, and dynamic websites. LEMP is an acronym for Linux, Nginx (pronounced as Engine X), MariaDB / MySQL and PHP.
Nginx is an open-source, robust and high-performance web server that can also double up as a reverse-proxy. MariaDB is the database system used for storing user data and PHP is a server-side scripting language used for developing and supporting dynamic web pages.
Related Article: How to Install LAMP Server on CentOS 8
In this article, you will learn how to install a LEMP server on CentOS 8 Linux distribution.
Step 1: Update Software Packages on CentOS 8
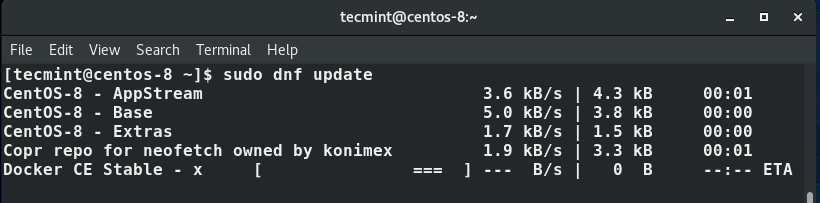
To start off, update both repository and software packages on CentOS 8 Linux by running the following dnf command.
$ sudo dnf update
Step 2: Install Nginx Web Server on CentOS 8
Upon completion of the packages update, install Nginx using the simple command.
$ sudo dnf install nginx
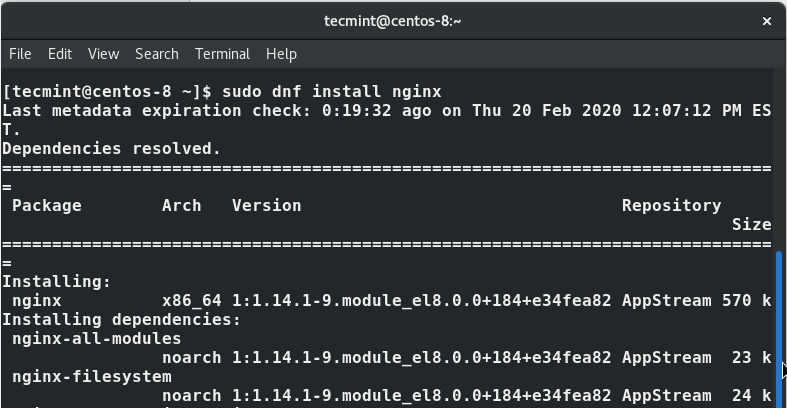
The snippet shows that the Nginx installation went well without any hiccups.
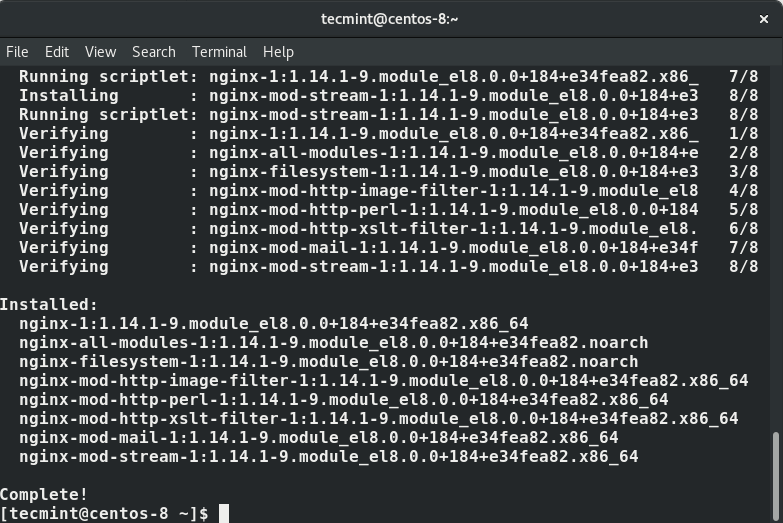
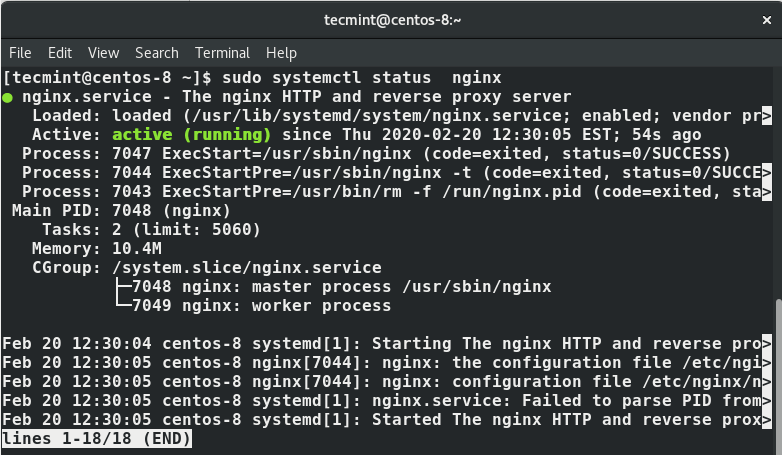
When the installation is complete, configure Nginx to start on boot and verify that Nginx is running by executing the commands.
$ sudo systemctl enable nginx
$ sudo systemctl start nginx
$ sudo systemctl status nginx
To check the Nginx version installed, run the command.
$ nginx -v

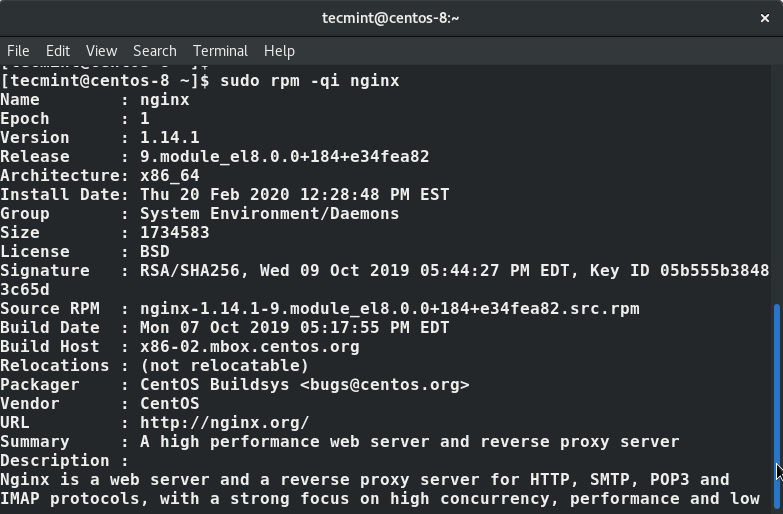
If curiosity gets the better of you, and you want to dig more information about Nginx, execute the following rpm command.
$ rpm -qi nginx
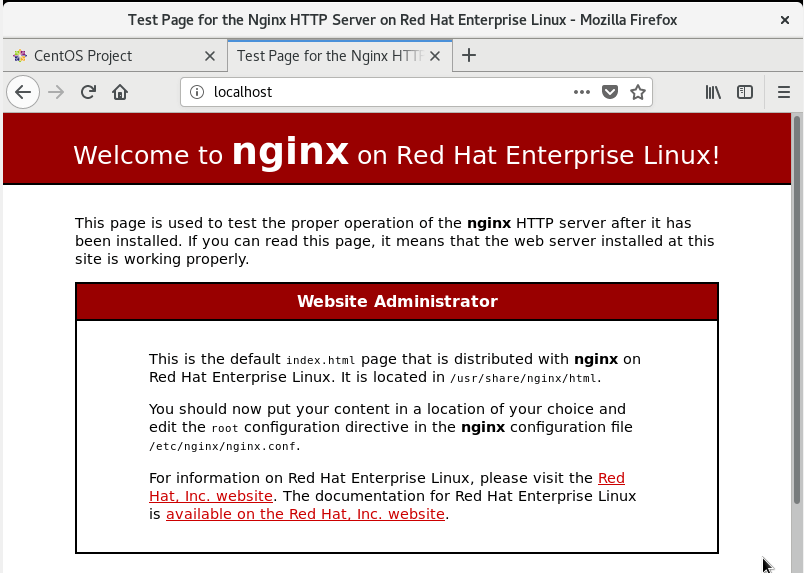
To confirm that your Nginx server is running using a browser, simply type your system’s IP address in the URL bar and hit ENTER.
http://server-IP
You should be able to see a “Welcome to Nginx” web page an indicator that your Nginx web server is up and running.
Step 3: Install MariaDB on CentOS 8
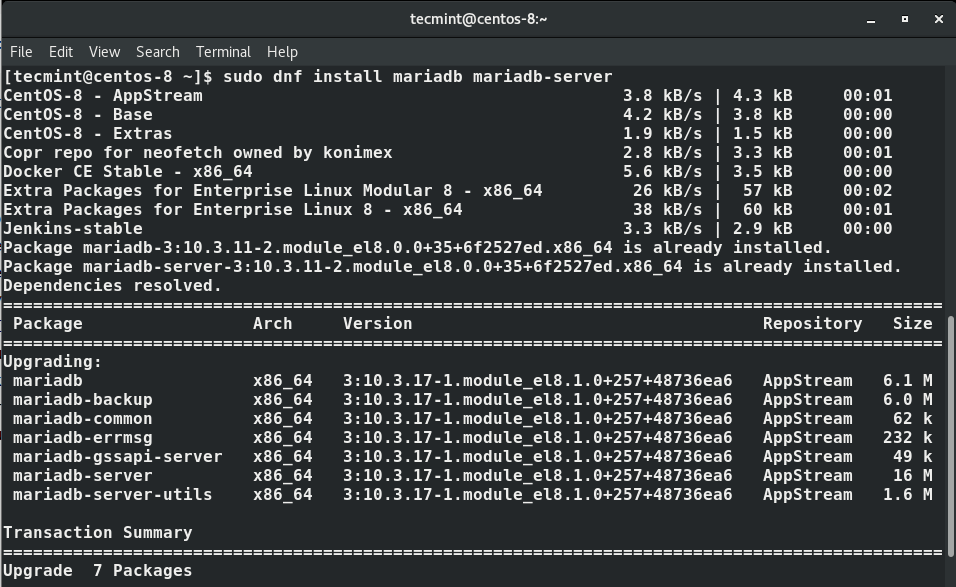
MariaDB is a free and open-source fork of MySQL and ships the latest features which make it a better replacement for MySQL. To install MariaDB, run the command.
$ sudo dnf install mariadb-server mariadb
To enable MariaDB to start at boot time automatically, run.
$ sudo systemctl enable mariadb
To start the MariaDB server, run the command.
$ sudo systemctl start mariadb
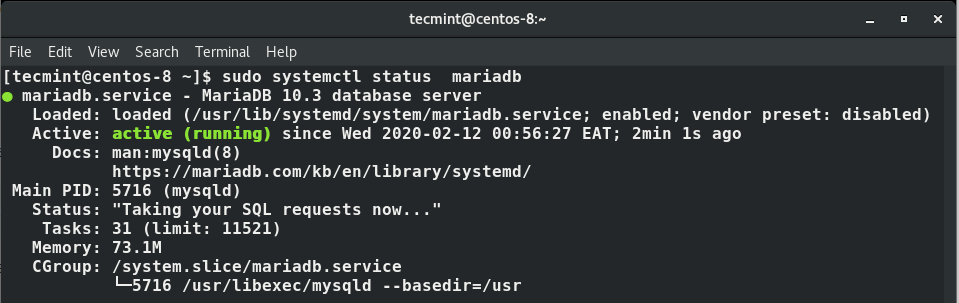
After installing it, use the command below to check its status.
$ sudo systemctl status mariadb
MariaDB database engine is insecure and anyone can log in without credentials. To harden MariaDB and secure it to minimize chances of unauthorized access, run the command.
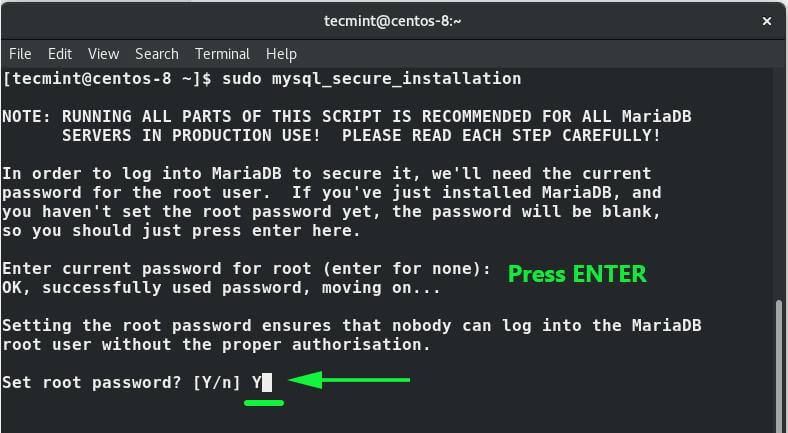
$ sudo mysql_secure_installation
What follows is a series of prompts. The first one requires you to set a root password. Hit ENTER and type Y for Yes to specify the root password.
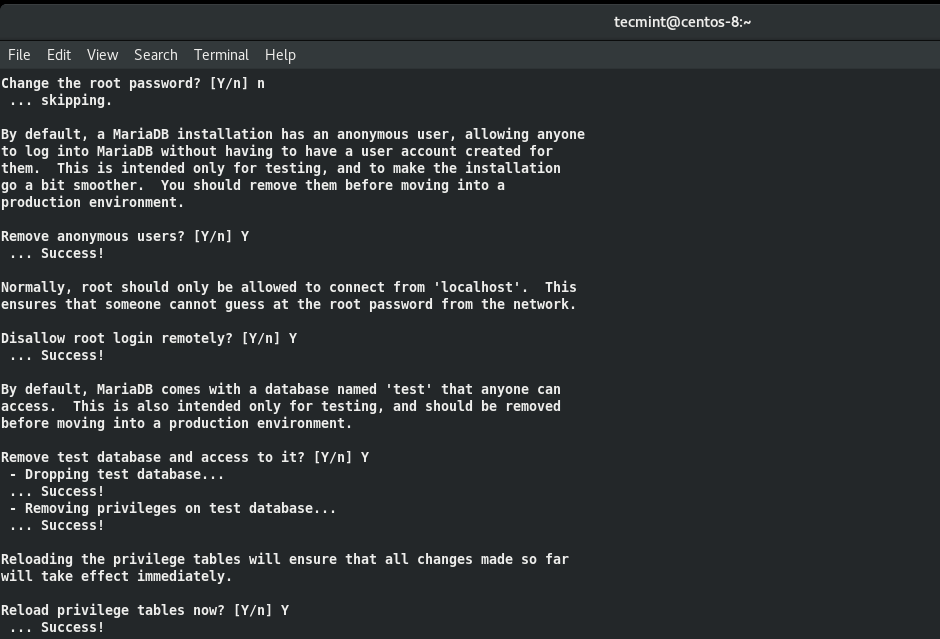
After setting the password, answer the remaining questions to remove the anonymous user, remove the test database, and disable remote root login.
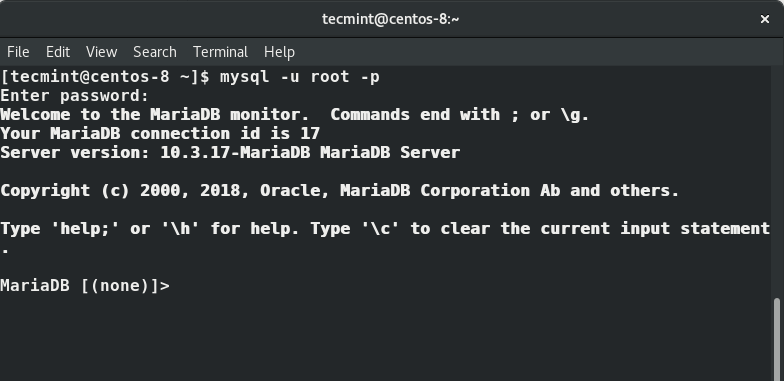
Once you’ve completed all the steps, you can log in to the MariaDB server and check the MariaDB server version info (provide the password you specified when securing the server).
$ mysql -u root -p
Step 4: Install PHP 7 on CentOS 8
Finally, we are going to install the last component LEMP stack which is PHP, a scripting web programming language commonly used for the development of dynamic web pages.
At the time of writing this guide, the latest version is PHP 7.4. We are going to install this using the Remi repository. Remi repository is a free repository that ships with the latest cutting edge software versions that are not available by default on CentOS.
Run the command below to install the EPEL repository.
$ sudo dnf install https://dl.fedoraproject.org/pub/epel/epel-release-latest-8.noarch.rpm
Thereafter, proceed and install yum-utils and enable remi-repository using the command below.
$ sudo dnf install dnf-utils http://rpms.remirepo.net/enterprise/remi-release-8.rpm
Next, search for the available PHP modules that are available to install.
$ sudo dnf module list php
As shown, the output will display the available PHP modules, stream and installation profiles. From the output below, we can see that the currently installed version is PHP 7.2 indicated by a letter d enclosed in square brackets.
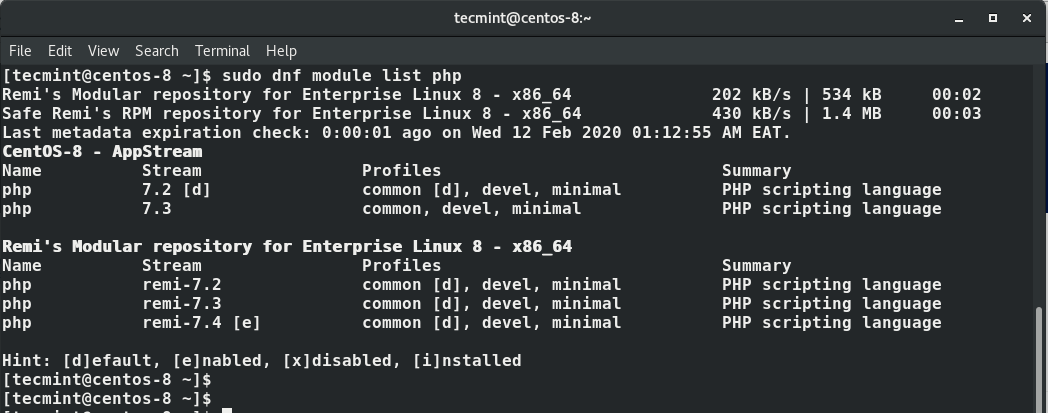
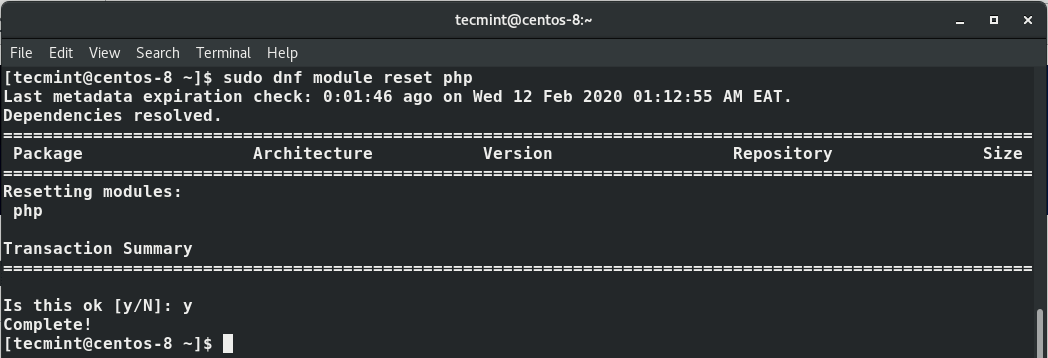
From the output, we can also see that the latest PHP module is PHP 7.4 which we are going to install. But first, we need to reset the PHP modules. So run the command.
$ sudo dnf module reset php
Next, enable the PHP 7.4 module by running.
$ sudo dnf module enable php:remi-7.4

With PHP 7.4 module enabled, finally install PHP, PHP-FPM (FastCGI Process Manager) and associated PHP modules using the command.
$ sudo dnf install php php-opcache php-gd php-curl php-mysqlnd
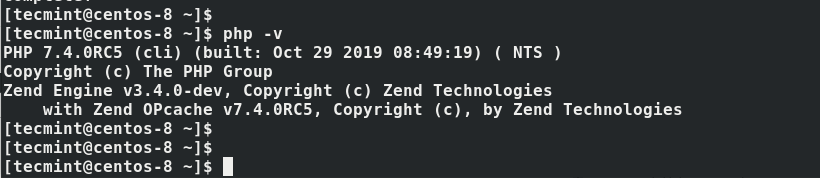
Now, verify the version installed.
$ php -v
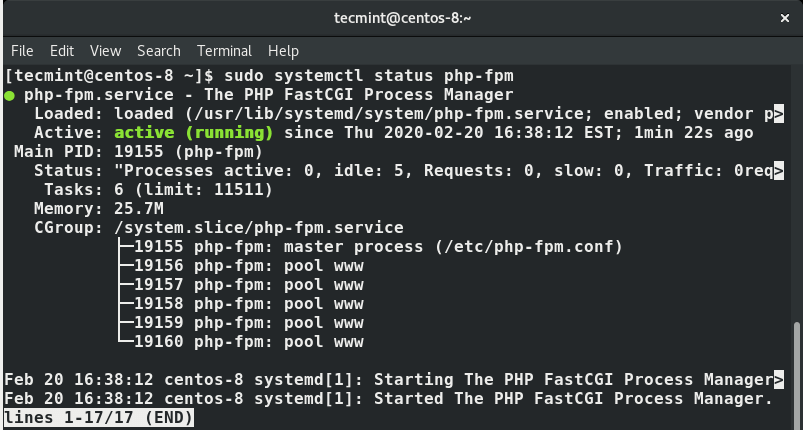
Next, enable and start php-fpm.
$ sudo systemctl enable php-fpm
$ sudo systemctl start php-fpm
To check its status execute the command.
$ sudo systemctl status php-fpm
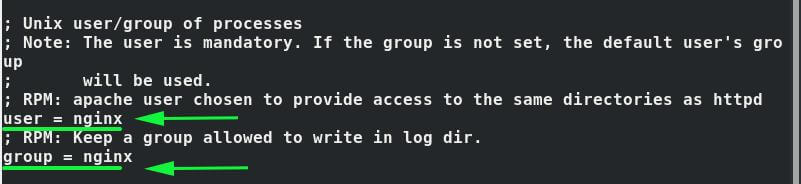
Another thing is that by default, PHP-FPM is configured to run as the Apache user. But since We are running an Nginx web server, we need to change this to Nginx user.
So open the file /etc/php-fpm.d/www.conf.
$ vi /etc/php-fpm.d/www.conf
locate these two lines.
user = apache
group = apache
Now change both values to Nginx.
user = nginx
group = nginx
Save and exit the configuration file.
Then restart Nginx and PHP-FPM for the changes to come into effect.
$ sudo systemctl restart nginx
$ sudo systemctl restart php-fpm
Step 5: Testing of PHP Information
By default, the web directory folder for Nginx is in the /usr/share/nginx/html/ path. To test PHP-FPM, we are going to create a PHP file info.php and paste the lines below.
<?php
 phpinfo();
?>
Save and exit the file.
Launch your browser, and in the URL bar, type your web server’s IP address as shown.
http://server-ip-address/info.php
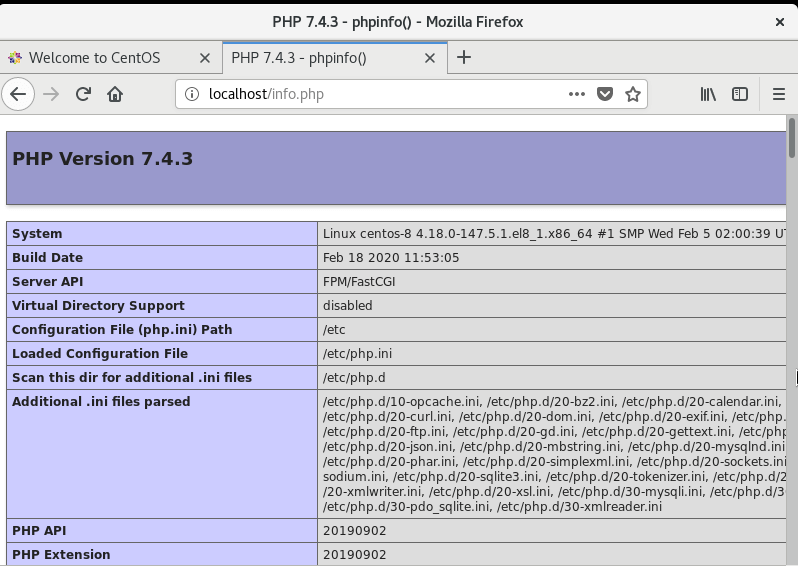
If all went well, you will see information about the version of PHP you are running and other metrics will be displayed.
And that’s it, folks! You have successfully installed the LEMP server stack on CentOS 8. As a security precaution, you might want to remove the info.php file to prevent hackers from obtaining the information from your Nginx server.


Hi there, quick question, I followed this tutorial to the letter, however when I check info.php it downloads the file instead of opening it, why is this?
Thanks for the tutorial…
@Adrian,
Please install all PHP modules as shown in the article and restart the Nginx…