Nginx is the fastest growing Webserver today on public internet-facing servers due to its free open-source modular model, high performance, stability, simple configurations files, asynchronous architecture (event-driven), and low resources needed to run.
This tutorial will guide you on installing the latest stable version of Nginx on RHEL-based distributions from sources because official system repositories don’t provide a binary package.
If you want to avoid sources installation you can add an official Nginx repository and install the binary package with the help of the yum or dnf package manager as shown:
[ez-toc]
Method 1: Install NGINX Using Yum Repository
Before you install nginx, you need to enable the nginx packages repository on RHEL and its derivatives such as CentOS, Rocky Linux, AlmaLinux, and Oracle Linux. Afterward, you can install and update nginx from the repository.
First, install the yum-utils package as shown.
# yum install yum-utils
To enable the nginx official yum repository, create the file named /etc/yum.repos.d/nginx.repo with the following contents:
[nginx-stable]
name=nginx stable repo
baseurl=http://nginx.org/packages/centos/$releasever/$basearch/
gpgcheck=1
enabled=1
gpgkey=https://nginx.org/keys/nginx_signing.key
module_hotfixes=true

Next, you can install and update nginx from the repository.
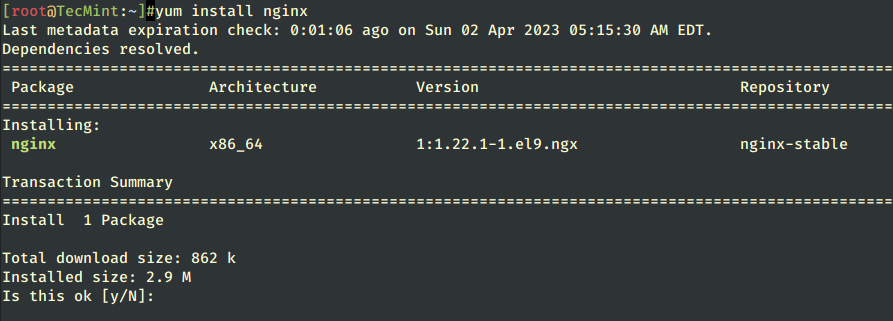
# yum install nginx
Important: Please note, following the above official nginx yum repositories will give you an older version of nginx, if you really want to build the most recent version of Nginx, then I suggest you follow the source installation as shown below.
Using sources compilation and installation has some benefits because you can install the latest version available, you can tweak Nginx configuration by adding or removing modules, and change the installation system path, or other important settings, in other words, you have complete control over the installation process.
Method 2: Compiling and Installing NGINX from Source
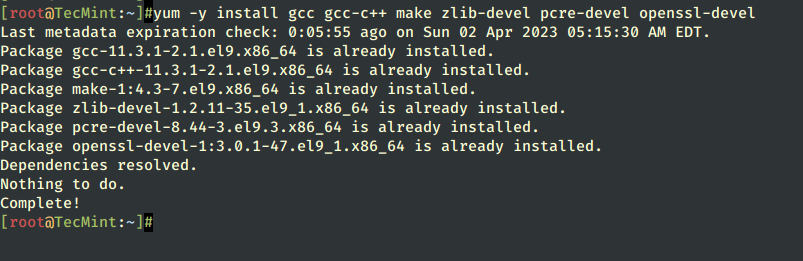
Before starting the Nginx compilation and installation process make sure that you have a C/C++ compiler, PCRE (Perl Compatible Regular Expressions), Zlib Compression Library, and OpenSSL (if you intend to run Nxing with SSL support) packages installed on your machine by issuing the following command.
# yum -y install gcc gcc-c++ make zlib-devel pcre-devel openssl-devel
Download Nginx Source
Now, go to the Nginx download page and grab the latest stable version of the Nginx source tarball using the following wget command, then extract the nginx archive and move into Nginx extracted directory as shown.
# wget http://nginx.org/download/nginx-1.23.4.tar.gz
# tar xfz nginx-1.23.4.tar.gz
# cd nginx-1.23.4
# ls -all

Compile Nginx from Source
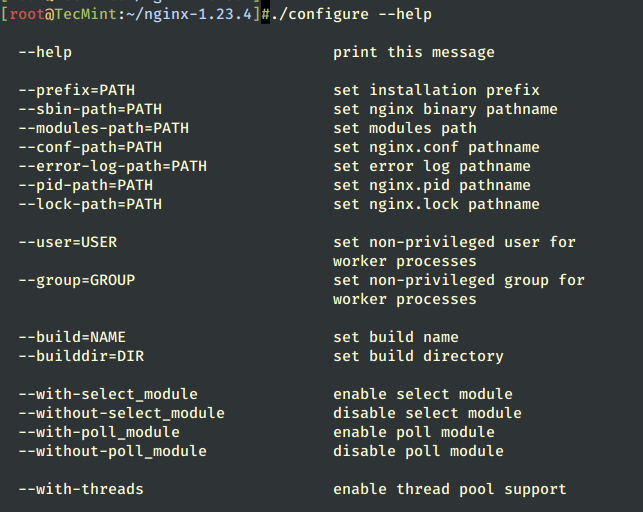
The next step is to customize the Nginx installation process using the configure file to visualize configuration options and modules needed for the Nginx compilation process using the following command.
# ./configure --help
Now it’s time to compile Nginx with your specific configurations and enabled or disabled modules. For this tutorial, the following modules and specifications were used, but you can tweak the compilation to whatever suits your needs.
--user=nginx– set the system user that Nginx will run as.--group=nginx– set the system group that Nginx will run as.--prefix=/etc/nginx– directory for server files (nginx.conf file and other configuration files) – default is /usr/local/nginx directory.--sbin-path=/usr/sbin/nginx– Nginx executable file location.--conf-path=/etc/nginx/nginx.conf– sets the name for the nginx.conf configuration file – you can change it.--error-log-path=/var/log/nginx/error.log– sets Nginx error log file location.--http-log-path=/var/log/nginx/access.log– sets Nginx access log file location.--pid-path=/var/run/nginx.pid– sets the name for the main process ID file.--lock-path=/var/run/nginx.lock– sets the name for the Nginx lock file.--with-http_ssl_module– enables building the HTTPS module – not built by default and requires an OpenSSL library.--with-pcre– sets the path to the sources of the PCRE library – not built by default and requires a PCRE library.
To view, a list of all Nginx modules visit the Nginx docs web page at http://wiki.nginx.org/Modules.
If you don’t need a specific module installed on Nginx you can disable it using the following command.
--without-module_name
Now start to compile Nginx by issuing the following command, which will use all the configurations and modules discussed above (make sure the command stays on a single line).
# ./configure --user=nginx --group=nginx --prefix=/etc/nginx --sbin-path=/usr/sbin/nginx --conf-path=/etc/nginx/nginx.conf --error-log-path=/var/log/nginx/error.log --http-log-path=/var/log/nginx/access.log --pid-path=/var/run/nginx.pid --lock-path=/var/run/nginx.lock --with-http_ssl_module --with-pcre
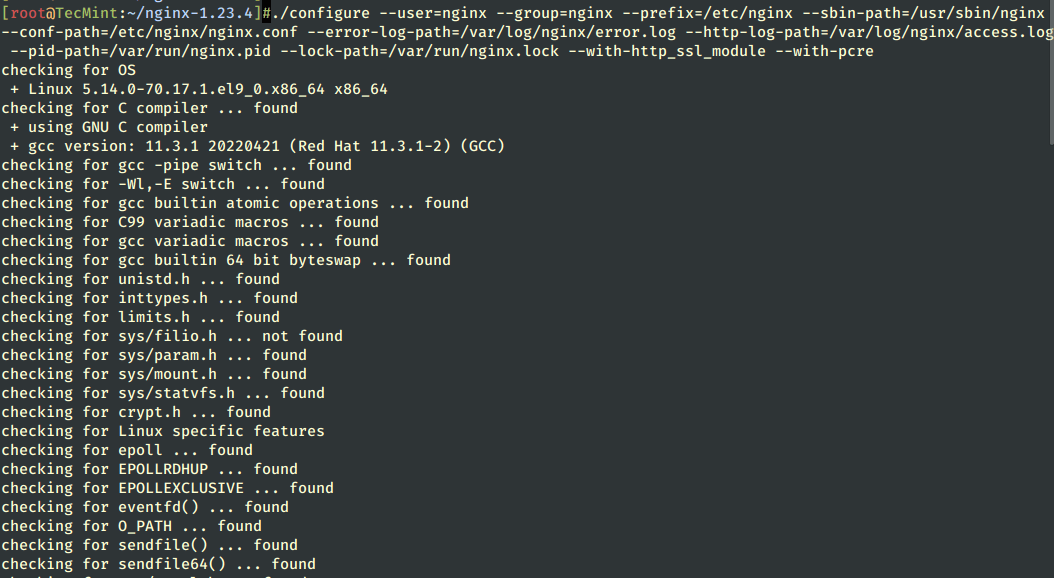
After the compilation process verifies all system-required utilities like GNU C compiler, PCRE, and OpenSSL libraries, it creates the make.conf file and outputs a summary of all configurations.
Configuration summary
  + using system PCRE2 library
  + using system OpenSSL library
  + using system zlib library

  nginx path prefix: "/etc/nginx"
  nginx binary file: "/usr/sbin/nginx"
  nginx modules path: "/etc/nginx/modules"
  nginx configuration prefix: "/etc/nginx"
  nginx configuration file: "/etc/nginx/nginx.conf"
  nginx pid file: "/var/run/nginx.pid"
  nginx error log file: "/var/log/nginx/error.log"
  nginx http access log file: "/var/log/nginx/access.log"
  nginx http client request body temporary files: "client_body_temp"
  nginx http proxy temporary files: "proxy_temp"
  nginx http fastcgi temporary files: "fastcgi_temp"
  nginx http uwsgi temporary files: "uwsgi_temp"
  nginx http scgi temporary files: "scgi_temp"
Build Nginx from Source
The last step is to build the binaries using make command, which can take some time to finish depending on your machine resources, and install Nginx on your system with make install command.
Be careful that the make install command requires root privileges to perform the installation, so if you’re not logged in with a root account use a privileged user with sudo.
# make
# make install
After the installation process has finished with success, add the nginx system user (with /etc/nginx/ as his home directory and with no valid shell), the user that Nginx will run as by issuing the following useradd command.
# useradd -d /etc/nginx/ -s /sbin/nologin nginx

Configure Nginx File
While compiling, we had specified that Nginx will run from the nginx system user, open nginx.conf file and change the user statement to nginx.
# nano /etc/nginx/nginx.conf
OR
# vi /etc/nginx/nginx.conf
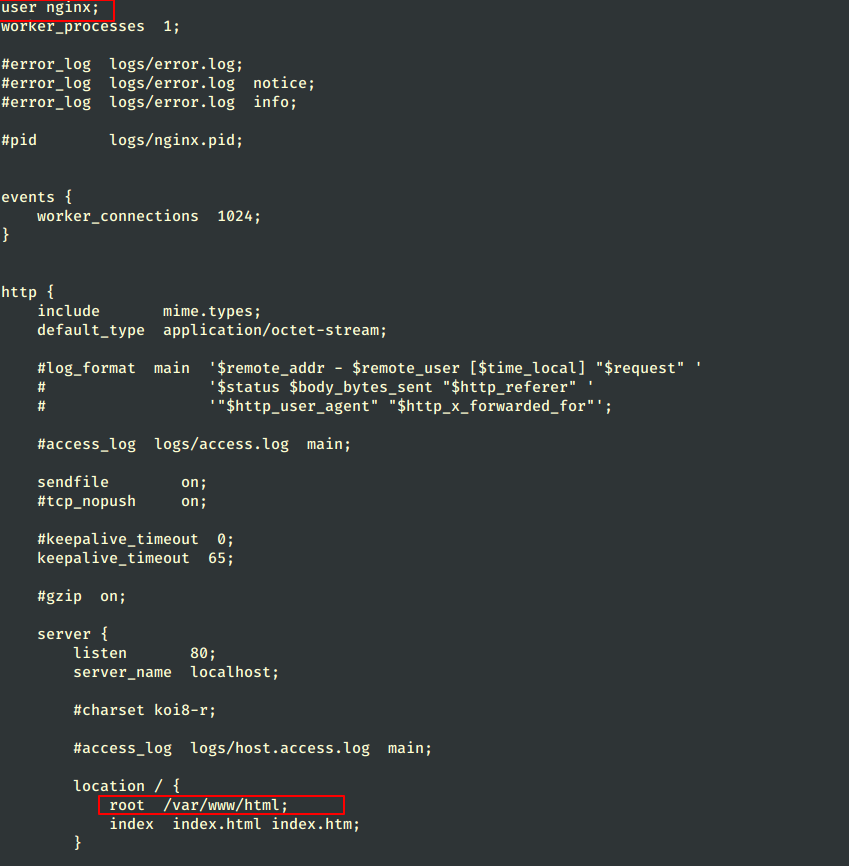
Here locate and change the user and, also, document root location statements, with the following options.
user nginx;
location / {
                root /var/www/html;
                autoindex on;
                index index.html index.htm;
Before starting Nginx, assure that you have created the web document root path, then start nginx using the following command.
# mkdir -p /var/www/html
# /usr/sbin/nginx
If you want to check if Nginx is running using your shell prompt, run the netstat command to verify TCP connection.
# netstat -tulpn | grep nginx

Open Nginx on Firewalld
To verify Nginx from a remote system, add a Firewall rule to open connection to outside on Port 80 and 443.
# firewall-cmd --permanent --add-service=http
# firewall-cmd --permanent --add-service=https
# systemctl restart firewalld
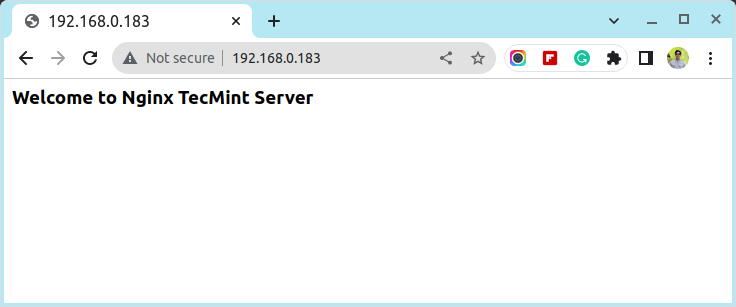
Finally, open a browser, and direct the URL to your server IP Address at:
http://server_IP
Manage Nginx Service
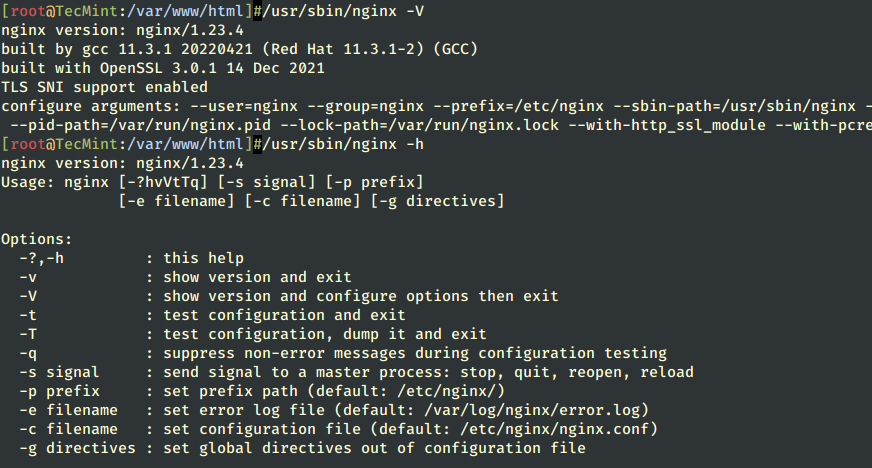
To manage the Nginx process use the following commands.
# /usr/sbin/nginx -V         [show Nginx modules and configurations]
# /usr/sbin/nginx -h         [help options]
# /usr/sbin/nginx -t         [check configuration file]
# /usr/sbin/nginx            [start Nginx process]
# /usr/sbin/nginx -s stop    [stop Nginx process]
# /usr/sbin/nginx -s reload  [reload Nginx process]
If you need to manage the Nginx daemon process through a systemd script, create the following file on /lib/systemd/system/nginx.service, and, then, you can use systemctl commands to manage the process.
# vi /lib/systemd/system/nginx.service
Add the following file content.
[Unit]
Description=The NGINX HTTP and reverse proxy server
After=syslog.target network-online.target remote-fs.target nss-lookup.target
Wants=network-online.target

[Service]
Type=forking
PIDFile=/run/nginx.pid
ExecStartPre=/usr/sbin/nginx -t
ExecStart=/usr/sbin/nginx
ExecReload=/usr/sbin/nginx -s reload
ExecStop=/bin/kill -s QUIT $MAINPID
PrivateTmp=true

[Install]
WantedBy=multi-user.target
After the Nginx systemd file is created, manage the daemon using the below commands.
# systemctl start nginx
# systemctl stop nginx
# systemctl status nginx
That’s all! Now you have the latest version of Nginx installed on your RHEL-based distributions. In the next tutorial, I will discuss how to install and enable the PHP-FPM process manager through Nginx FastCGI Gateway.


Thank you for great post!
For me as beginner of centos & nginx, your post is simple &clear.thank you!