VirtualBox Guest Additions are a collection of device drivers and system applications designed to achieve closer integration between the host and guest operating systems. They help to enhance the overall interactive performance and usability of guest systems.
Read Also: How to Install VirtualBox Guest Additions in CentOS
The VirtualBox Guest Additions offer the following features:’
- Easy mouse pointer integration.
- Easy way to share folders between the host and the guest.
- Drag and drop feature allows copying or opening files, copy clipboard formats from the host to the guest or from the guest to the host.
- Share clipboard (for copy and paste) of the guest operating system with your host operating system.
- Better video support provides accelerated video performance.
- Better Time synchronization between guest and host.
- Standard host/guest communication channels.
- Seamless Windows features allows you to run windows of your guest operating system seamlessly next to the windows of your host.
The VirtualBox Guest Additions should be installed inside a virtual machine after the guest operating system has been installed.
In this article, we will explain how to install VirtualBox Guest Additions on Ubuntu and Debian based distributions such Linux Mint.
How to Install VirtualBox Guest Additions in Ubuntu
1. First start by updating your Ubuntu guest operating system software packages using following command.
$ sudo apt update
$ sudo apt upgrade
2. Once upgrade completes, reboot your Ubuntu guest operating system to effect the recent upgrades and install required packages as follows.
$ sudo apt install build-essential dkms linux-headers-$(uname -r)
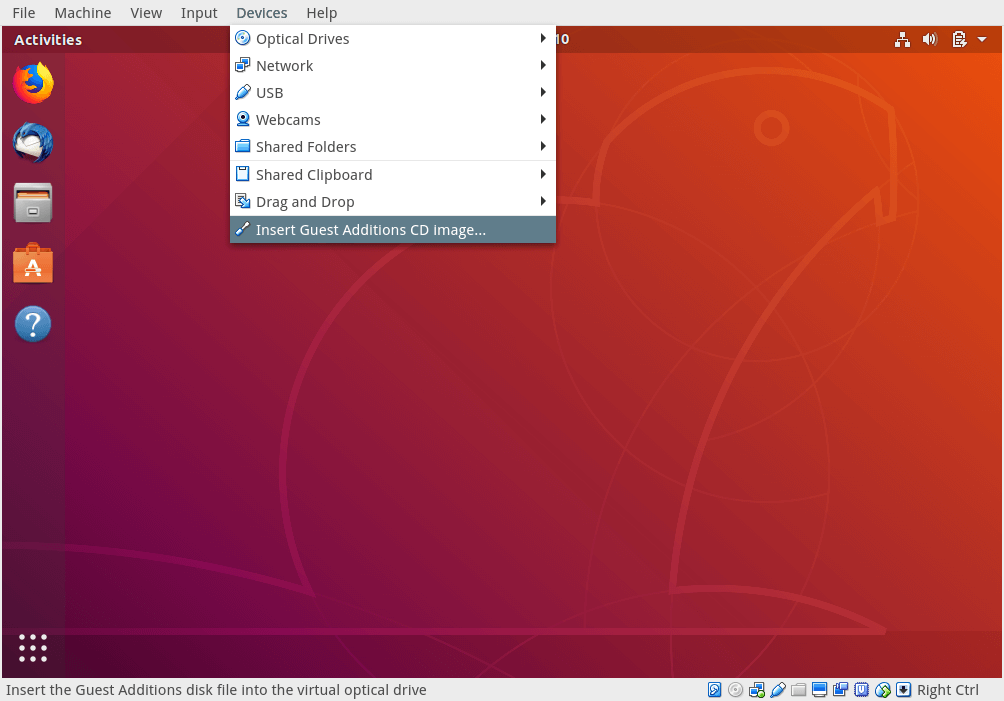
3. Next, from the Virtual Machine menu bar, go to Devices => click on Insert Guest Additions CD image as shown in the screenshot. This helps to mount the Guest Additions ISO file inside your virtual machine.
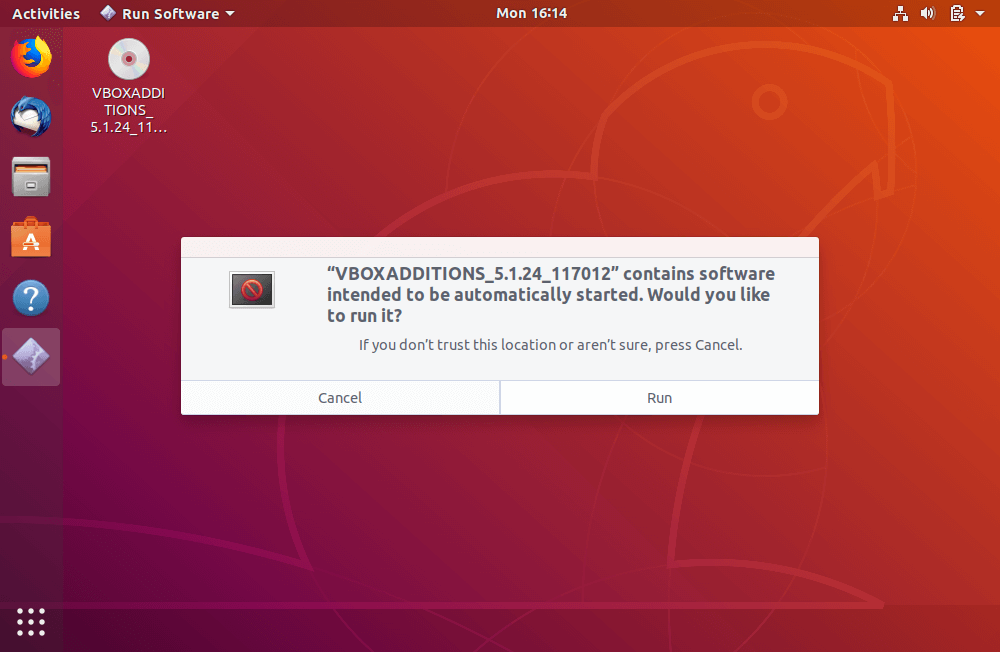
4. Next, you will get a dialog window, prompting you to Run the installer to launch it.
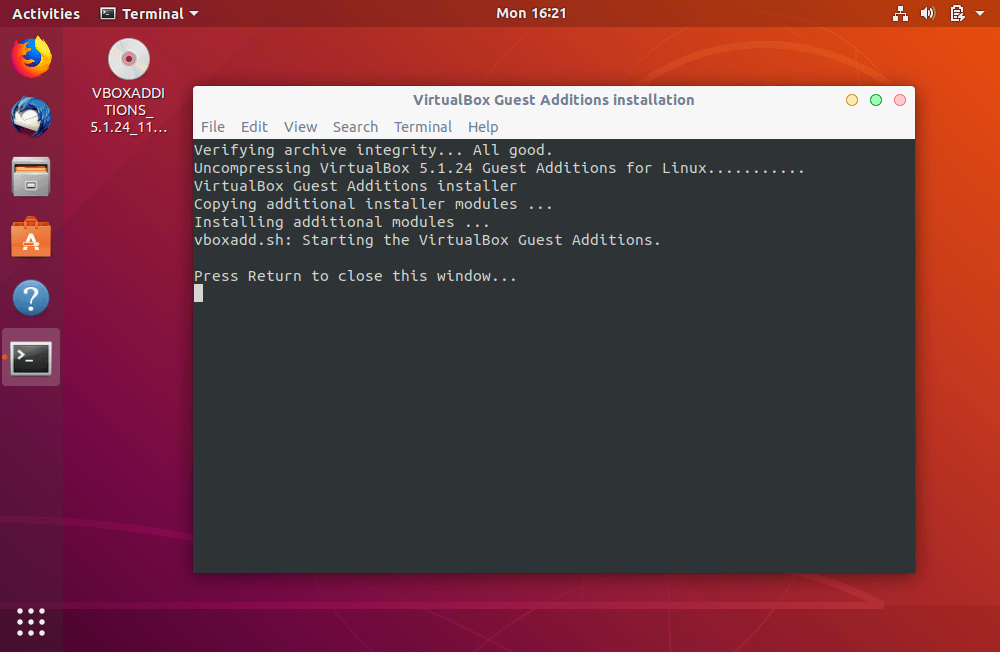
5. A terminal window will be opened from which the actual installation of VirtualBox Guest Additions will be performed. Once the installation is complete, press [Enter] to close the installer terminal window. Then power off your Ubuntu guest OS to change some settings from VirtualBox manager as explained in the next step.
6. Now to enable Shared Clipboard and Drag’n’Drop functionality between Guest and Host Machine. Go to General => Advanced and enable the two options (Shared Clipboard and Drag’n’Drop) as you wish, from the drop down options. Then click OK to save the settings and boot your system, login and test if everything is working fine.

Congratulations! You have successfully installed VirtualBox Guest Additions on Ubuntu and Debian based distributions such Linux Mint.
Read Also: How to Enable USB in VirtualBox
If you face any problems during installation, use the feedback form below to ask any questions or share your thoughts about this article.