For those who cannot afford the hustles of developing websites from scratch, there are now several content management systems (CMSs) such as WordPress that you can take advantage of to set up blogs as well as complete websites with a few clicks.
WordPress is a powerful, free, and open-source, highly pluggable, and customizable CMS that is being used by millions around the world to run blogs and fully functional websites.
It is easy to install and learn, especially for persons who do not have prior website design and development knowledge. With millions of plugins and themes available, developed by an active and dedicated community of fellow users and developers, that you can utilize to tailor your blog or website to work and look just the way you want.
Requirements:
- A dedicated Ubuntu server with a registered domain name, I suggest you go for Linode hosting, which offers $100 credit to try it for free.
In this post, we shall run through the various steps you can follow, to install the latest version of WordPress on Ubuntu 20.04, Ubuntu 18.04, and Ubuntu 16.04 with LAMP (Linux, Apache, MySQL, and PHP) stack.
Install LAMP Stack on Ubuntu Server
First, we shall uncover the various steps for the installation of the LAMP stack before progressing to install WordPress.
Step 1: Install Apache Web Server on Ubuntu
First, update and upgrade the software package list and then install the Apache webserver using the following commands.
$ sudo apt-get update
$ sudo apt-get upgrade
$ sudo apt-get install apache2 apache2-utils
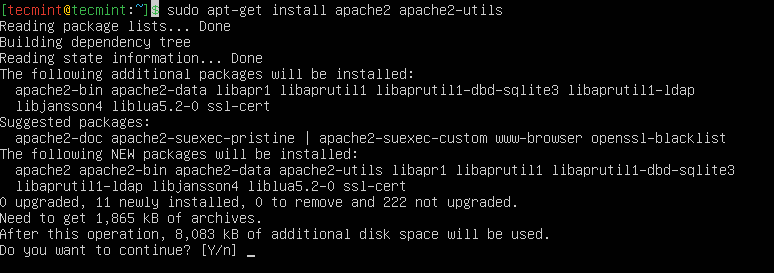
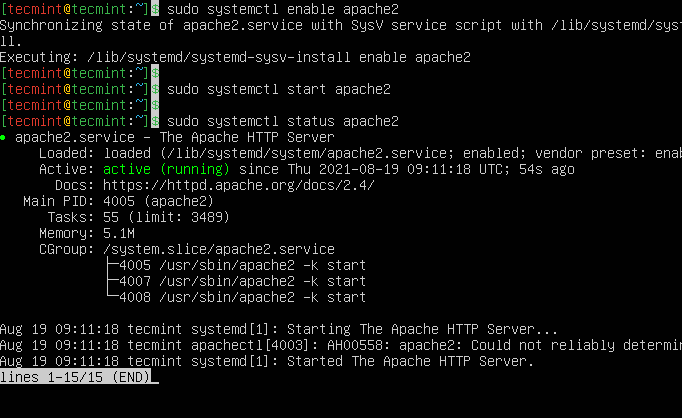
We need to enable the Apache2 web server to start at system boot time, as well as start the service and verify the status as follows:
$ sudo systemctl enable apache2
$ sudo systemctl start apache2
$ sudo systemctl status apache2
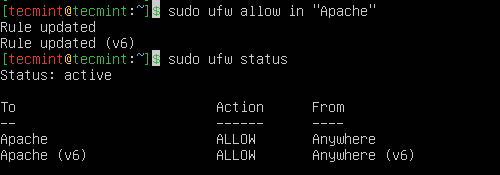
Once you’ve started Apache, you then need to allow HTTP traffic on your UFW firewall as shown.
$ sudo ufw allow in "Apache"
$ sudo ufw status
To test whether the Apache server is running, open your web browser and enter the following URL in the address bar.
http://server_address
OR
http://your-domain.com
The Apache2 default index page will be displayed in case the webserver is up and running.
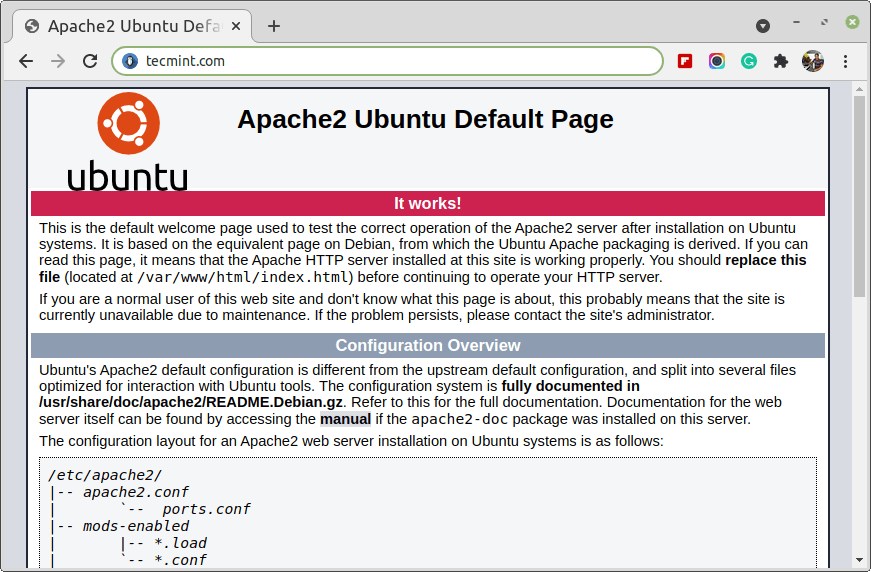
Note: The Apache default root directory is /var/www/html, all your web files will be stored in this directory.
Step 2: Install MySQL Database Server
Next, we need to install the MySQL database server by running the command below:
$ sudo apt-get install mysql-client mysql-server
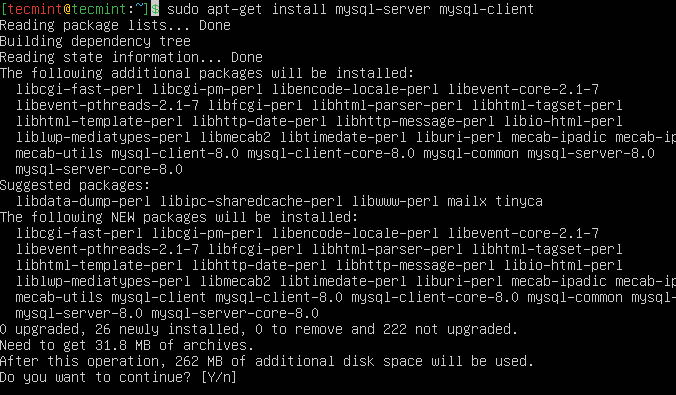
If you want to install MariaDB, you can install it using the following command.
$ sudo apt-get install mariadb-server mariadb-client
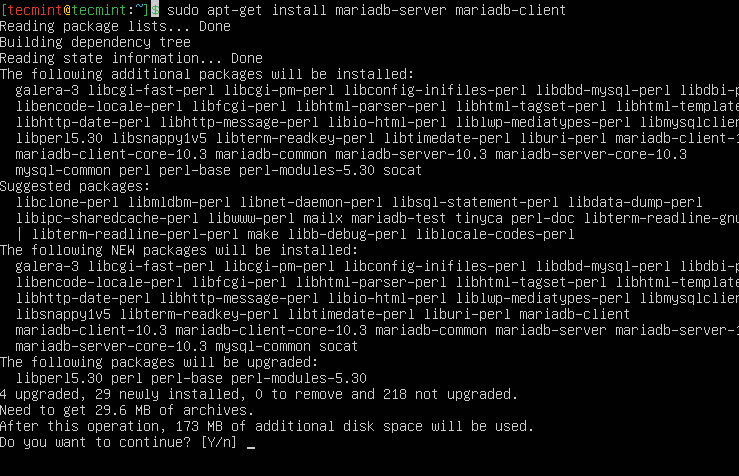
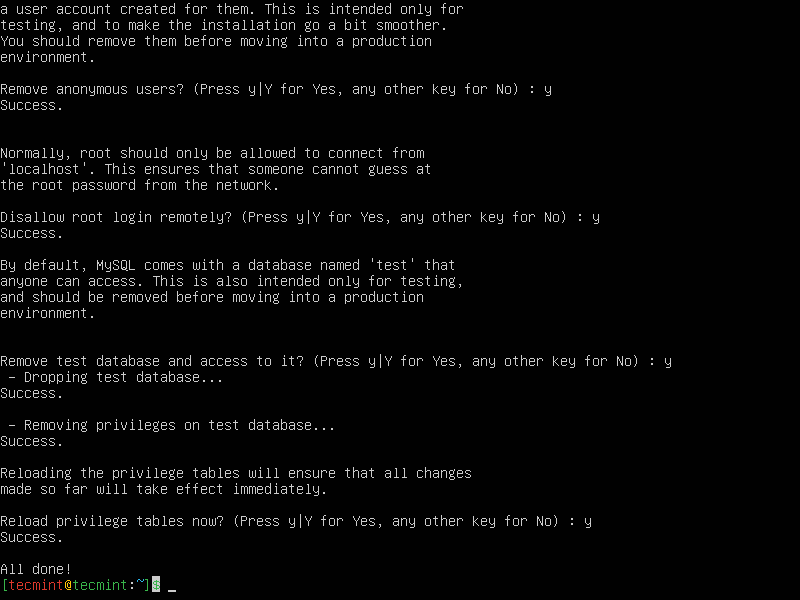
Once the database server is installed, it is strongly advised that you run a security script to remove insecure default settings and protect your database system.
$ sudo mysql_secure_installation
Firstly, you will be asked to install the ‘validate_password’ plugin, so type in Y/Yes and press Enter and also choose the default password strength level.
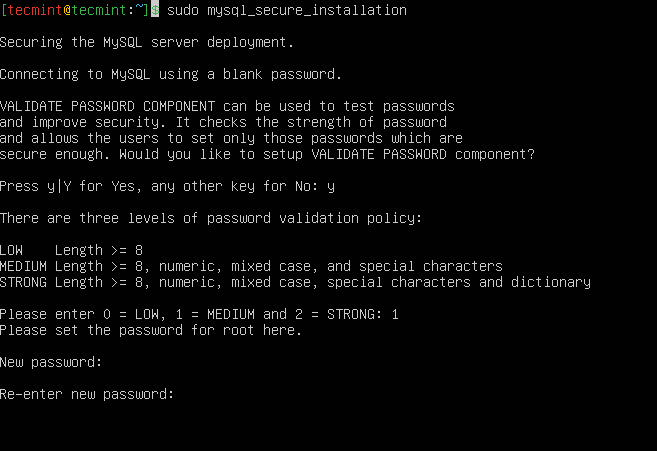
For the remaining questions, press Y and hit the ENTER key at each prompt.
Step 3: Install PHP in Ubuntu
Last but not least, we shall install PHP and a few modules for it to work with the web and database servers using the command below:
$ sudo apt-get install php libapache2-mod-php php-mysql php-curl php-gd php-mbstring php-xml php-xmlrpc php-soap php-intl php-zip
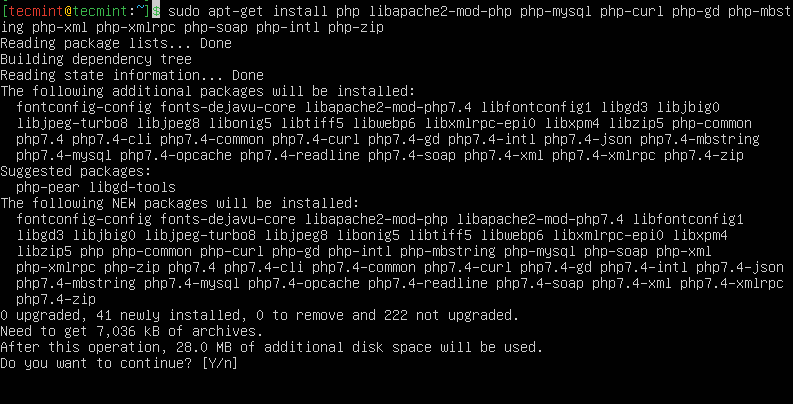
Once PHP and all required extensions are installed, you need to restart Apache to load these new extensions.
$ sudo systemctl restart apache2
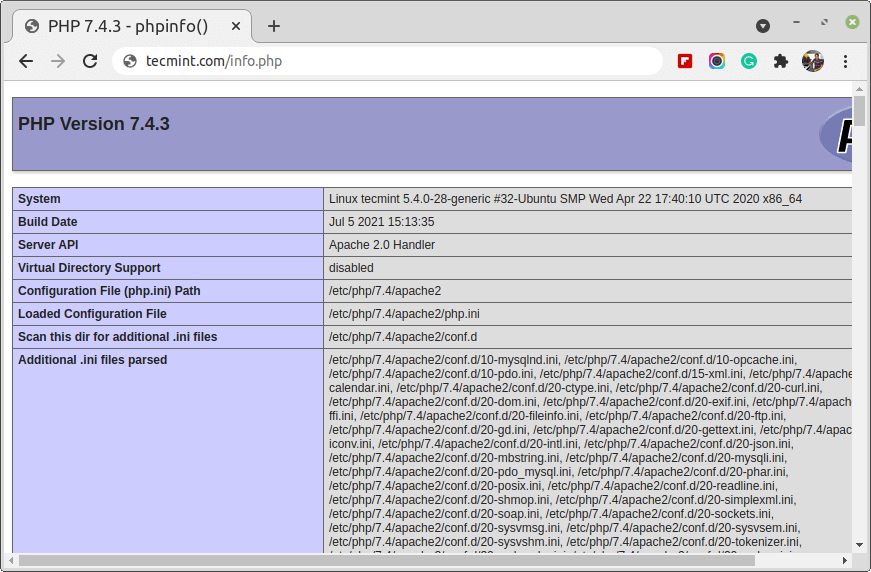
Furthermore, to test if php is working in collaboration with the webserver, we need to create a info.php file inside /var/www/html.
$ sudo vi /var/www/html/info.php
And paste the code below into the file, save it, and exit.
<?php
phpinfo();
?>
When that is done, open your web browser and type in the following URL in the address bar.
http://server_address/info.php
OR
http://your-domain.com/info.php
You should be able to view the php info page below as a confirmation.
Step 4: Install WordPress in Ubuntu
Download the latest version of the WordPress package and extract it by issuing the commands below on the terminal:
$ wget -c http://wordpress.org/latest.tar.gz
$ tar -xzvf latest.tar.gz
Then move the WordPress files from the extracted folder to the Apache default root directory, /var/www/html/:
$ sudo mv wordpress/* /var/www/html/
Next, set the correct permissions on the website directory, that is give ownership of the WordPress files to the webserver as follows:
$ sudo chown -R www-data:www-data /var/www/html/
$ sudo chmod -R 755 /var/www/html/
Step 5: Create WordPress Database
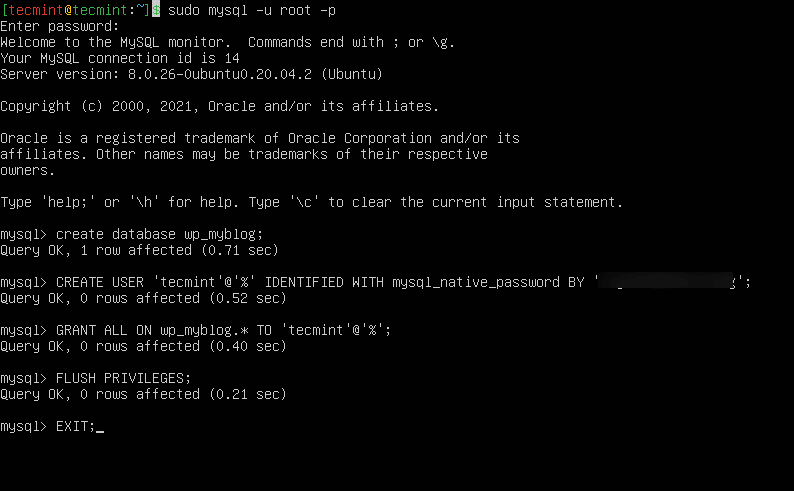
Execute the command below and provide the root user password, then hit Enter to move to the mysql shell:
$ sudo mysql -u root -p
At the mysql shell, type the following commands, pressing Enter after each line of a mysql command. Remember to use your own, valid values for database_name, database user, and also use a strong and secure password as databaseuser_password:
mysql> CREATE DATABASE wp_myblog;
mysql> CREATE USER 'username'@'%' IDENTIFIED WITH mysql_native_password BY 'password';
mysql> GRANT ALL ON wp_myblog.* TO 'username'@'%';
mysql> FLUSH PRIVILEGES;
mysql> EXIT;
Go the /var/www/html/ directory and rename existing wp-config-sample.php to wp-config.php. Also, make sure to remove the default Apache index page.
$ cd /var/www/html/
$ sudo mv wp-config-sample.php wp-config.php
$ sudo rm -rf index.html
Then update it with your database information under the MySQL settings section (refer to the highlighted boxes in the image below):
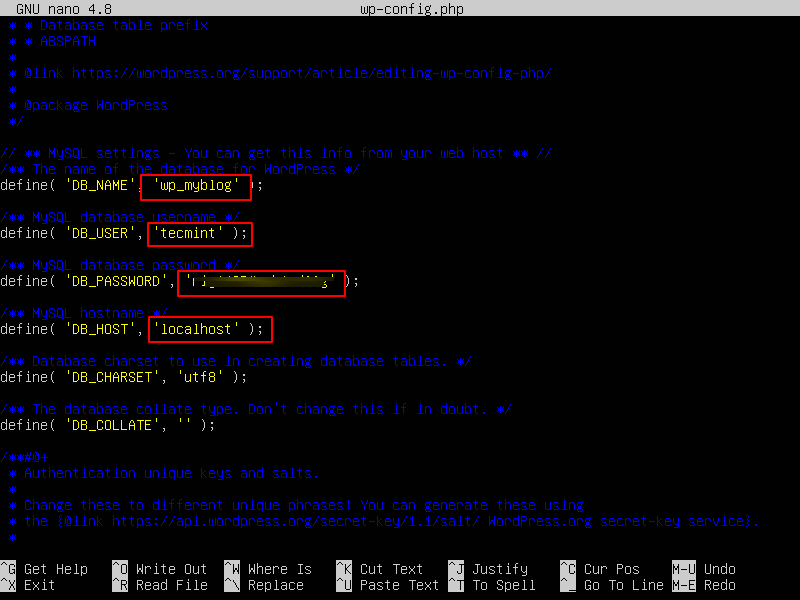
Afterward, restart the web server and mysql service using the commands below:
$ sudo systemctl restart apache2.service
$ sudo systemctl restart mysql.service
Open your web browser, then enter your domain name or server address as shown.
http://server_address/info.php
OR
http://your-domain.com/info.php
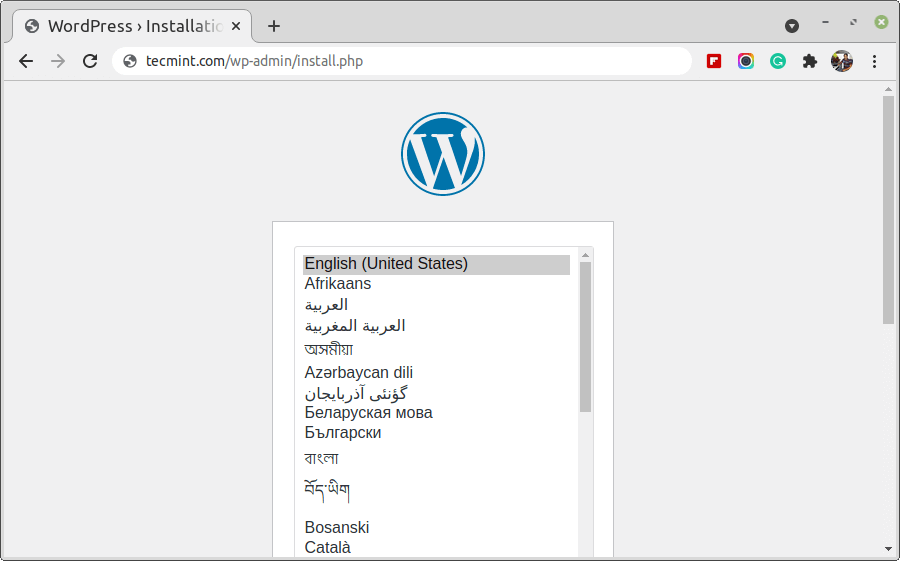
You will get the welcome page below. Read through the page and click on “Let’s go!” to proceed further and fill in all requested on-screen information.
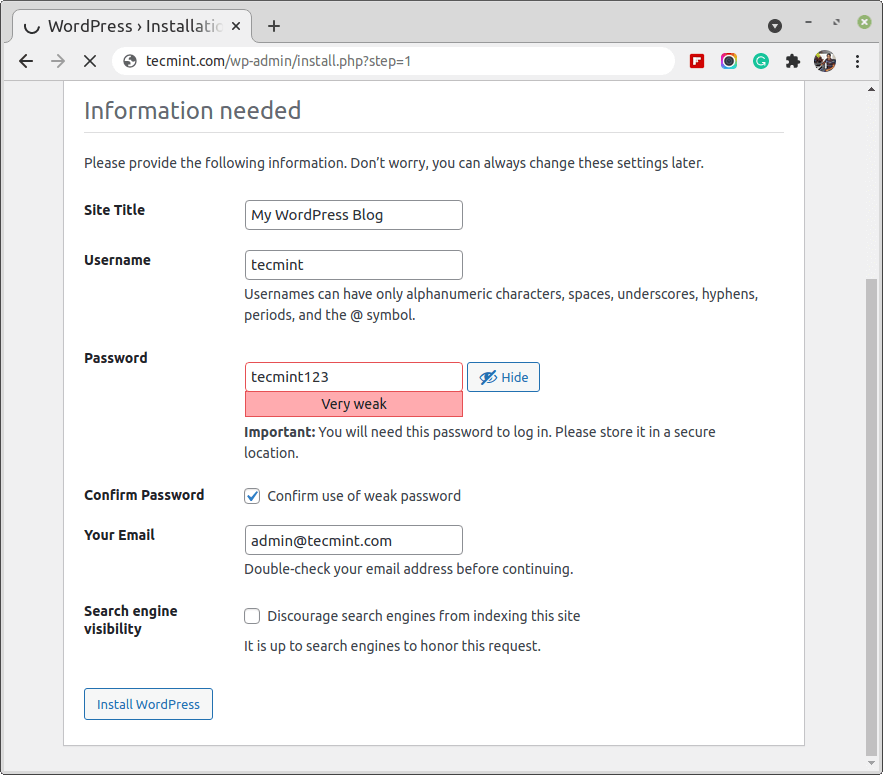
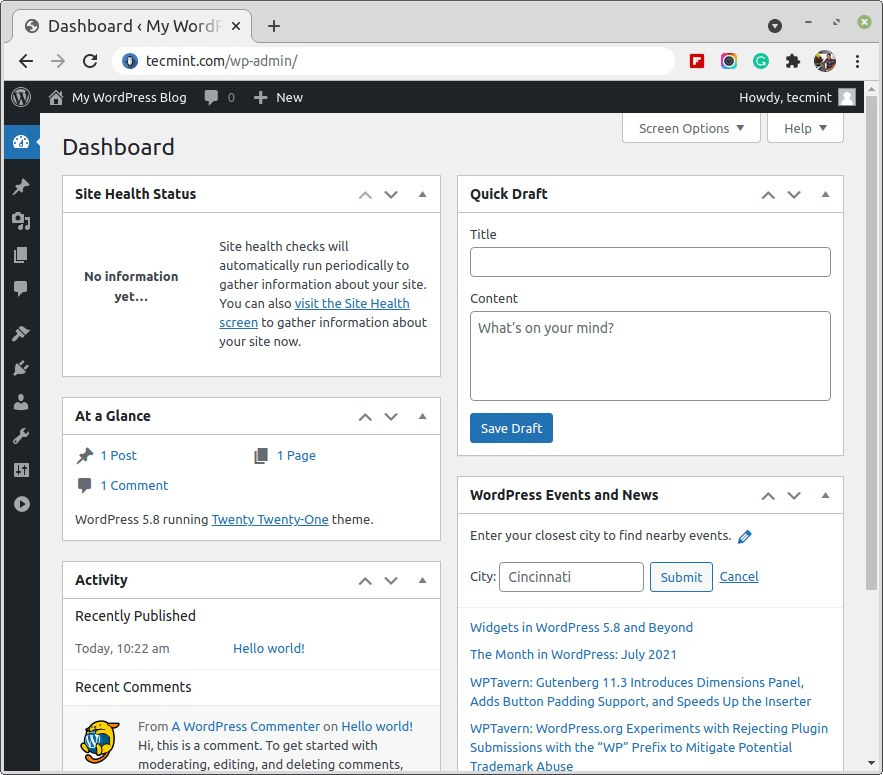
Hoping that everything went on just fine, you can now enjoy WordPress on your system. However, to express any concerns or ask questions concerning the steps above or even provide additional information that you think has not been included in this tutorial, you can use the feedback section below to get back to us.

