Developing your website from scratch can be a daunting task. It’s time-consuming and expensive if you are planning to hire a developer. An easy way to get your blog or website off the ground is using a CMS (content management system) like Drupal.
Drupal is an open-source content management system (CMS), written in PHP and released under GPL. It was first released in January 2001 to power personal blogs, corporate websites, and any kind of websites that people may need. Today, Drupal is one of the most famous CMS in the world running millions of websites worldwide.
The latest version of Drupal at the time of writing this guide is Drupal 9.
Drupal Features
- Free and open-source.
- Basic features like the ability to publish posts, pages, and a comment system, RSS feed, user registration. install and modify templates & add-ons.
- More than 30000 available modules to download for free from the Drupal store.
- Available in more than 110 languages with support for RTL languages like Arabic.
- Multi-site support and Multi-user content editing and creation support.
- Support for creating blogs, forums, polls using modules that are installed by default.
- Very-well updates system to notify you about security updates.
- Many other features.
In this guide, we will install Drupal on Debian 10/9 and Ubuntu 20.04/18.04.
Drupal Prerequisites
Since Drupal is a PHP-driven CMS that is accessed from the front-end by users, you need to have a LAMP stack installed on your Debian/Ubuntu instance. LAMP is a software stack used for testing and deploying websites and comprises 3 major components:
- Apache webserver.
- MariaDB database server.
- PHP (For Drupal 9, PHP 7.3 and later versions is recommended).
With the requirements met, let’s get started!
Step 1: Install Apache, MariaDB, and PHP
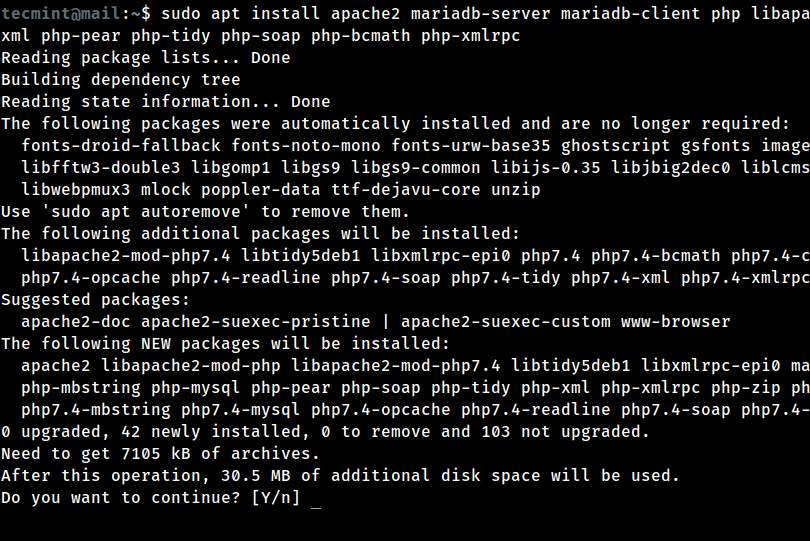
1. To install Drupal, you will require a running web-server and a database server, in this article we will work with Apache, PHP, and MariaDB, you can install them easily with the help of a package manager tool called apt.
$ sudo apt install apache2 mariadb-server mariadb-client php libapache2-mod-php php-cli php-fpm php-json php-common php-mysql php-zip php-gd php-intl php-mbstring php-curl php-xml php-pear php-tidy php-soap php-bcmath php-xmlrpc
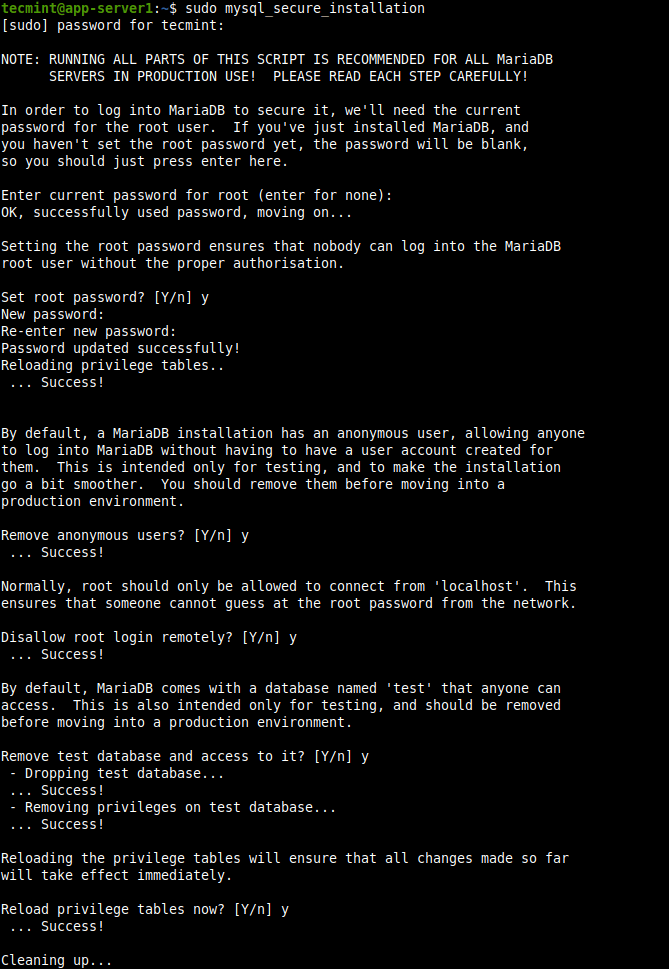
2. On production servers, you must enable some basic security measures for the MariaDB database installation, by running the following security script which ships with the MariaDB package.
$ sudo mysql_secure_installation
After running the script, it will take you through a series of questions where you can answer yes(y) to enable some basic security options as shown.
- Enter current password for root (enter for none): Enter
- Set a root password? [Y/n]
y - Remove anonymous users? [Y/n]
y - Disallow root login remotely? [Y/n]
y - Remove test database and access to it? [Y/n]
y - Reload privilege tables now? [Y/n]
y
That’s it, you’ve successfully installed all the required packages and also added a MySQL password. Now it’s time to move forward and create a database for drupal installation.
Step 2: Create a Drupal Database
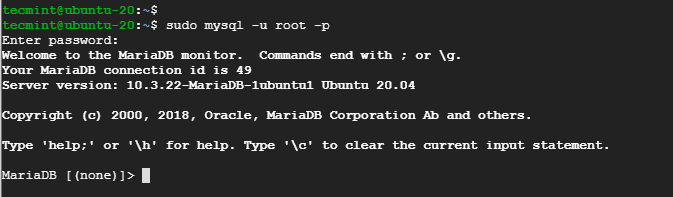
3. We’ll need to create a database for our Drupal installation, to do so, run the following command to connect to the mysql shell.
$ sudo mysql -u root -p
Note: It will ask you to enter the MySQL root password, that you’ve set while securing the MySQL package, enter it and you will be prompted to the mysql terminal.
4. Next, run the following series of commands on the MySQL terminal to create new ‘drupal‘ user, database and grant privileges.
## Creating New User for Drupal Database ##
MariaDB [(none)]> CREATE USER drupal@localhost IDENTIFIED BY "your_password_here";

## Create New Database ##
MariaDB [(none)]> create database drupal;

## Grant Privileges to Database ##
MariaDB [(none)]> GRANT ALL ON drupal.* TO drupal@localhost;

## FLUSH privileges ##
MariaDB [(none)]> FLUSH PRIVILEGES;

## Exit ##
MariaDB [(none)]> exit
Note: If you want, you can replace the user name and database name with any other name.
Step 3: Download and Install Drupal in Ubuntu
5. Drupal is available to download from the official Ubuntu/Debian repository as a package, however, it is an old version from Drupal which has many security vulnerabilities, and the current Drupal version is 9.0.6), that’s why we will be downloading Drupal from the official website
Alternatively, you may use the following wget command to grab the latest version directly.
$ sudo wget https://www.drupal.org/download-latest/tar.gz -O drupal.tar.gz
6. Next, extract the tarball file and move the uncompressed drupal folder to the /var/www/html path as shown.
$ sudo tar -xvf drupal.tar.gz
$ sudo mv drupal-9.0.6 /var/www/html/drupal
7. For drupal to be accessible, assign the permissions shown:
$ sudo chown -R www-data:www-data /var/www/html/drupal/
$ sudo chmod -R 755 /var/www/html/drupal/
Step 4: Create an Apache Drupal Virtual Host
8. The final part of configuration requires us to create an Apache virtual host file for our Drupal website. Proceed and create the virtual host file as shown:
$ sudo vim /etc/apache2/sites-available/drupal.conf
Paste the content below.
<VirtualHost *:80>
     ServerAdmin [email protected]
     DocumentRoot /var/www/html/drupal/
     ServerName  example.com
     ServerAlias www.example.com

     ErrorLog ${APACHE_LOG_DIR}/error.log
     CustomLog ${APACHE_LOG_DIR}/access.log combined

     <Directory /var/www/html/drupal/>
            Options FollowSymlinks
            AllowOverride All
            Require all granted
     </Directory>

     <Directory /var/www/html/>
            RewriteEngine on
            RewriteBase /
            RewriteCond %{REQUEST_FILENAME} !-f
            RewriteCond %{REQUEST_FILENAME} !-d
            RewriteRule ^(.*)$ index.php?q=$1 [L,QSA]
    </Directory>
</VirtualHost>
Thereafter, save and exit the configuration file.
9. With the virtual host in place, we need to enable it using the commands below:
$ sudo a2ensite drupal.conf
$ sudo a2enmod rewrite
10. Then restart the Apache webserver for the changes to apply.
$ sudo systemctl restart apache2
Step 6: Setup Drupal from a Browser
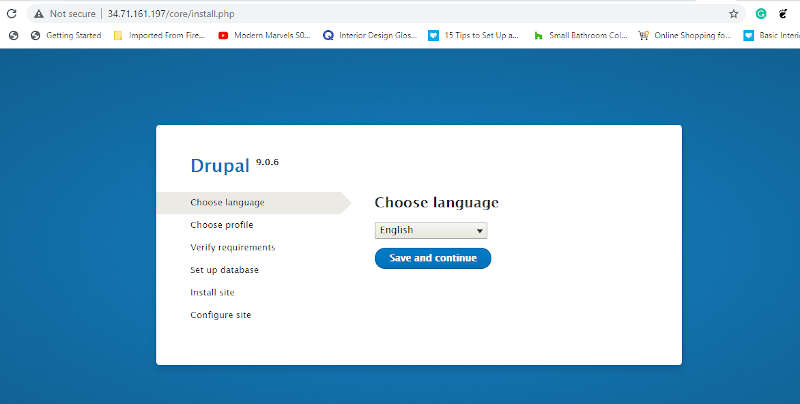
11. In this step we wrap up Drupal’s installation by setting it up on a web browser. So launch your browser and head over to your server’s IP address as shown:
http://www.server-ip/
OR
http://www.example.com/
12. On the page that appears, select your preferred language and click on the ‘Save and continue’ button.
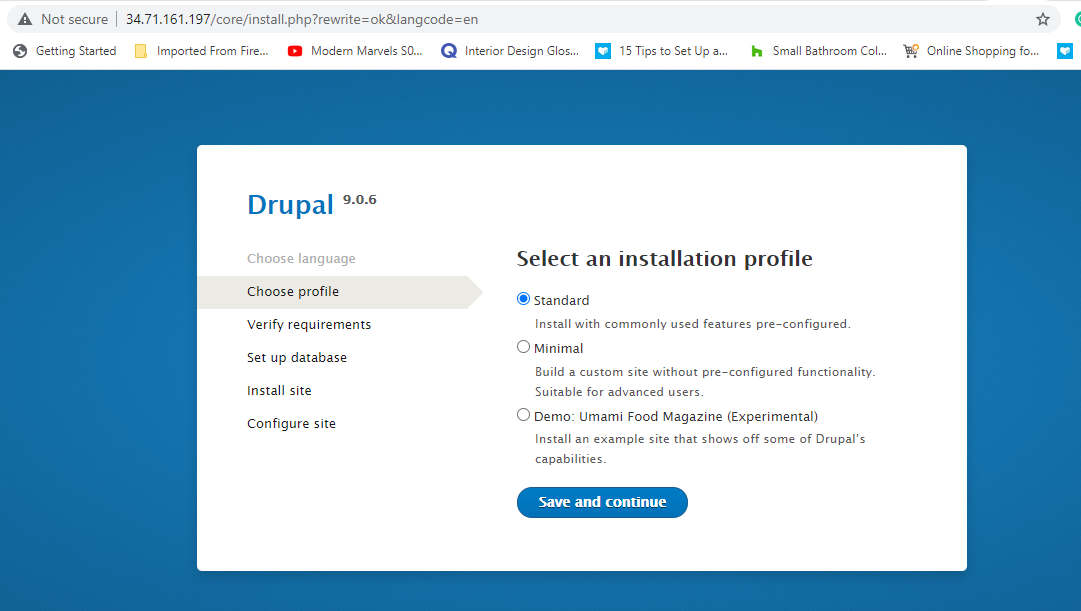
13. The next step gives you 3 installation profiles that you can leverage. To keep matters easy and straightforward, select the first option which is the Standard profile, and hit the ‘Save and continue’ button.
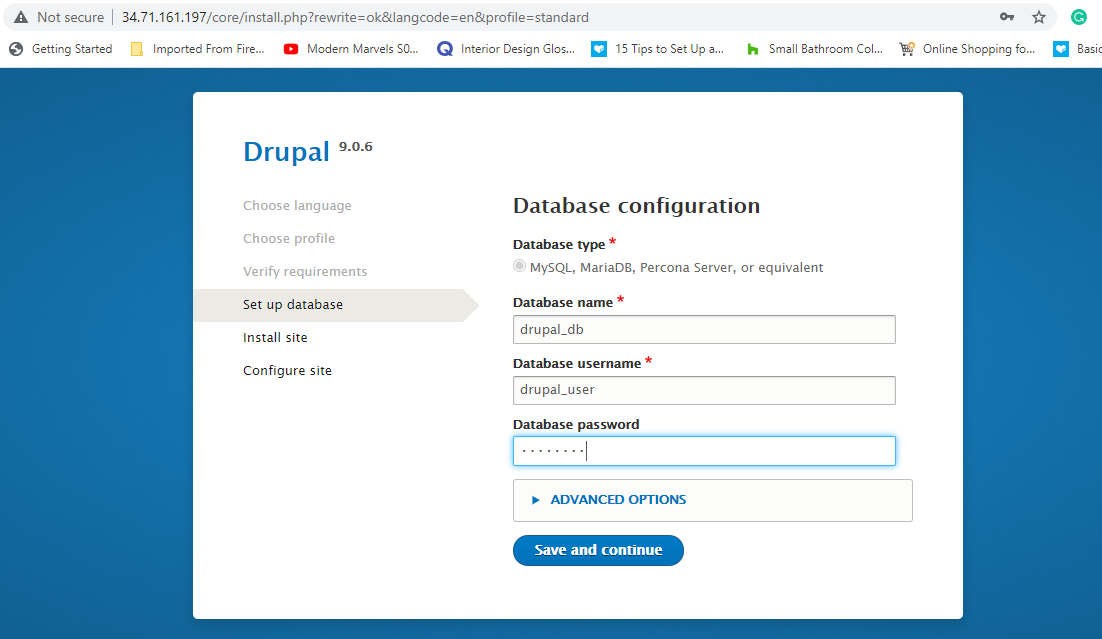
14. In the next step fill out the database details.
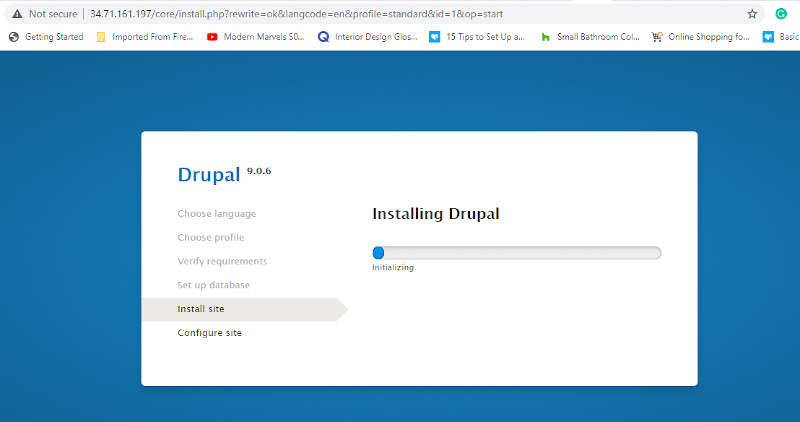
15. Soon after, the installation of all the necessary files will begin. This takes roughly 5 minutes and some patience will do.
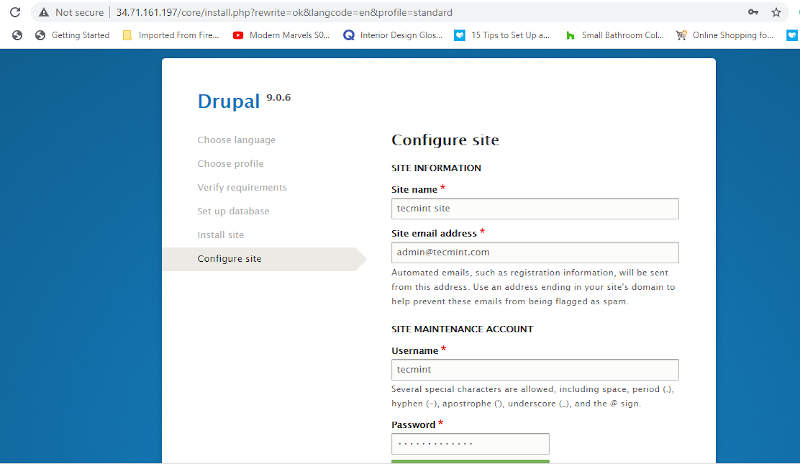
16. Fill in all the required fields about your site such as site name, site email address, location, and timezone.
17. Finally, you will get the default dashboard for Drupal as shown:
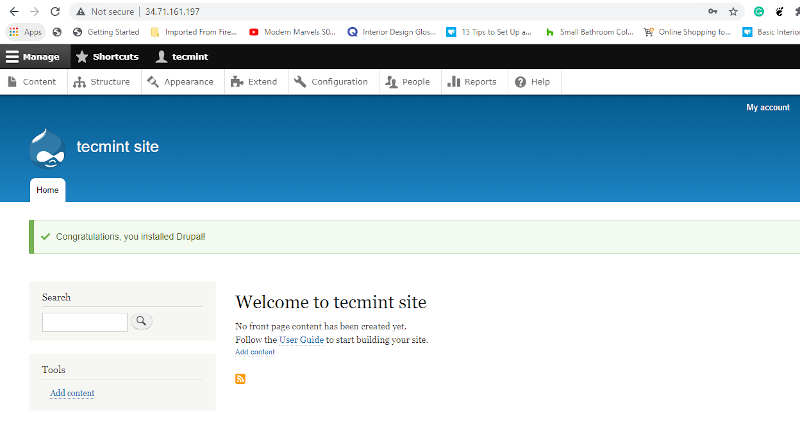
From here, you can start creating your own responsive and elegant website using the available themes or leveraging the premium Drupal themes. That’s all we had for today. We hope you can comfortably set up Drupal on Debian 10/9 and Ubuntu 20.04/18.04.


Thanks for these very clear instructions.
In Step 6 – 11:
I navigated to
http://localhost/drupal.Chris
In several places, the text refers to MySQL rather than MariaDB.
Great Content, thank you. Just correct the the number 13. where we change the permissions once again, you wrote 777 instead of 755
Best regards!
@David,
Thanks for finding this content useful and also thanks for notifying about that permission issue at number #13, corrected in the writeup…
Installing Drupal on Debian is much easier than this if you are using Cloudways platform. You just have to login to their platform, select Drupal app, select hosting provider and server package and click launch. Within minutes, your Drupal app will be live on Debian server without using composer or anything.
If you want you can manually configure your app as well. Here is more info about this: https://www.cloudways.com/en/drupal-cloud-hosting.php
I’d like to correct you on a very common misconception: the drupal version in debian is *not* vulnerable to any known security vulnerability. Per debian policy, once a version of a program is released to a stable version of the distro, newer versions are not incorporated; instead, the debian mantainers backport the security fix to the version in the distribution.
You may notice that drupal’s version in debian wheezy (which is suported until 2018) is 7.14 and in debian Jessie (supported until 2020) is 7.32. This is *not* due to the fact that the maintainer “forgot” to update the version in wheezy, quite the contrary. Check out the changelog for the 7.14 version of drupal in wheezy here: http://metadata.ftp-master.debian.org/changelogs//main/d/drupal7/drupal7_7.14-2+deb7u10_changelog . You will notice a lot of “backported from 7.38” items (7.38 is the latest drupal release as I write this).
Also for Debian you could remove the “html” part of paths, root path is /var/www/ only.
step 10:
sudo mkdir -p /var/www/html/sites/default/files
shoudl be :
sudo mkdir -p /var/www/html/drupal/sites/default/files
Thanks Lemon for pointing out error, we’ve corrected now.
Great work!
I’ve followed your instructions and when I type the 4 line of step 10 it says that it’s not OK. As a result, when I install Drupal and type the DB (step 11) it gives me a white screen and I can’t go on
Thx
Hello Carlos.
Can you please paste the error message that you get in step 10?