Hive is a Data Warehouse model in Hadoop Eco-System. It can perform as an ETL tool on top of Hadoop. Enabling High Availability (HA) on Hive is not similar as we do in Master Services like Namenode and Resource Manager.
Automatic failover will not happen in Hive (Hiveserver2). If any Hiveserver2 (HS2) fails, running jobs on that failed HS2 will get fail. We need to resubmit the job so that the job can run on other HiveServer2. So, enabling HA on HS2 is nothing but, increasing the number of HS2 components in Cluster.
In this article, we will see the steps to install and enable the High Availability of Hive.
Requirements
- Best Practices for Deploying Hadoop Server on CentOS/RHEL 7 – Part 1
- Setting Up Hadoop Pre-requisites and Security Hardening – Part 2
- How to Install and Configure the Cloudera Manager on CentOS/RHEL 7 – Part 3
- How to Install CDH and Configure Service Placements on CentOS/RHEL 7 – Part 4
- How to Set Up High Availability for Namenode – Part 5
- How to Set Up High Availability for Resource Manager – Part 6
Let’s get started…
Hive Installation and Configuration
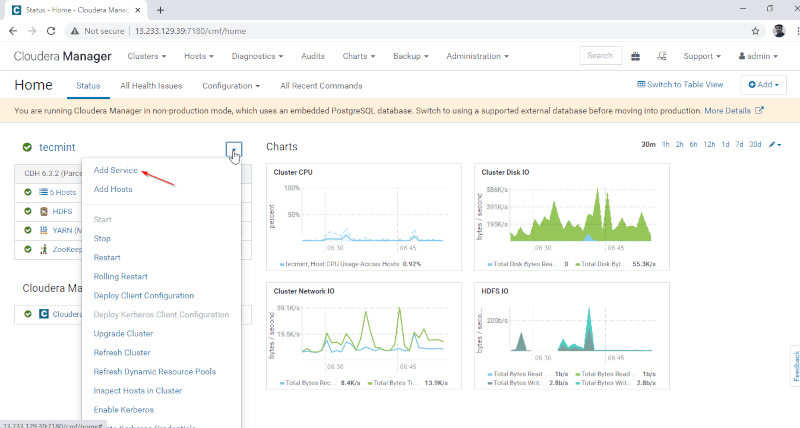
1. Login to Cloudera Manager at the below URL and navigate to Cloudera Manager –> Add Service.
http://13.233.129.39:7180/cmf/home
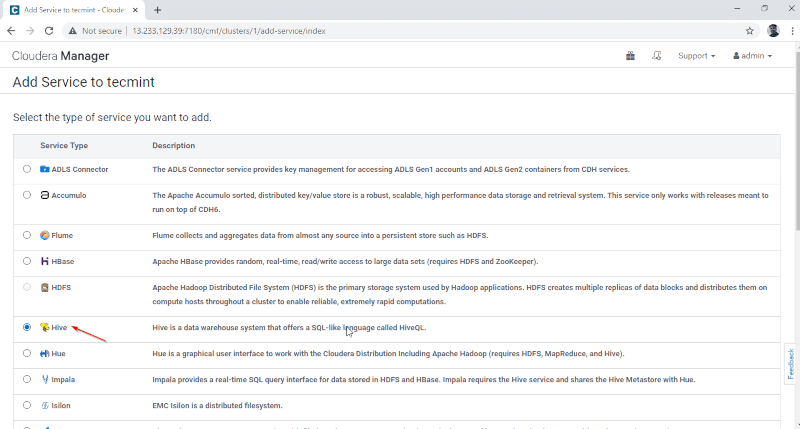
2. Select the service ‘Hive‘.
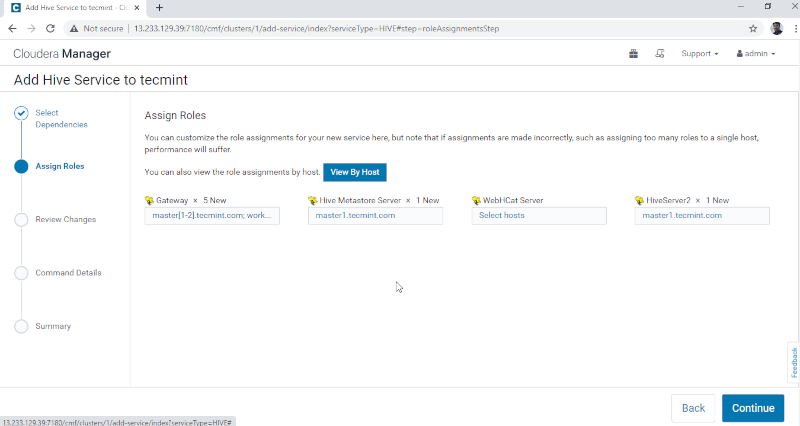
3. Assign the services on nodes.
- Gateway – It is the client service where the user can access the Hive. Usually, this service will be placed in Edge nodes dedicated to the users.
- Hive Metastore – It is a central repository for storing Hive Metadata.
- WebHCat Server – It is a Web API for HCatalog and other Hadoop Services.
- Hiveserver2 – It is an interface of clients for query execution on Hive.
Once selected the servers, click ‘Continue‘ to proceed.
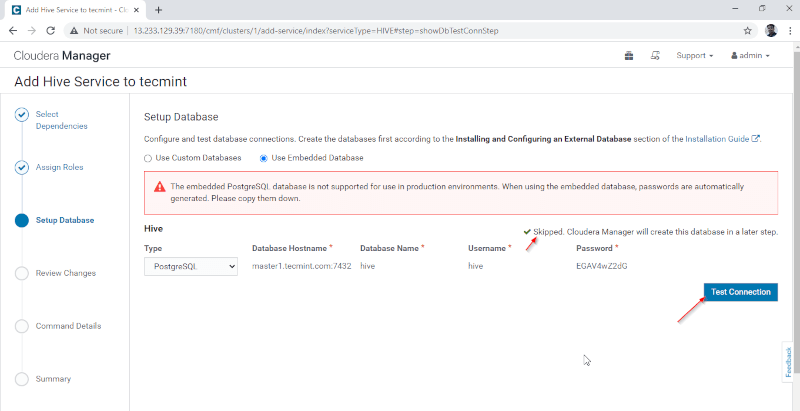
4. Hive Metastore needs an underlying Database for storing Metadata. Here we are using the default PostgreSQL database which is inbuilt with CDH.
Below mentioned database details will be entered automatically, ‘Test Connection’ will be skipped as the mentioned database will be created on the fly. In real-time, we need to create the Database in the external database and test the connection to proceed further. Once done, please click the ‘Continue’.
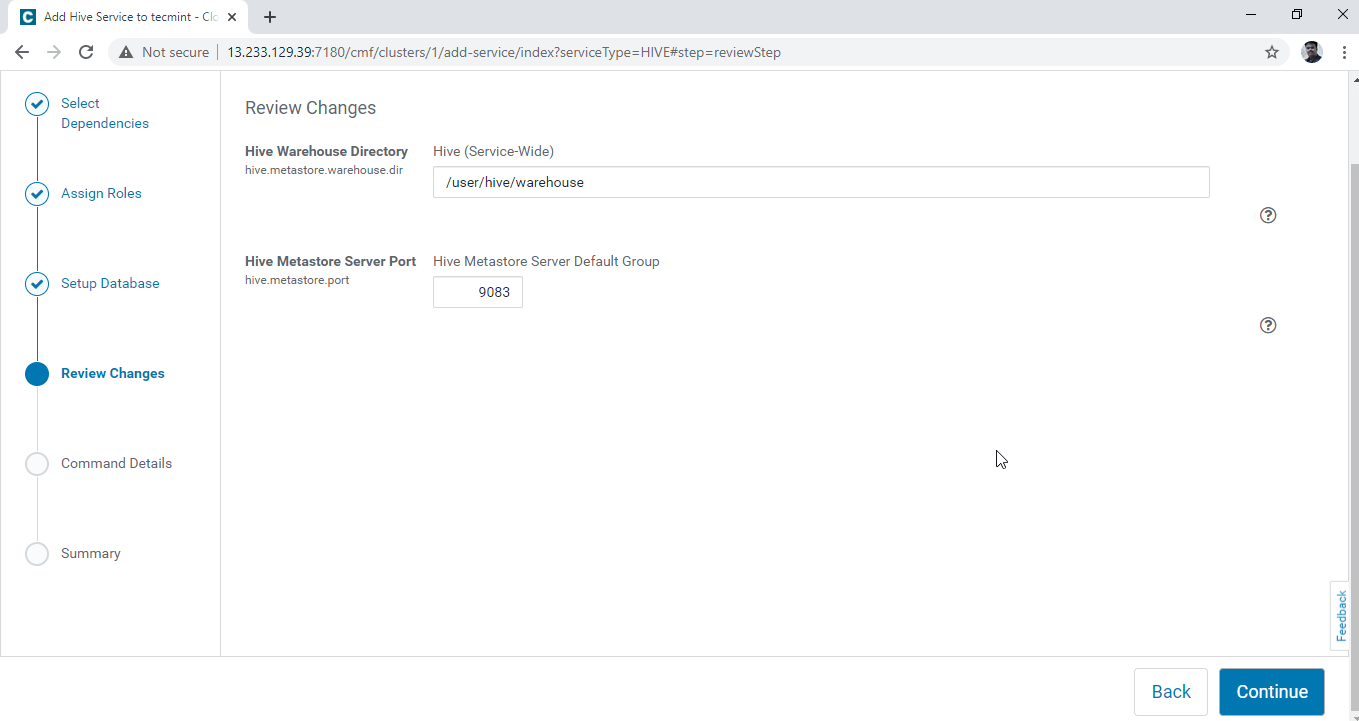
5. Configure the Hive Warehouse directory, /user/hive/warehouse is the default directory path for storing Hive tables. Click the ‘Continue’.
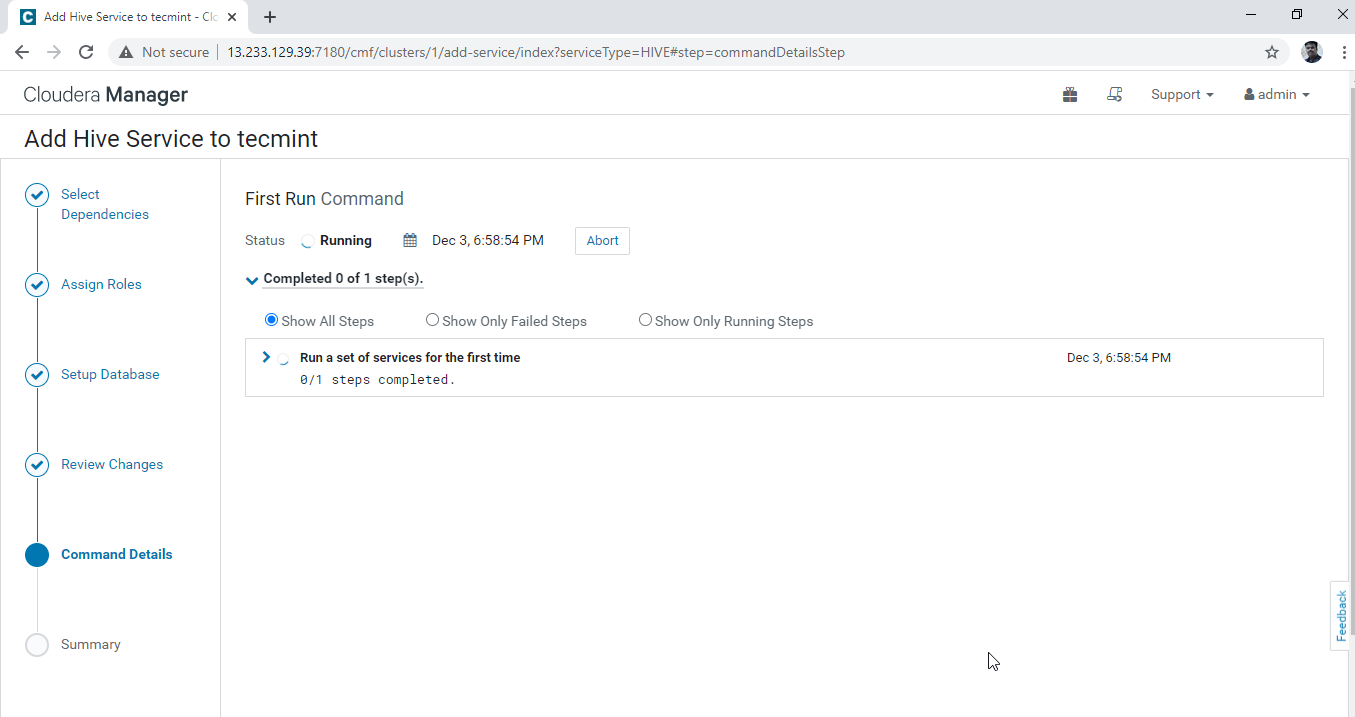
6. Installation of Hive is started.
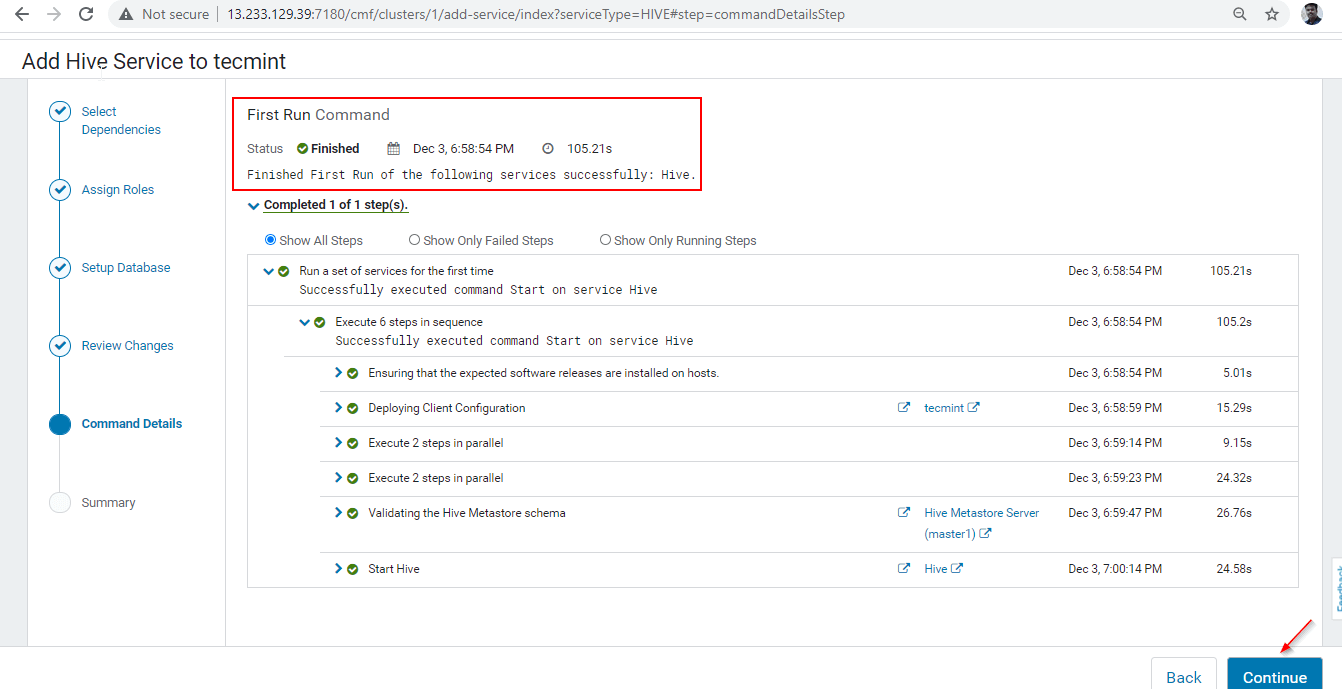
7. Once installation completed, you can get the ‘Finished’ status. Click ‘Continue’ to proceed further.
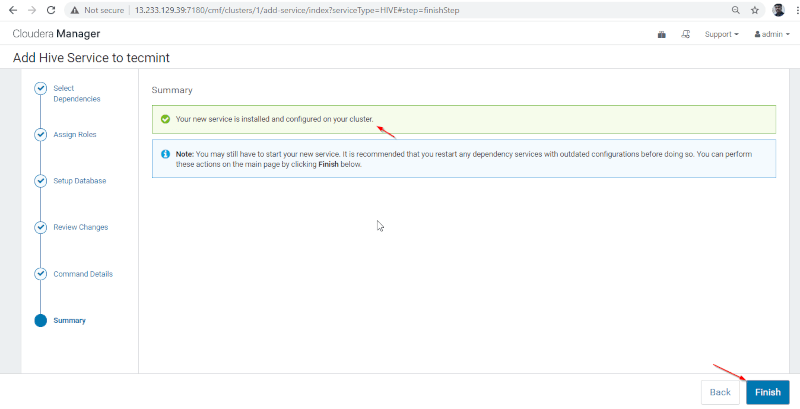
8. Hive installation and Configuration completed successfully. Click ‘Finish‘ to complete the installation procedure.
9. You can see the Hive service added in Cluster through Cloudera Manager Dashboard.
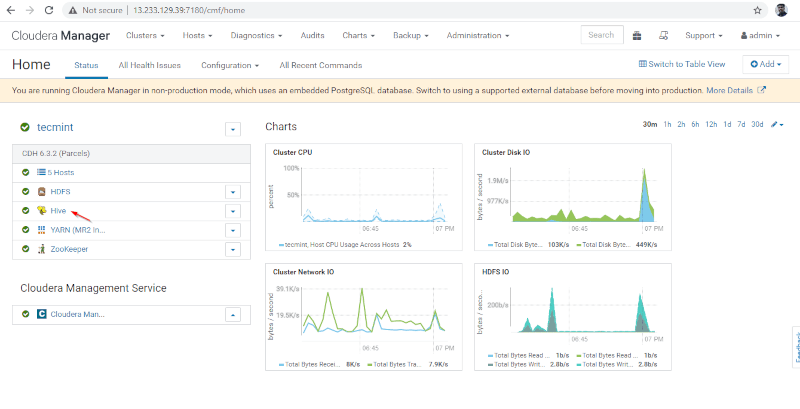
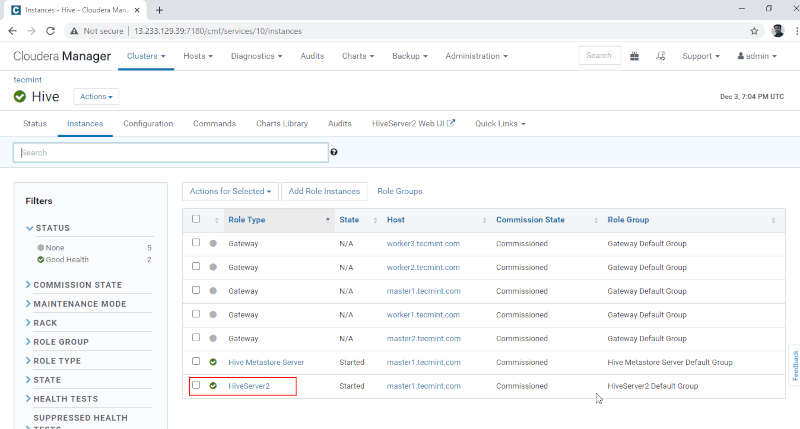
10. You can view the Hiveserver2 in Instances of Hive. We have added Hiveserver2 in master1.
Cloudera Manager –> Hive –> Instances –> Hiveserver2.
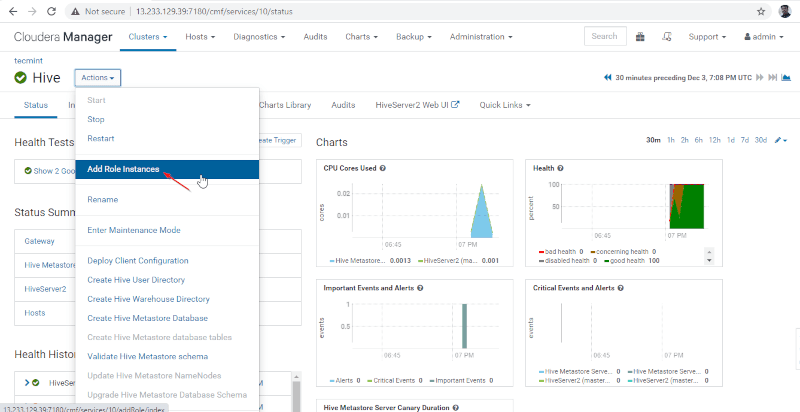
Enabling High Availability on Hive
11. Next add Hive role by going to Cloudera Manager –> Hive –> Actions –> Add Role Instances.
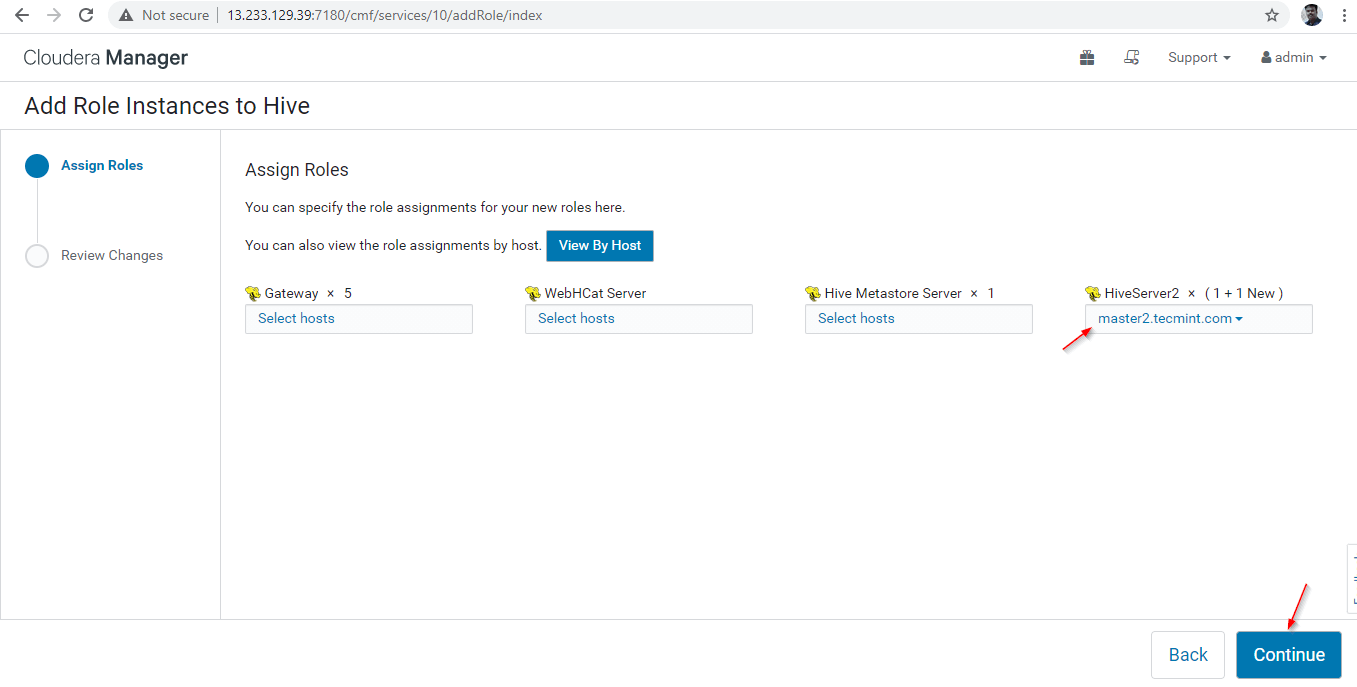
12. Select the servers where you want to place extra Hiveserver2. You can add more than two, there is no limit. Here we are adding an extra one Hiveserver2 in master2.
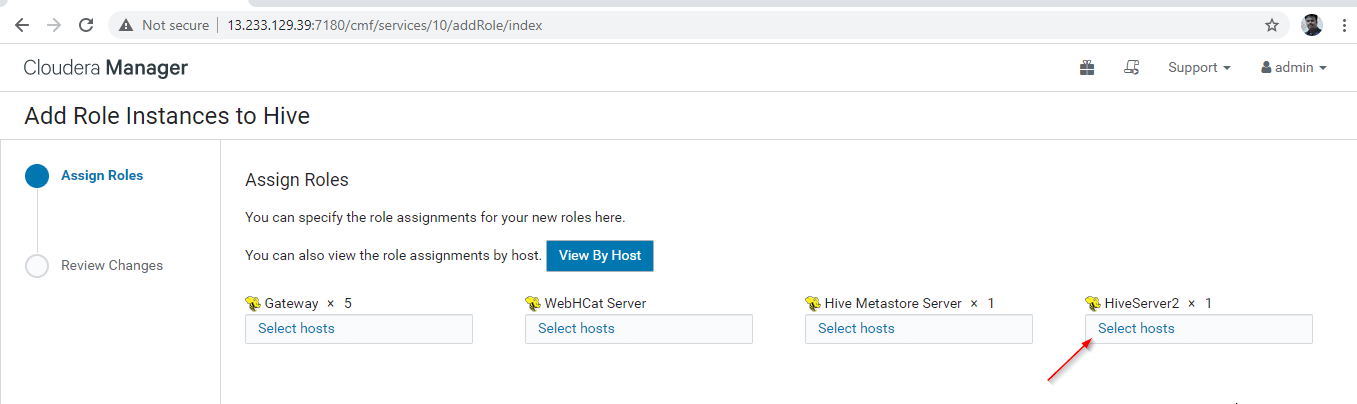
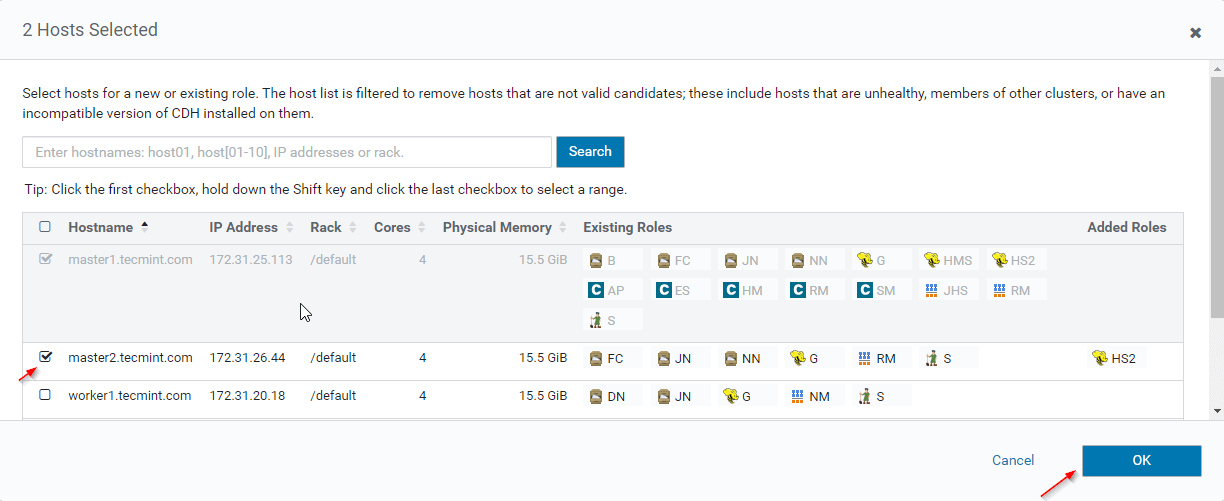
13. Once selected the server, click ‘Continue’.
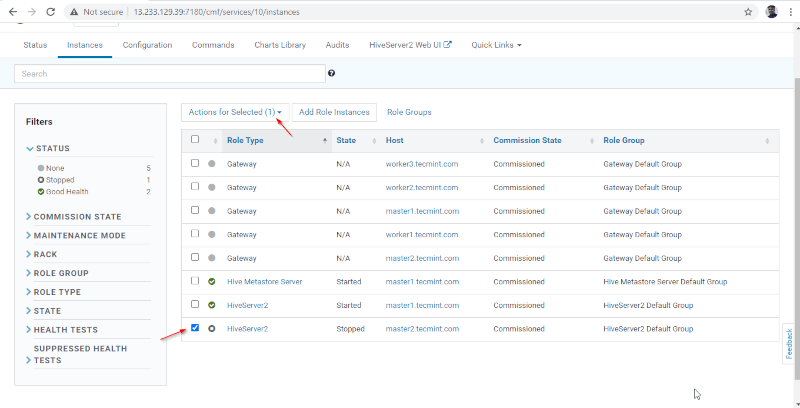
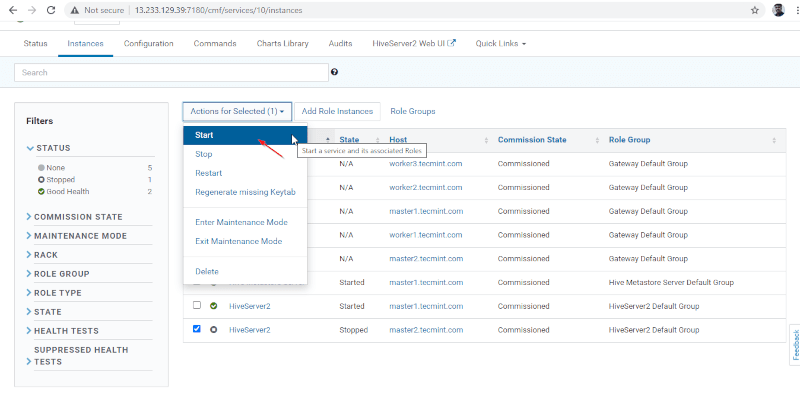
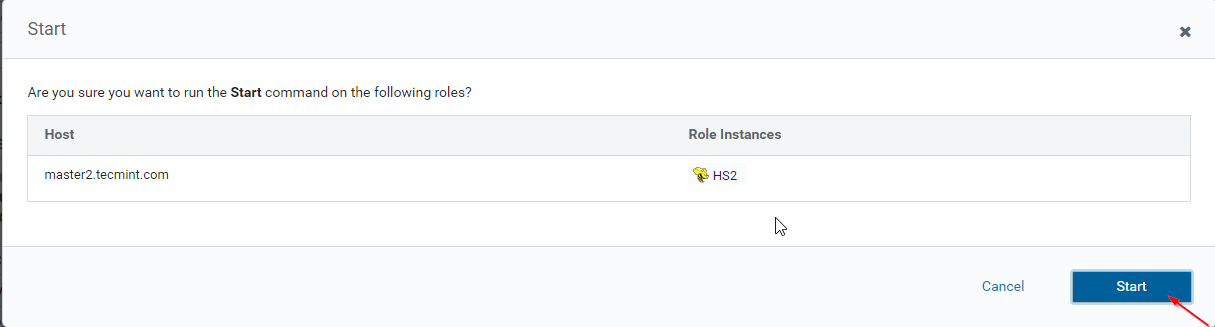
14. A Hiverserver2 will be added into the Hive Instances, you need to start it by going to Cloudera Manager –> Hive –> Instances –> (Select Hiveserver2 added newly) –> Action for Selected –> Start.
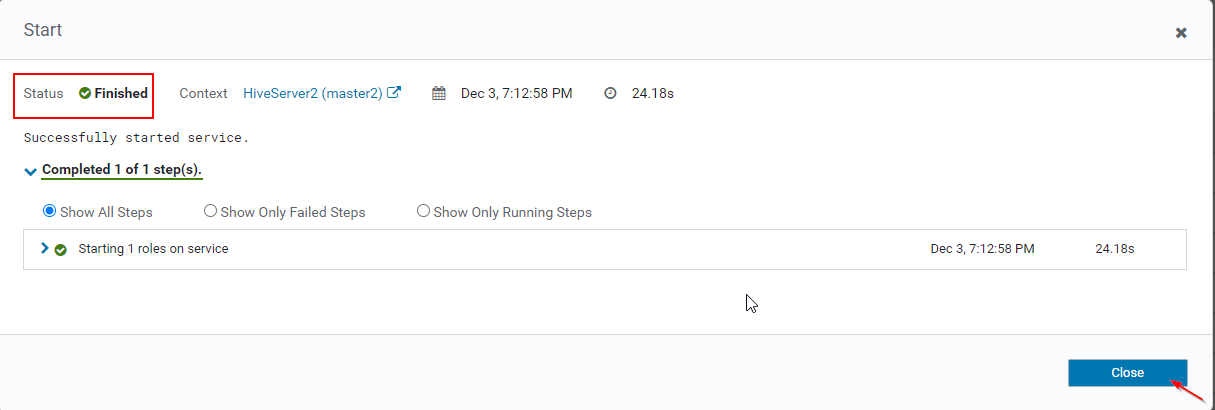
15. Once Hiveserver2 started on master2, you will get the status ‘Finished’. Click Close.
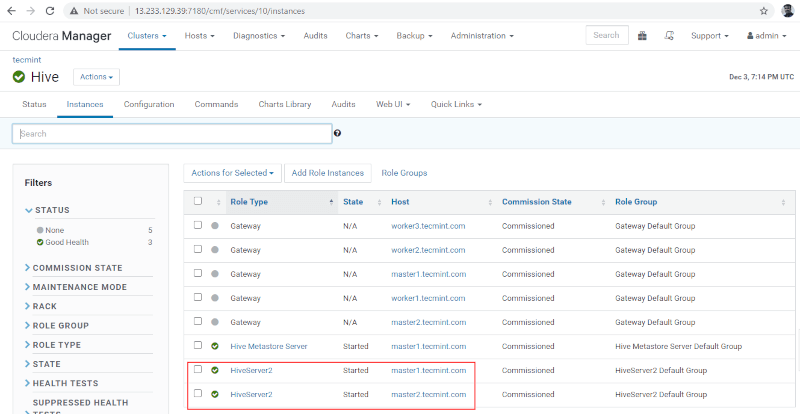
16. You can view, both the Hiveserver2s are running.
Verifying the Hive Availability
We can connect the Hiveserver2 through the beeline which is a thin client and command-line. It uses the JDBC driver to establish the connection.
17. Login to Server where Hive Gateway is running.
[tecmint@master1 ~]$ beeline

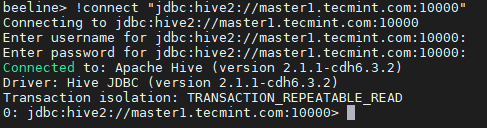
18. Enter the JDBC connection string to connect the Hiveserver2. In this connection, the string we are mentioning the Hiverserver2 (master2) with its default port number 10000. This connection string will only connect to the Hiveserver2 which is running on master2.
beeline> !connect "jdbc:hive2://master1.tecmint.com:10000"
19. Run a sample query.
0: jdbc:hive2://master1.tecmint.com:10000> show databases;
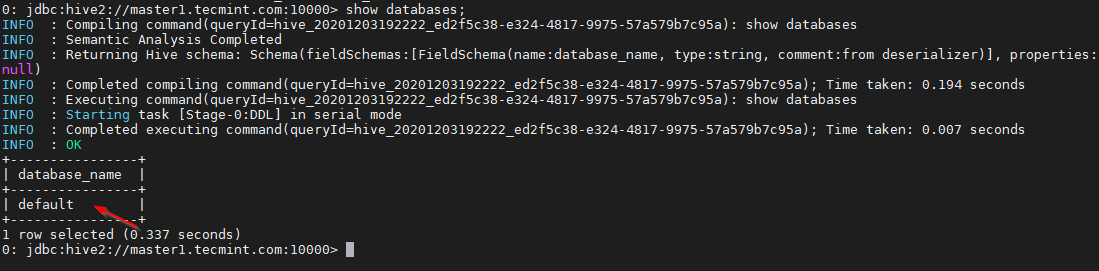
This is the default database that comes inbuilt.
20. Use the below command to terminate the Hive session.
0: jdbc:hive2://master1.tecmint.com:10000> !quit

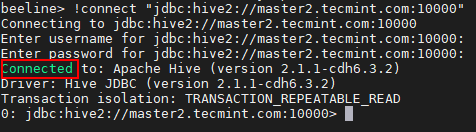
21. You can use the same way to connect Hiveserver2 running on master2.
beeline> !connect "jdbc:hive2://master2.tecmint.com:10000"
23. We can connect the Hiveserver2 in Zookeeper Discovery mode. In this method, we don’t need to mention the Hiveserver2 in the connection string instead we are using Zookeeper to discover the available Hiveserver2.
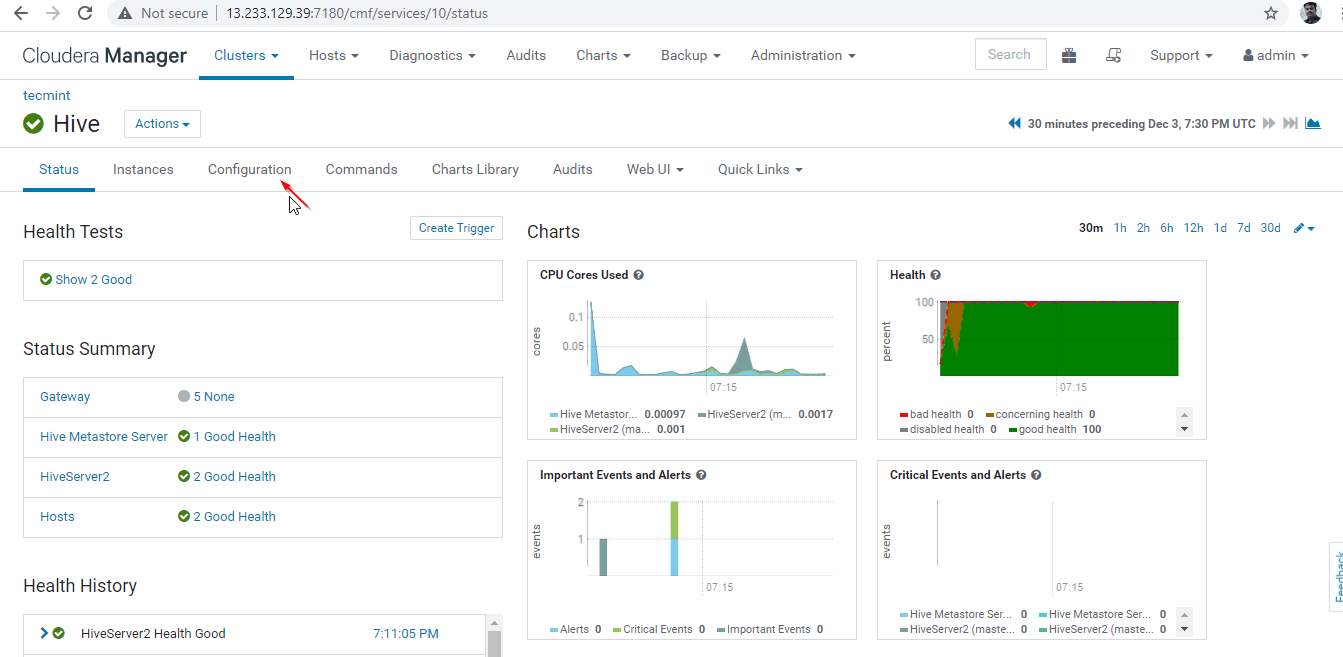
Here we can use a third-party load balancer to balance the load among the available Hiverserver2. The below configuration is need to enable Zookeeper Discovery Mode by going to Cloudera Manager –> Hive –> Configuration.
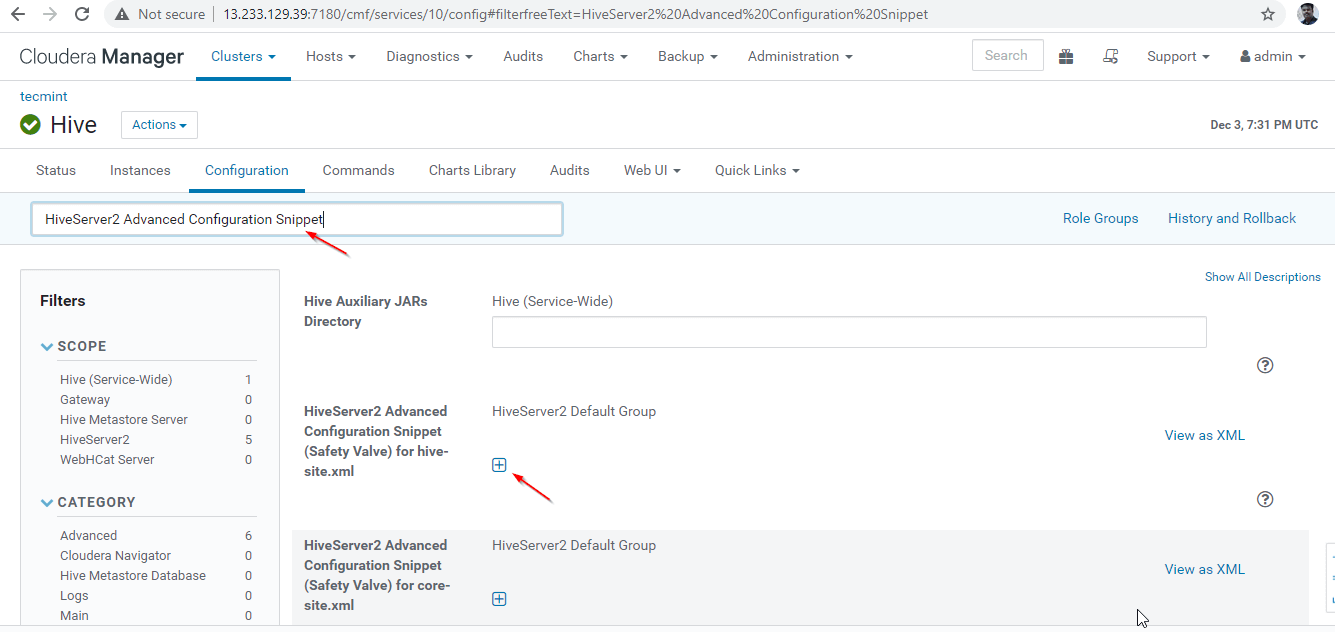
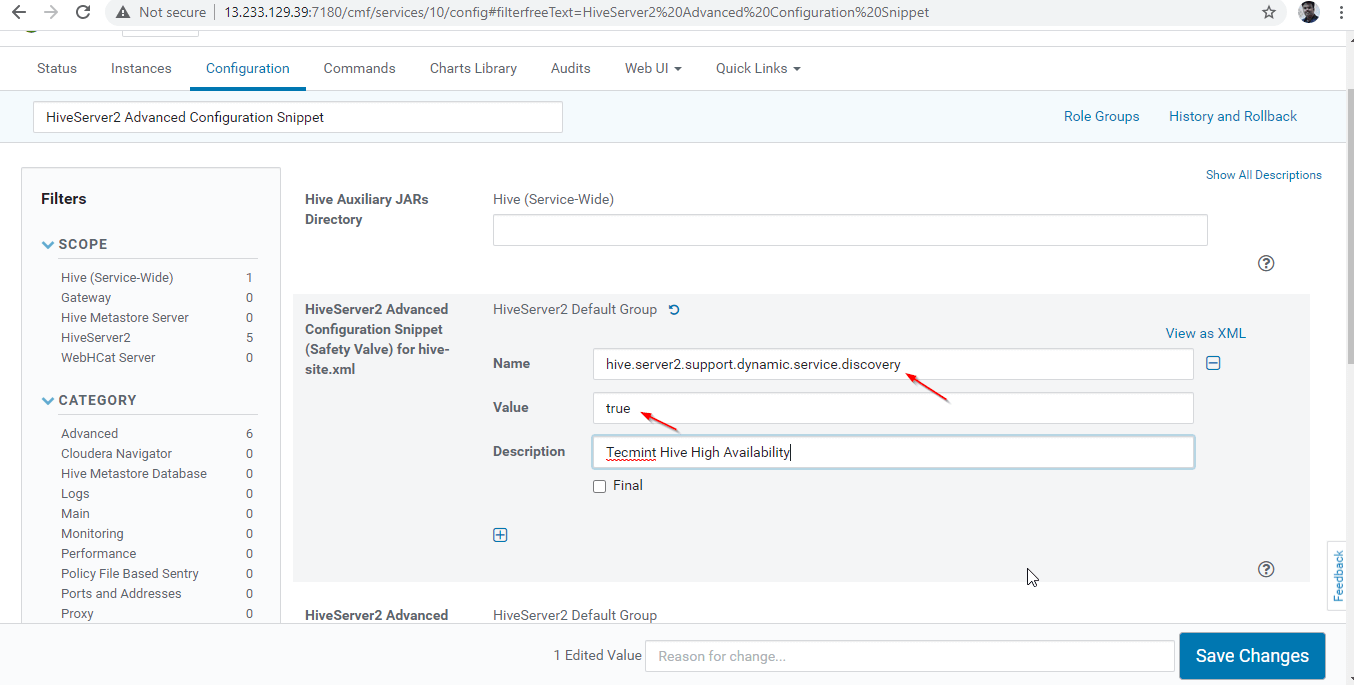
24. Next, search the property “HiveServer2 Advanced Configuration Snippet” and click the + symbol to add the below property.
Name : hive.server2.support.dynamic.service.discovery
Value : true
Description : <any description>
25. Once entered the property, click ‘Save Changes’.
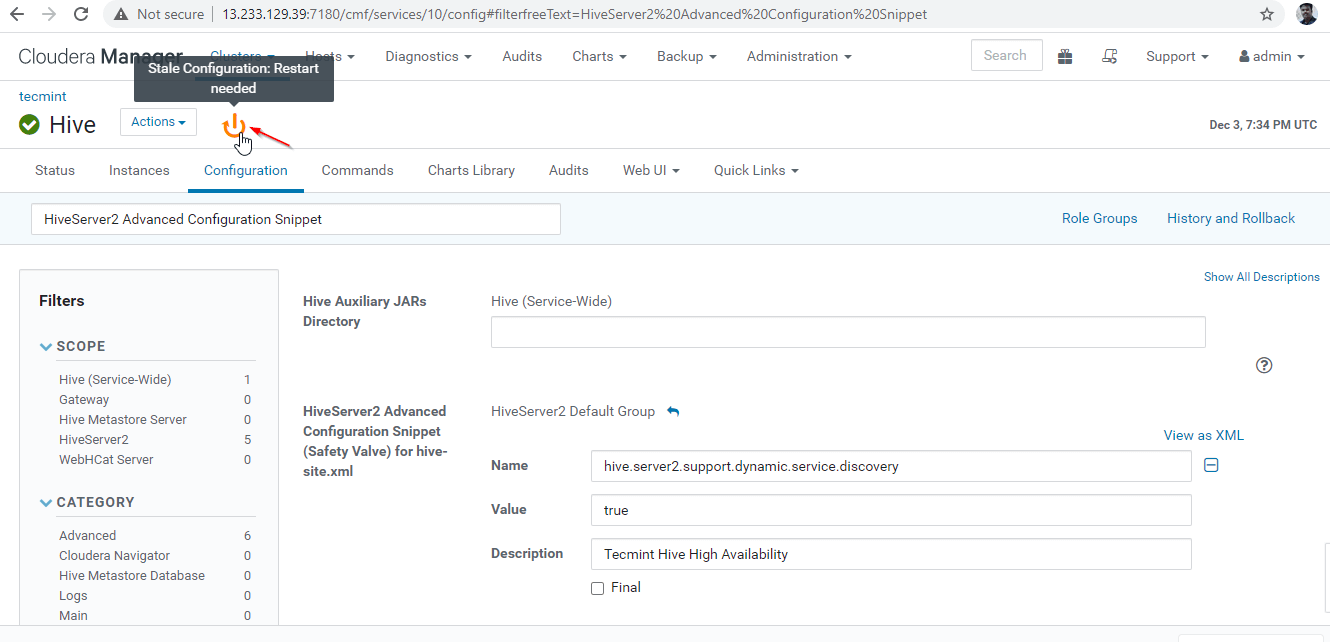
26. As we made changes to the Configuration, need to restart the affected services by clicking on the Orange Color Symbol to restart the services.
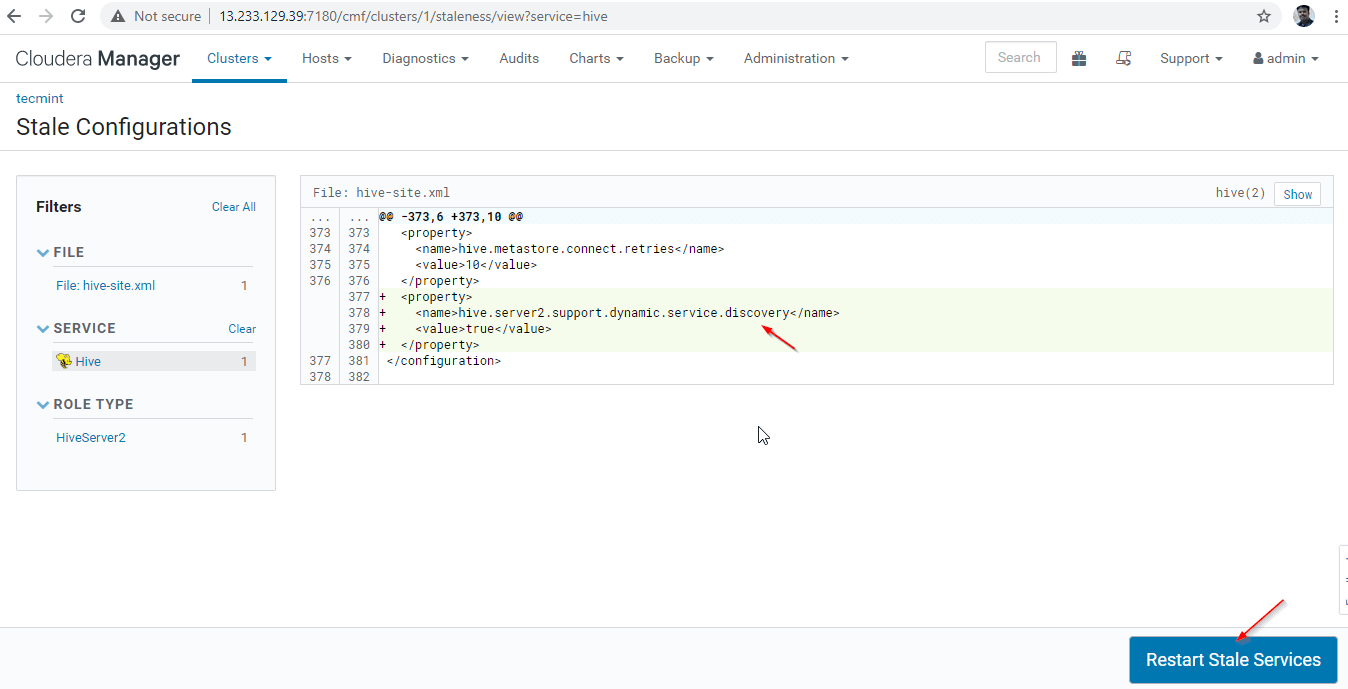
27. Click ‘Restart Stale‘ services.
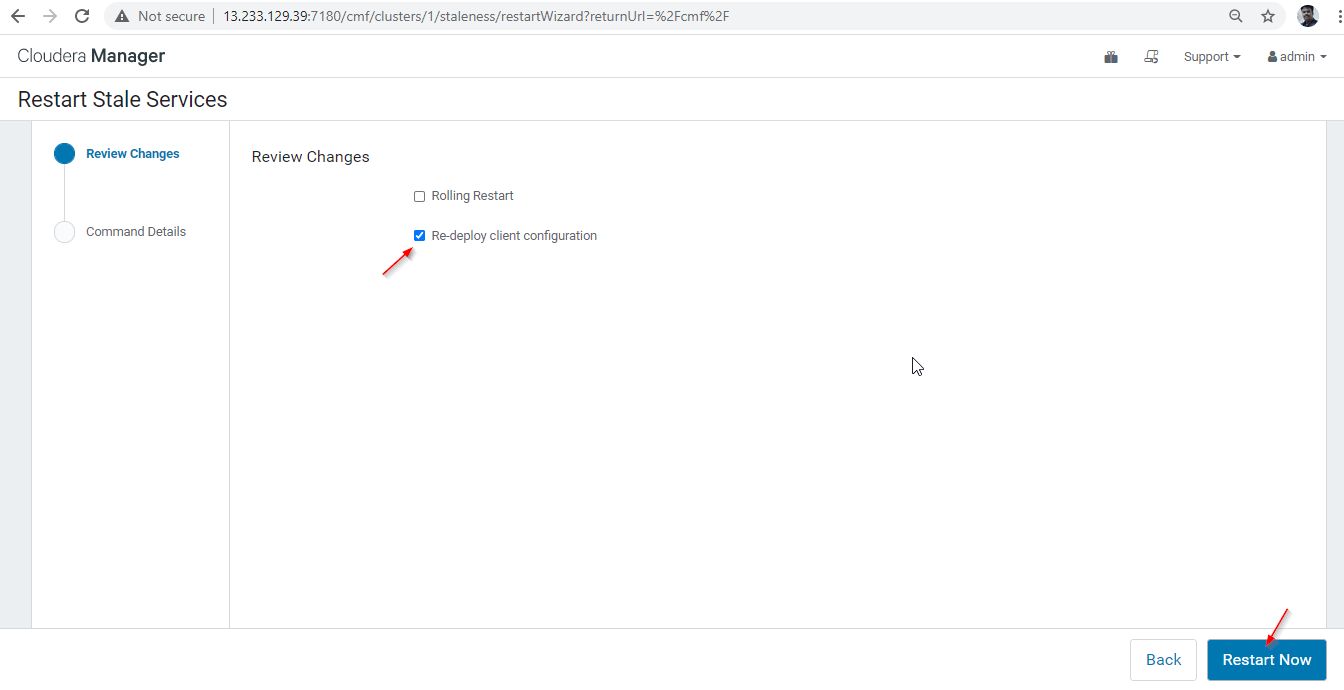
28. There are two options available. If the cluster is in live production, we need to prefer the rolling restart to minimize the outage. As we are newly installing, we can choose the second option ‘Re-deploy Client Configuration’, and click ‘Restart Now’.
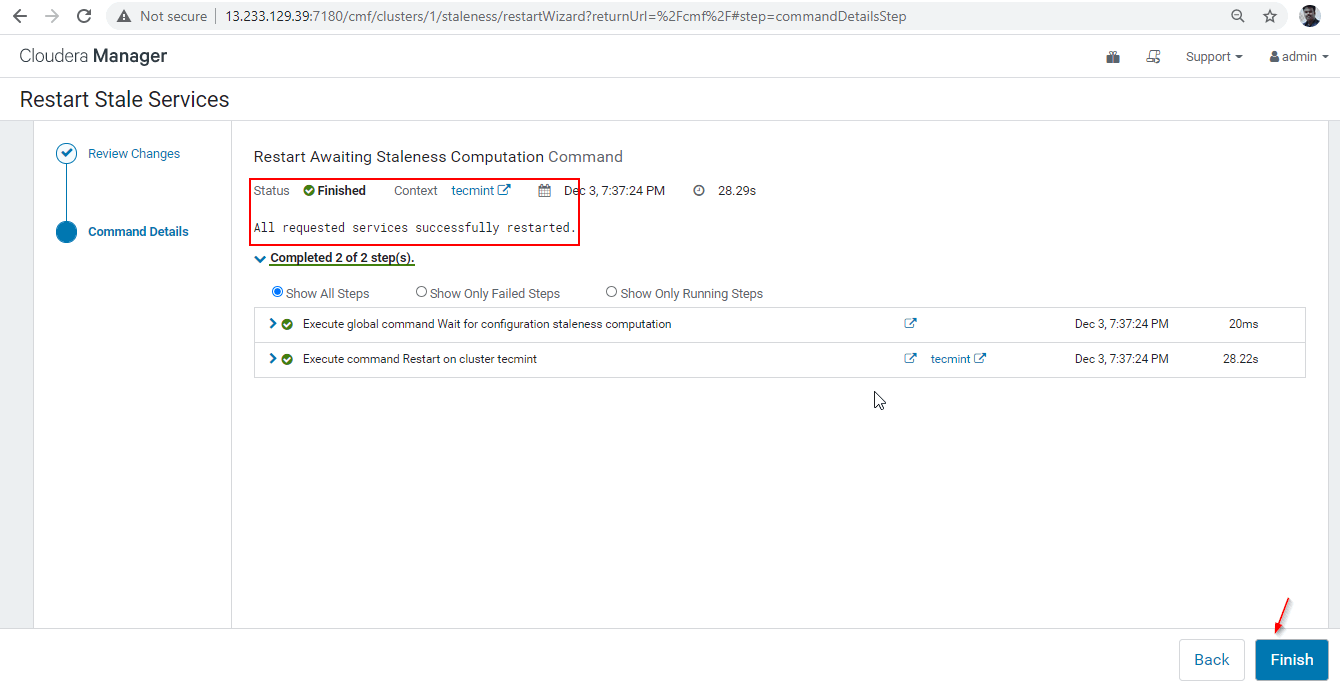
29. Once the restart completed successfully, you will be getting the status ‘Finished’. Click ‘Finish’ to complete the process.
30. Now we will connect the Hiveserver2 using Zookeeper Discovery mode. In the JDBC connection, the string we need to use the Zookeeper servers with its port number 2081. Collect the Zookeeper servers by going to Cloudera Manager –> Zookeeper –> Instances –> (Note down the server names).
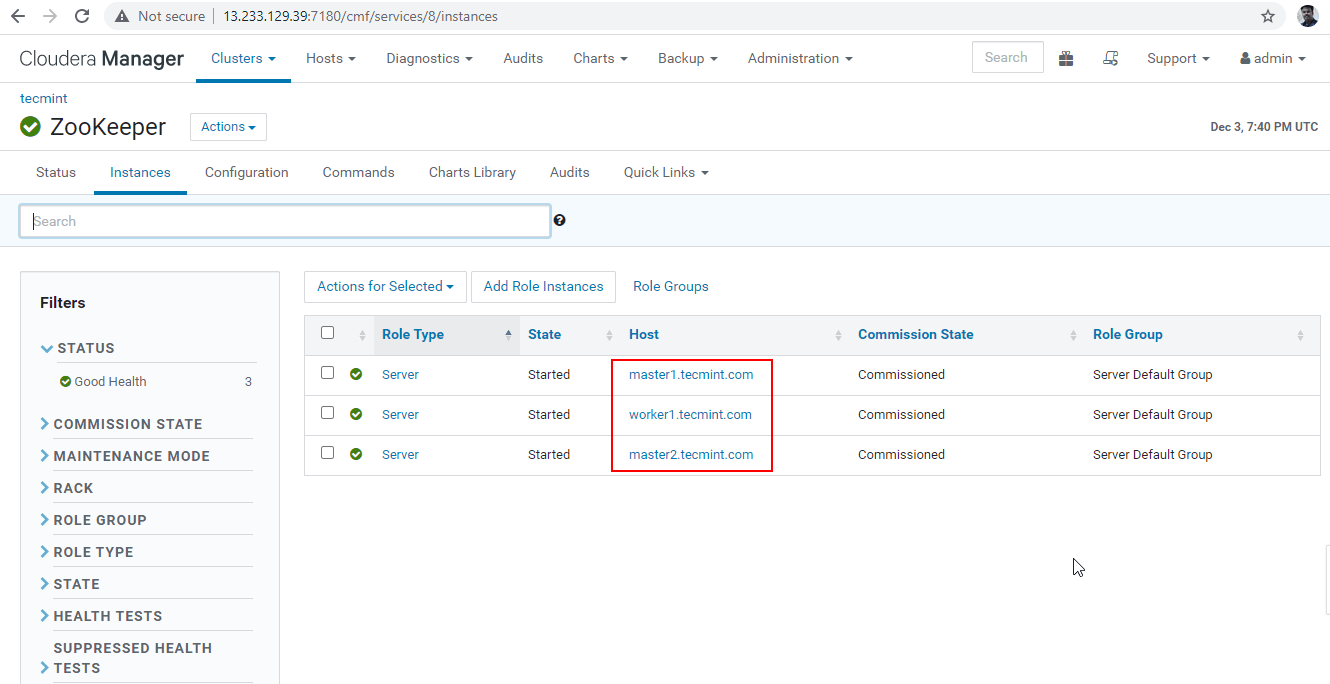
These are the three servers having Zookeeper, 2181 is the port number.
master1.tecmint.com:2181
master2.tecmint.com:2181
worker1.tecmint.com:2181
31. Now get into beeline.
[tecmint@master1 ~]$ beeline

32. Enter the JDBC connection string as mention below. We have to mention the Service Discovery Mode and Zookeeper Namespace. ‘hiveserver2’ is the default Namespace of Hiveserver2.
beeline>!connect "jdbc:hive2://master1.tecmint.com:2181,master2.tecmint.com:2181,worker1.tecmint.com:2181/;serviceDiscoveryMode=zookeeper;zookeeperNamespace=hiveserver2"

33. Now the session is connected to Hiveserver2 running on master1. Run a sample query to validate. Use the below command to create a database.
0: jdbc:hive2://master1.tecmint.com:2181,mast> create database tecmint;

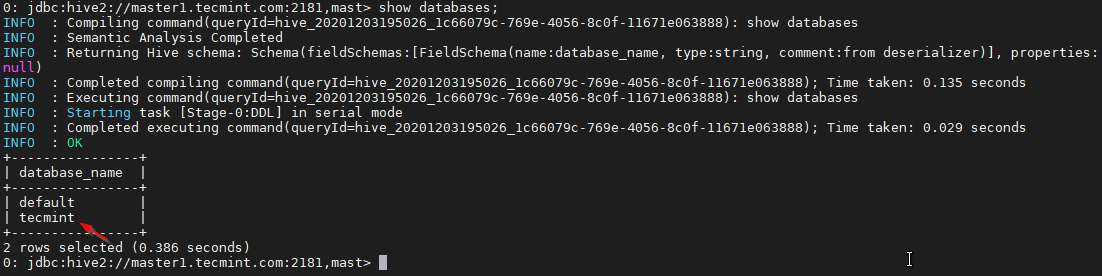
34. Use the below command to list the database.
0: jdbc:hive2://master1.tecmint.com:2181,mast> show databases;
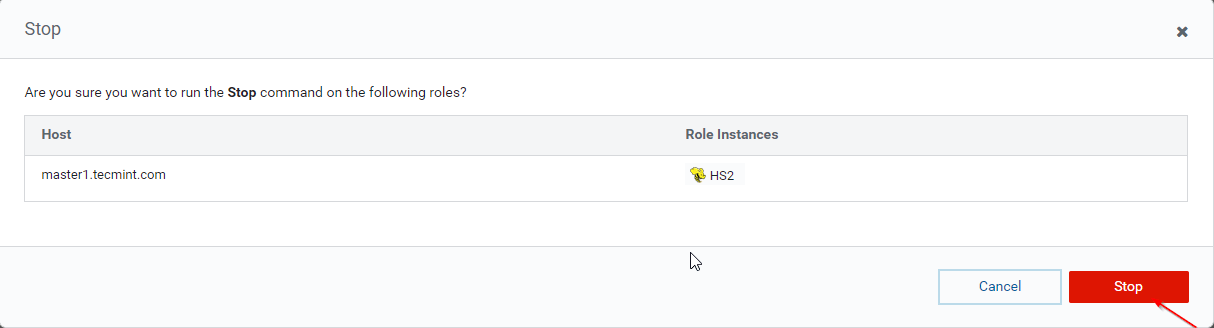
35. Now we will validate the High Availability in Zookeeper Discovery Mode. Go to Cloudera Manager and stop the Hiveserver2 on master1 that we have tested above.
Cloudera Manager –> Hive –> Instances –> (select Hiveserver2 on master1) –> Action for selected –> Stop.

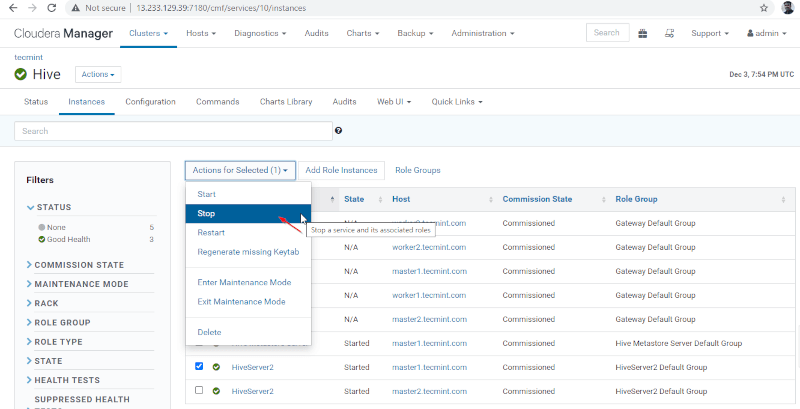
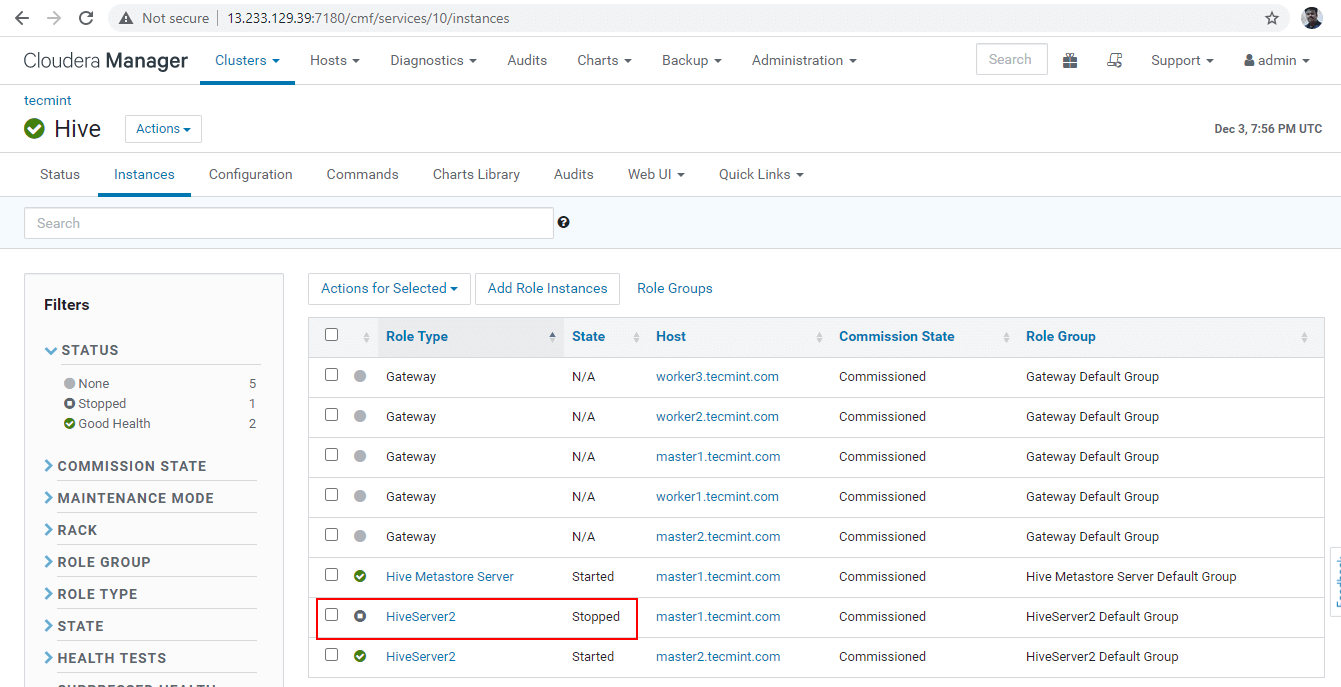
36. Click the ‘Stop’. Once stopped, you will be getting the status ‘Finished’. Verify the Hiveserver2 on master1 by navigating into Hive –> Instances.
37. Get into the beeline and connect the Hiveserver2 using the same JDBC connection string with Zookeeper Discovery Mode as we did in the above steps.
[tecmint@master1 ~]$ beeline

beeline>!connect "jdbc:hive2://master1.tecmint.com:2181,master2.tecmint.com:2181,worker1.tecmint.com:2181/;serviceDiscoveryMode=zookeeper;zookeeperNamespace=hiveserver2"

Now you will be connected to Hiveserver2 running on master2.
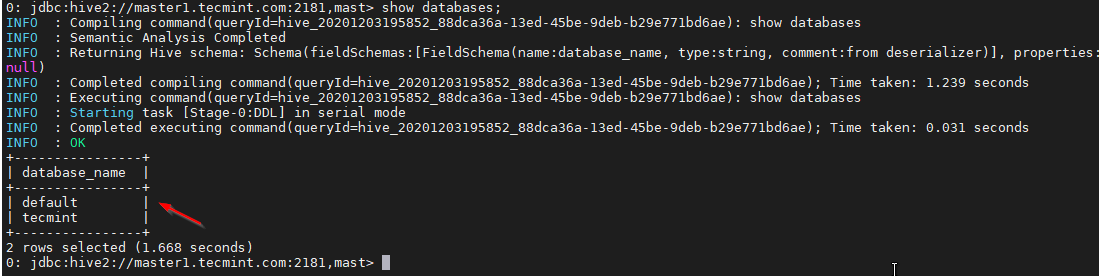
38. Validate with a sample query.
0: jdbc:hive2://master1.tecmint.com:2181,mast> show databases;
Conclusion
In this article, we have gone through the detailed steps to have the Hive Data Warehouse model in our Cluster with High Availability. In a real-time production environment, more than three Hiveserver2 will be placed with Zookeeper Discovery Mode enabled.
Here, all the Hiveserver2’s are registering with Zookeeper under a common Namespace. Zookeeper Dynamically discovers the available Hiveserver2 and establishes the Hive session.


Explain HMS HA, please
Remote metastore deployment.