A “LEMP” stack is a mixture of open-source software that is typically installed on a Linux server to deploy dynamic applications. This term is an acronym that represents the Linux operating system, Nginx web server, a MariaDB database, and PHP programming.
Read Also: How to Install LAMP on Debian 10 Server
Although this “LEMP” stack normally contains MySQL as the database management system, some Linux distributions such as Debian — use MariaDB as a drop-in replacement for MySQL.
Requirements
In this article, we will explain to you how to install and setup a LEMP environment on a Debian 10 server, using MariaDB as the database management platform.
Installing Nginx Web Server on Debian 10
Nginx is an open-source and cross-platform, lightweight yet powerful and easy to configure HTTP and reverse proxy server, a mail proxy server, and a generic TCP/UDP proxy server, with a modular architecture.
Some of its basic features include serving static and index files; accelerated support with caching of FastCGI, uwsgi, SCGI, and Memcached servers, load balancing and fault tolerance, SSL and TLS SNI support, support for HTTP/2 with weighted and dependency-based prioritization.
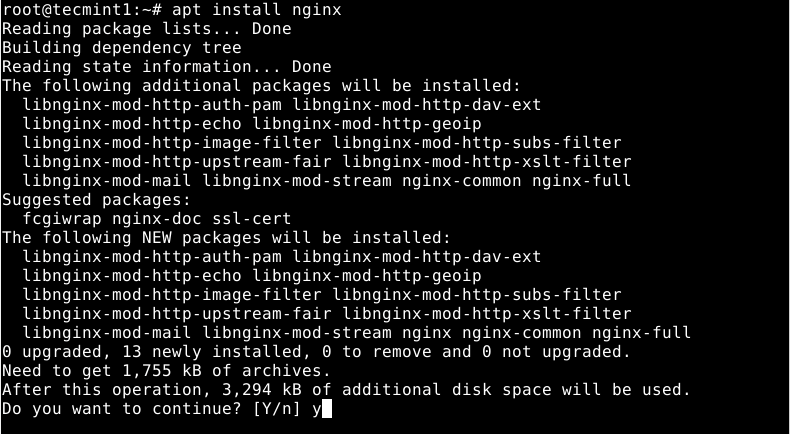
To install the Nginx package, use Debian’s apt package manager as shown.
# apt update
# apt install nginx
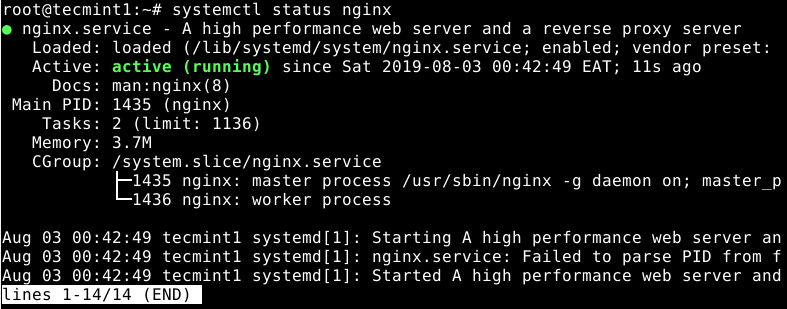
Once the Nginx installation is complete, the installer will activate systemd to start the Nginx service for now and enable it to automatically start at system boot. You can check the status of Nginx using the following systemctl command.
# systemctl status nginx
You can also use the following important commands to start, restart, stop, and reload the configuration of the Nginx service under systemd.
# systemctl start nginx
# systemctl restart nginx
# systemctl stop nginx
# systemctl reload nginx
# systemctl status nginx
Next, if you have the UFW firewall running (it is usually disabled by default), you need to open port 80 (HTTP) and 443 (HTTPS) to allow incoming traffic on Nginx.
# ufw allow 80
# ufw allow 443
# ufw status
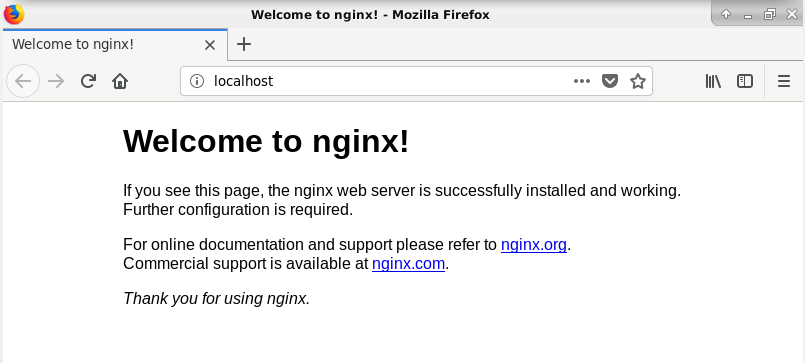
At this point, you need to test if Nginx is properly installed, whether it is running and can serve web pages. To do that, open a web browser and point it to the following URL to access the Nginx Debian Default web page.
http://SERVER_IP/
OR
http://localhost/
Installing MariaDB on Debian 10
Next, you need to install a database system to be able to store and manage data for your website or web app. Debian 10 supports MariaDB by default, as a drop-in replacement for MySQL.
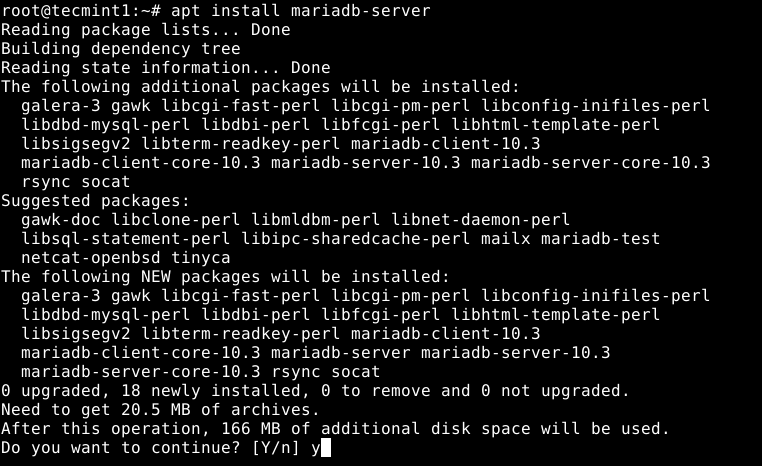
To install MariaDB, run the following command.
# apt install mariadb-server
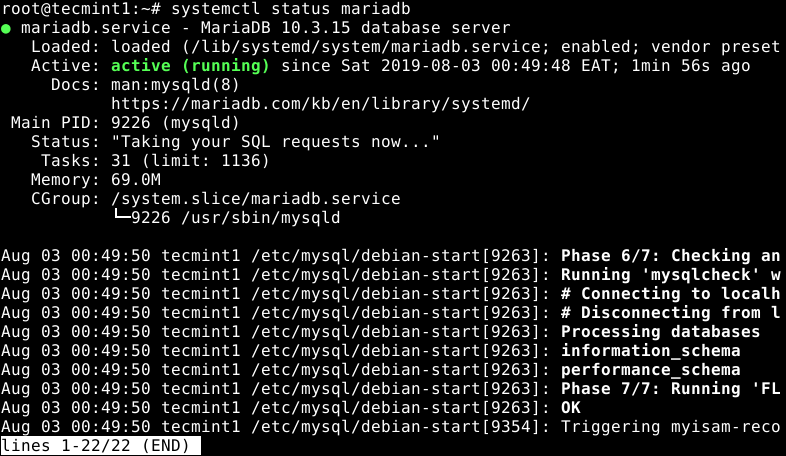
Next, check the MariaDB service status since it is auto started by systemd and enabled to start at system boot, to ensure that it is up and running, use the following command.
# systemctl status mariadb
To manage (start, restart, stop and reload) the MariaDB service under systemd, you can use the following command.
# systemctl start mariadb
# systemctl restart mariadb
# systemctl stop mariadb
# systemctl reload mariadb
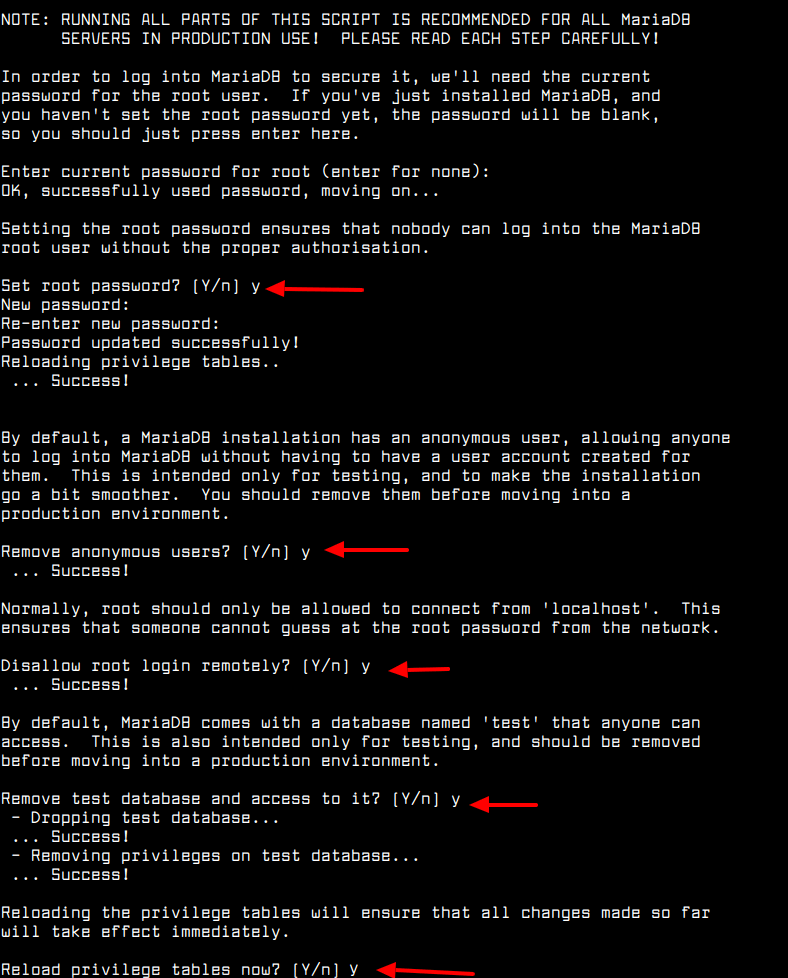
Next, the MariaDB deployment will be insecure by default. You need to run a shell script which ships in with the package, to enable you to improve the database security.
# mysql_secure_installation
After running the script, it will take you through a series of following questions to modify the default settings of the MariaDB installation as shown in the following screenshot.
Installing PHP-FPM (Fast Process Manager) on Debian 10
Unlike Apache and other web servers, Nginx does not provide native support for PHP, as it uses PHP-FPM to handle requests for PHP pages. PHP-FPM is an alternative FastCGI daemon for PHP that allows a website to handle high loads, by using worker processes to handle requests.
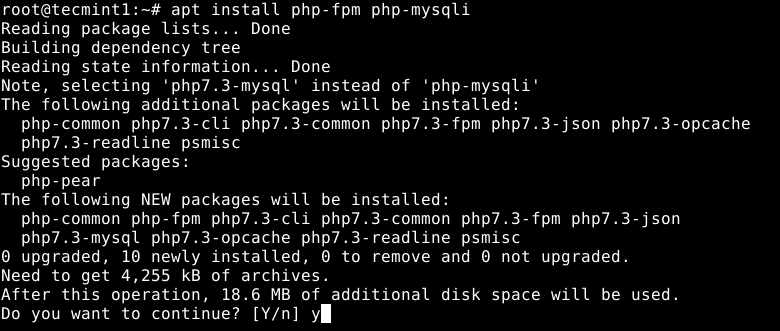
To install PHP-FPM version 7.3 and a PHP module to communicate with a MariaDB/MySQL database system, run the following command.
# apt install php-fpm php-mysqli
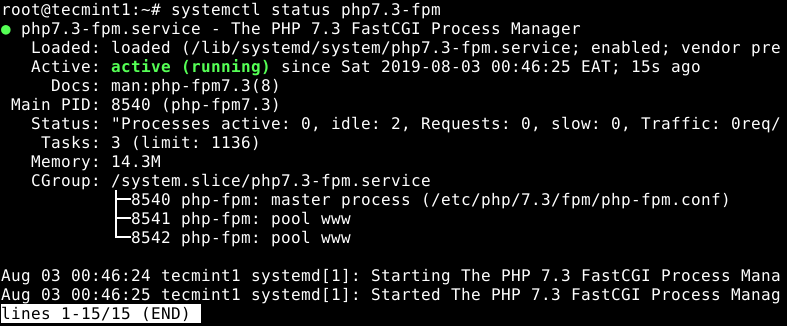
After PHP-FPM is installed, the installer will activate systemd to start the PHP-FPM service for now and enable it to auto-start at system boot. To check if it is up and running, issue the following command.
# systemctl status php-fpm
You can also start, restart stop, and reload the configuration of the PHP-FPM service under systemd, as follows.
# systemctl start php-fpm
# systemctl restart php-fpm
# systemctl stop php-fpm
# systemctl reload php-fpm
# systemctl status php-fpm
Next, you need to secure PHP-FPM by making some changes in the configuration file /etc/php/7.3/fpm/php.ini as follows.
# vi /etc/php/7.3/fpm/php.ini
Look for the ;cgi.fix_pathinfo=1 uncomment it by removing the ; character at the start, set its value to 0. This prevents Nginx from allowing non-PHP files to be executed as PHP.
cgi.fix_pathinfo=0
By default, PHP-FPM is configured to listen on a UNIX soxket, /run/php/php7.3-fpm.sock as defined in the /etc/php/7.3/fpm/pool.d/www.conf configuration file. You have to configure all your server block (or virtual hosts) to use this socket if they are to process and serve PHP pages.
You can use the Nginx default server block configuration file /etc/nginx/sites-available/default to test it.
# vi /etc/nginx/sites-available/default
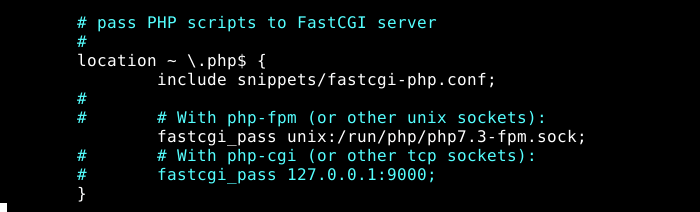
Look for the following section and uncomment it to pass PHP scripts to FastCGI server as shown in the screenshot.
location ~ \.php$ {
            include snippets/fastcgi-php.conf;
            fastcgi_pass unix:/run/php/php7.3-fpm.sock;
}
Next, test if the Nginx configuration structure is OK, using the following command.
# nginx -t

If the Nginx configuration is OK, to apply the recently made changes, restart the php7.3-fpm and nginx services as follows.
# systemctl restart php7.2-fpm
# systemctl restart nginx
Testing PHP-FPM Processing on Nginx
After configuring PHP-FPM and Nginx to work together, you need to test if two services can process and serve PHP pages to clients. To do that, create a simple PHP script in your web DocumentRoot as follows.
# echo “<?php phpinfo(); ?>” | tee /var/www/html/info.php
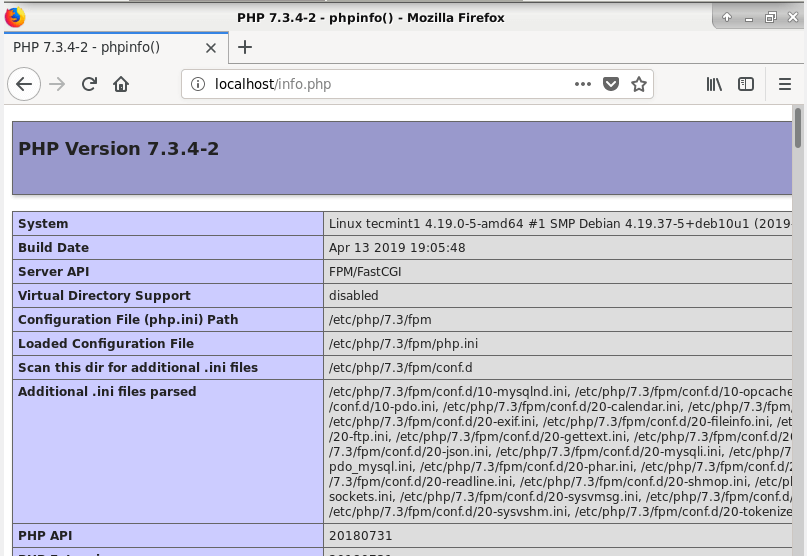
Finally, open a browser and type the following address to see the PHP configurations on the system as generated by the phpinfo() function.
http://SERVER_IP/info.php
OR
http://localhost/info.php
Conclusion
In this article, we have shown how to install and configure the LEMP stack in Debian 10. If you’ve got any questions or feedback, please reach out and let us know via the comment form below.


Hello Dear Friends,
As you know According to new mechanism of MariaDB 10 and higher versions , it uses a Unix socket and in Debian 10 it has no Test database and no Anonymous users, so why we have to run mysql_secure_installation script?
@Mohammad,
To set a root password and other security things…
It seems php-mysqli is actually php-mysql when apt installing modules.
@aRNoLD
The two modules are used for the same function. The package manager always selects the supported one.
Article is good. Can you post another tutorial on how to setup magneto 2 in localhost with nginx? I tried and failed. Then switched back to apache2.
@Biswajit
We will work on this Sir. Thanks for the feedback.