Brief: In this article, you will learn how to install the PostgreSQL 15 database server and pgAdmin 4 in RHEL 9 Linux distribution.
PostgreSQL is a powerful, widely-used, open-source, multi-platform, and advanced object-relational database system known for its proven architecture, reliability, data integrity, robust feature set, and extensibility.
pgAdmin is an advanced, open-source, full-featured, and web-based administration and management tool for the PostgreSQL database server.
Let’s get started…
Step 1: Installing PostgreSQL on RHEL 9
1. First, disable the built-in PostgreSQL module by running the following dnf command.
# dnf -qy module disable postgresql
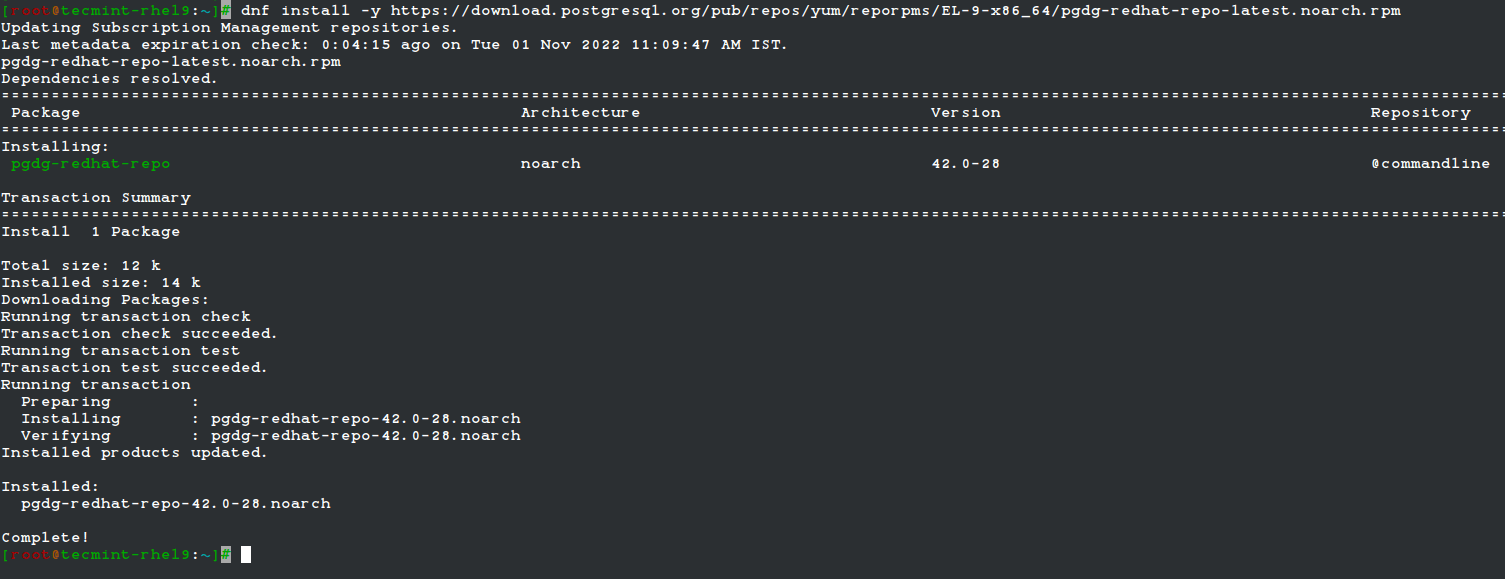
2. Next, enable the official PostgreSQL Yum Repository as shown.
# dnf install -y https://download.postgresql.org/pub/repos/yum/reporpms/EL-9-x86_64/pgdg-redhat-repo-latest.noarch.rpm
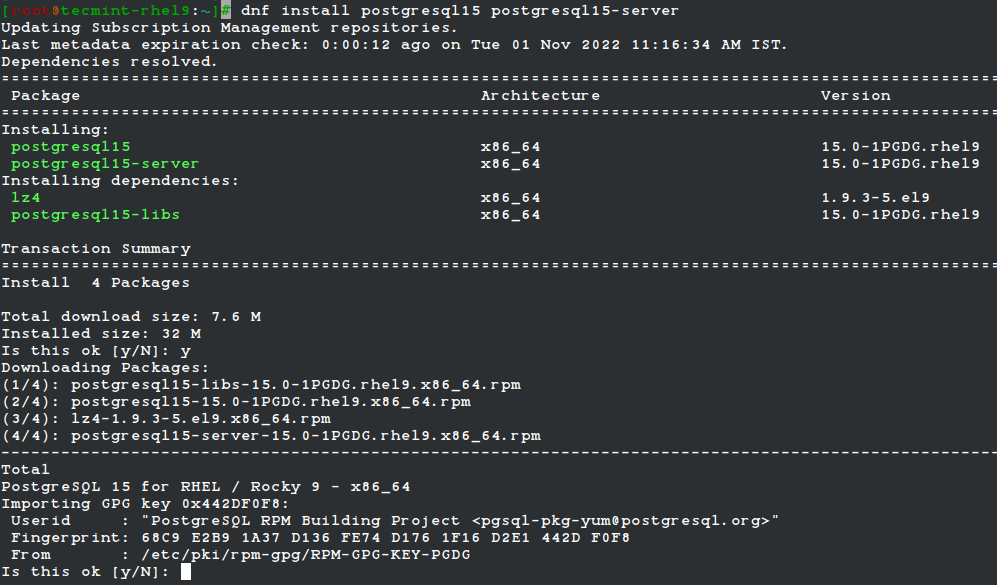
3. Next, install the PostgreSQL 15 server and client packages.
# dnf install -y postgresql15-server
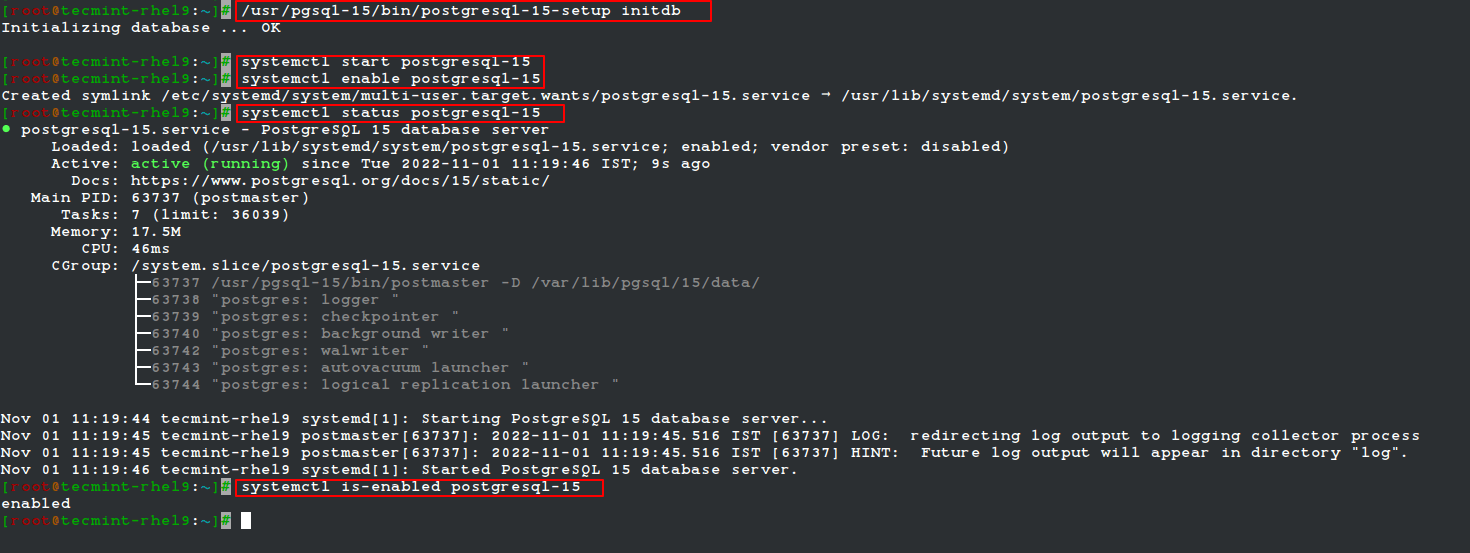
4. Once the installation is complete, initialize the PostgreSQL database, then start the PostgreSQL-15 service and enable it to automatically start at system boot. Then check if the service is up and running, and is enabled as shown.
# /usr/pgsql-15/bin/postgresql-15-setup initdb
# systemctl start postgresql-15
# systemctl enable postgresql-15
# systemctl status postgresql-15
# systemctl is-enabled postgresql-15
Step 2: Secure and Configure PostgreSQL Database
5. Next, secure the Postgres user account and the database administrative user account. Start by creating a password for a Postgres system user account using the passwd utility as shown.
# passwd postgres

6. Then switch to the Postgres system account and create a secure and strong password for PostgreSQL administrative database user/role as follows.
# su - postgres
$ psql -c "ALTER USER postgres WITH PASSWORD 'securep@sshere';"
$ exit

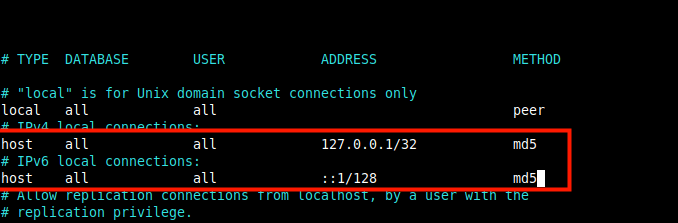
7. Now configure how the Postgres server will authenticate clients such as pgAdmin. The supported authentication methods include password-based authentication which uses one of these methods: md5, crypt, or password.
For this guide, we will configure the md5 authentication method in the file /var/lib/pgsql/15/data/pg_hba.conf.
# vi /var/lib/pgsql/15/data/pg_hba.conf
Find the following lines and change the authentication method to md5 as highlighted in the screenshot.
host    all             all             127.0.0.1/32            md5
host    all             all             ::1/128                 md5
8. After saving the file, to apply the recent changes in the Postgres configuration, restart the Postgres service.
# systemctl restart postgresql-15
Step 3: Installing pgAdmin4 in RHEL 9
9. Now we will install pgAdmin 4 to manage the PostgreSQL database from the web. First, you need to enable the EPEL and pgAdmin yum repositories which contain some of the dependencies.
# subscription-manager repos --enable codeready-builder-for-rhel-9-$(arch)-rpms
# dnf install https://dl.fedoraproject.org/pub/epel/epel-release-latest-9.noarch.rpm
# dnf install -y https://ftp.postgresql.org/pub/pgadmin/pgadmin4/yum/pgadmin4-redhat-repo-2-1.noarch.rpm
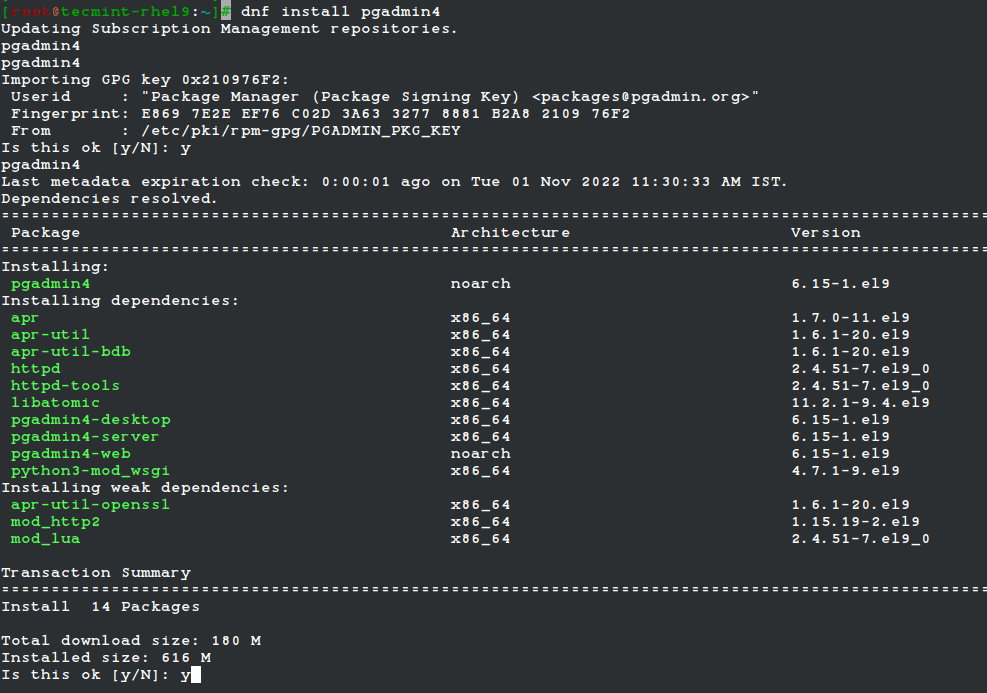
10. Now build a cache for newly installed pgAdmin and EPEL repositories and install pgAdmin using the following commands.
# dnf makecache
# yum install pgadmin4
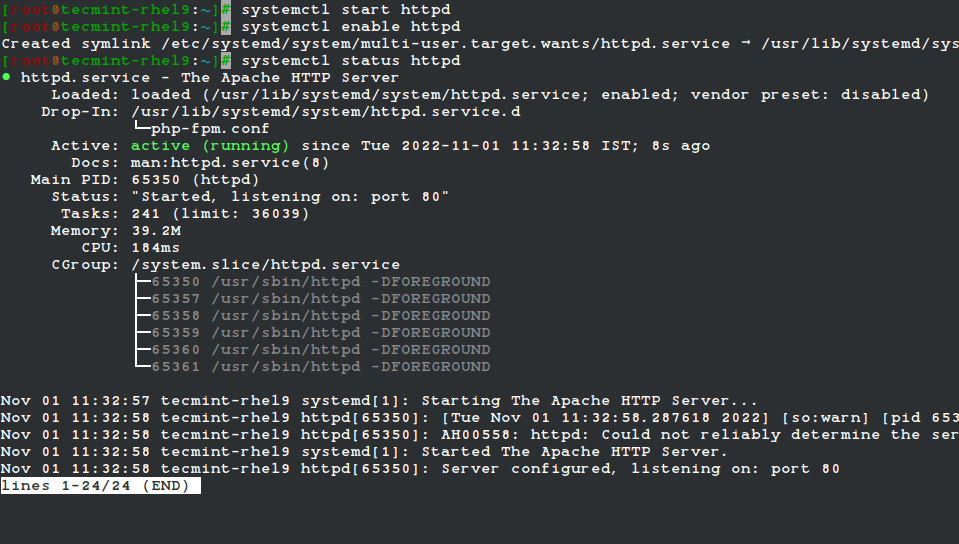
11. Next, start the httpd service and enable it to auto-start at system boot, then check if it is up and running as shown.
# systemctl start httpd
# systemctl enable httpd
# systemctl status httpd
Step 4: Configuring pgAdmin 4 in RHEL 9
12. The pgadmin4 package comes with a configurable script to configure the pgAdmin web service, which will create a user account used to authenticate in the web interface, configure SELinux policies and Apache webserver to deploy pgAdmin web service.
# /usr/pgadmin4/bin/setup-web.sh
Sample Output
Setting up pgAdmin 4 in web mode on a Redhat-based platform...
Creating configuration database...
NOTE: Configuring authentication for SERVER mode.

Enter the email address and password to use for the initial pgAdmin user account:

Email address: [email protected]
Password:
Retype password:
pgAdmin 4 - Application Initialisation
======================================

Creating storage and log directories...
Configuring SELinux...
The Apache web server is running and must be restarted for the pgAdmin 4 installation to complete. Continue (y/n)? y
Apache successfully restarted. You can now start using pgAdmin 4 in web mode at http://127.0.0.1/pgadmin4
13. If you have the firewalld service enabled and running, open ports 80 and 443 in the firewall to allow traffic to the HTTPD web server as shown.
# firewall-cmd --permanent --zone public --add-port 80/tcp
# firewall-cmd --permanent --zone public --add-port 443/tcp
# firewall-cmd --reload
Step 5: Accessing pgAdmin Web Interface
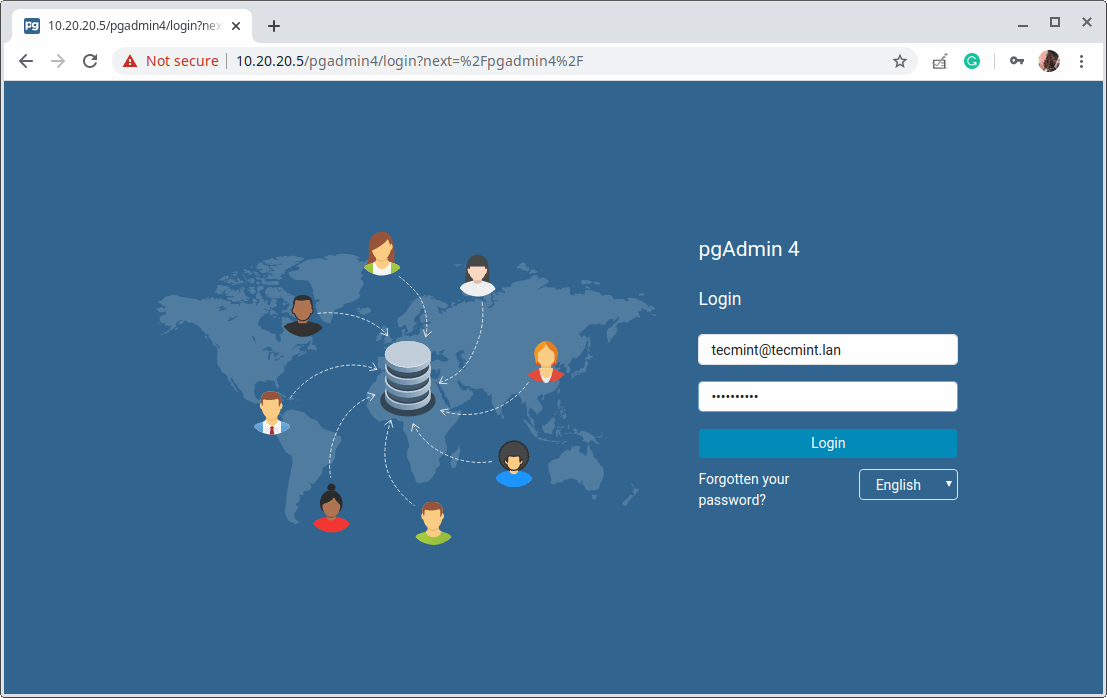
14. To access the pgAdmin web interface, open a browser and navigate using the following URL.
http://SERVER_IP/pgadmin4
OR
http://localhost/pgadmin4
Once the login interface loads, use the email address and password you created in step 12 above to log in.
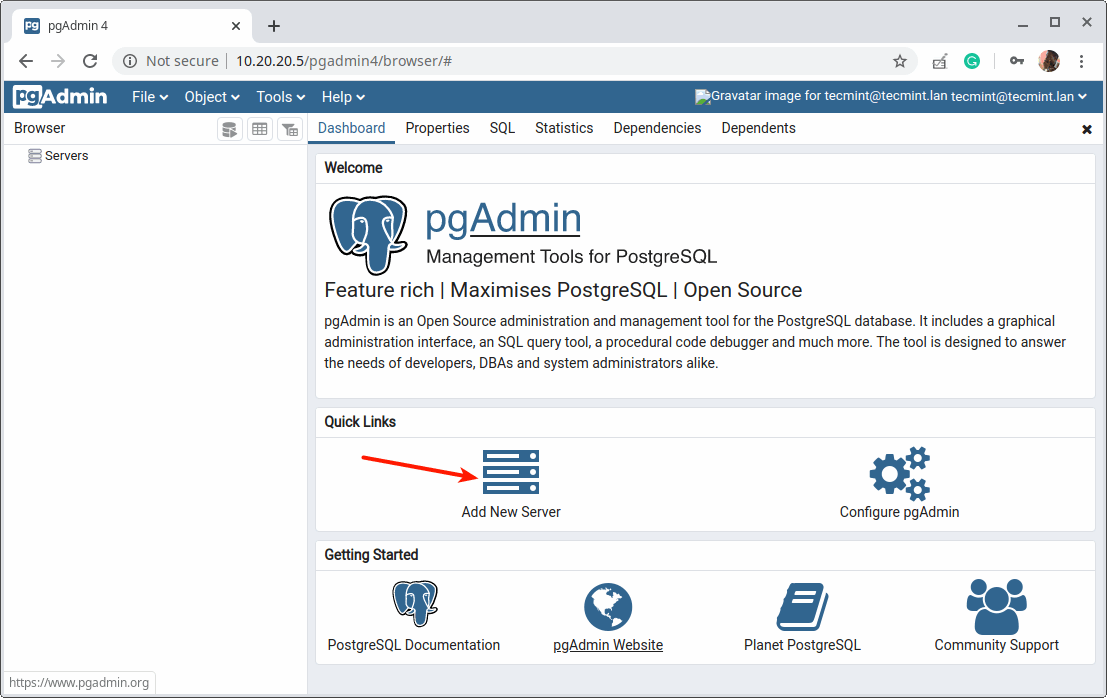
15. Next, add a new server connection by clicking on “Add New Server”.
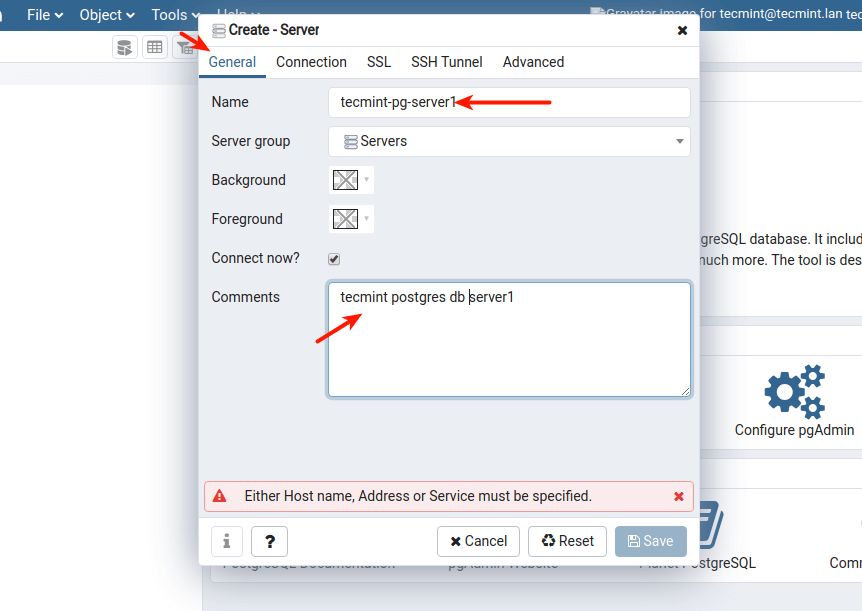
16. Then under the “General” tab, enter the following settings server Name and optionally leave a comment to describe the connection.
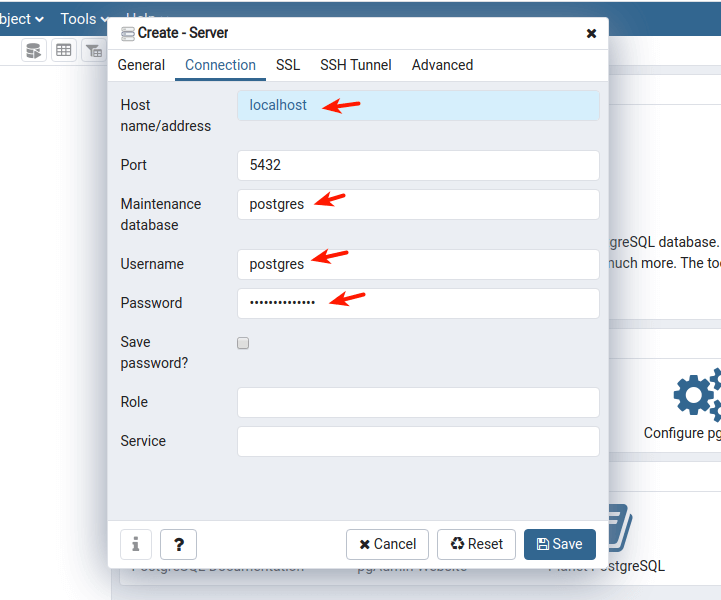
17. Then define the connection profile by filling in the following:
- Host – host/IP address of the PostgreSQL server.
- Port – defaults to 5432.
- Maintenance Database – defaults should be Postgres.
- Username – the database username. You can use Postgres.
- Password – password for the above user.
Then click Save.
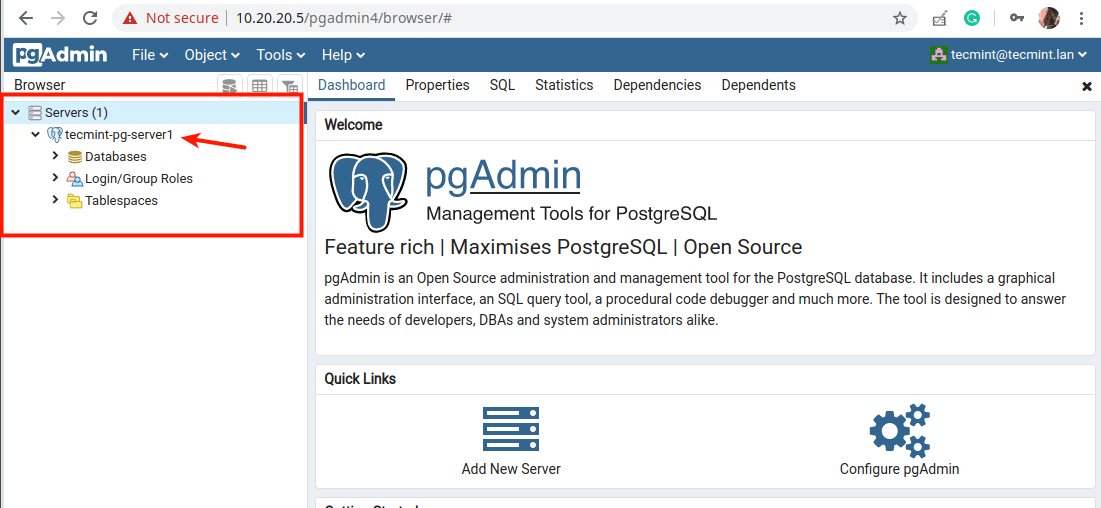
18. The new server should now appear under the list of servers as highlighted in the following screenshot.
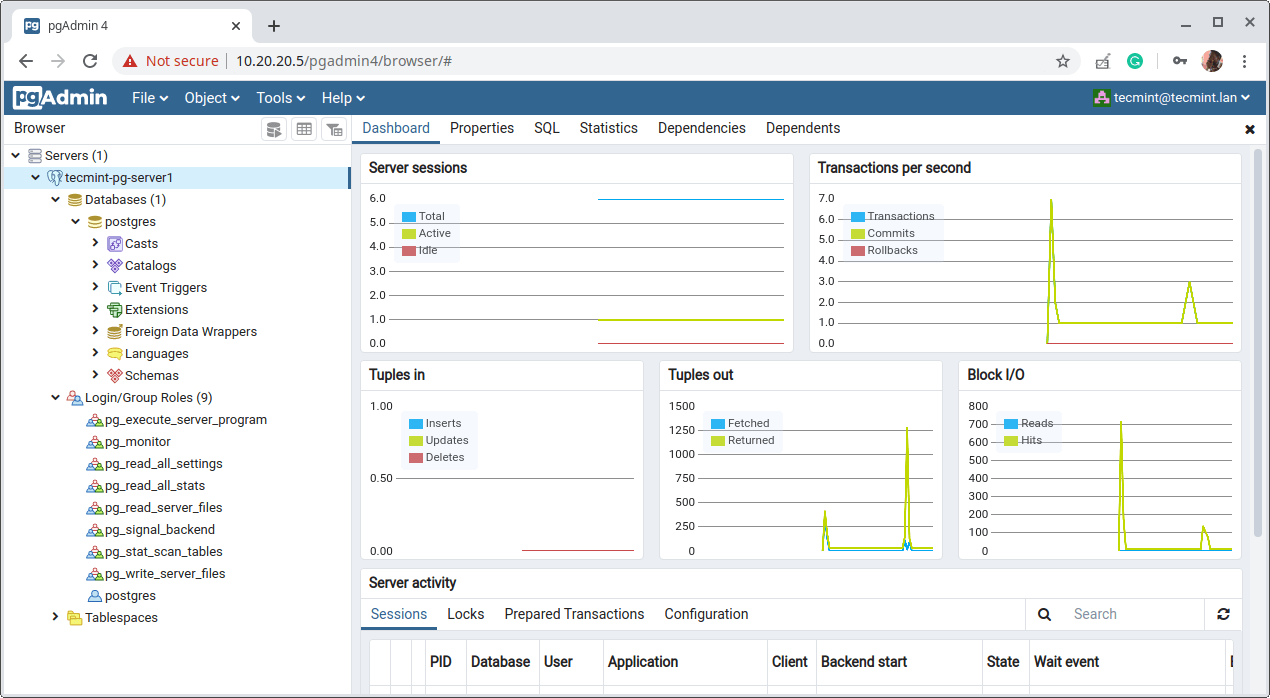
19. When you click on the server name, its attributes should load under the Dashboard as shown in the following screenshot.
There you have it! You have successfully installed Postgresql 15 and pgAdmin 4 in RHEL 9. Reach us via the feedback form below for any thoughts and questions.
You can find more information in the Postgresql 15 documentation and pgAdmin documentation.