In this article, we will walk you through the first basic steps that you need to apply after installing a minimal CentOS/RHEL 8 server with no graphical environment in order to retrieve the information about the installed system, the hardware on top of which the server is running and configure other specific system tasks, such as system update, networking, root privileges, configure ssh, manage services, and others.
Requirements
Important: You must have a Red Hat Subscription Service enabled on your RHEL 8 server to perform system update and software installation.
Step 1: Update System Software
First, log into your server as root user and run the following commands to fully update the system with the latest kernel, system security patches, software repositories, and packages.
# dnf check-update
# dnf update
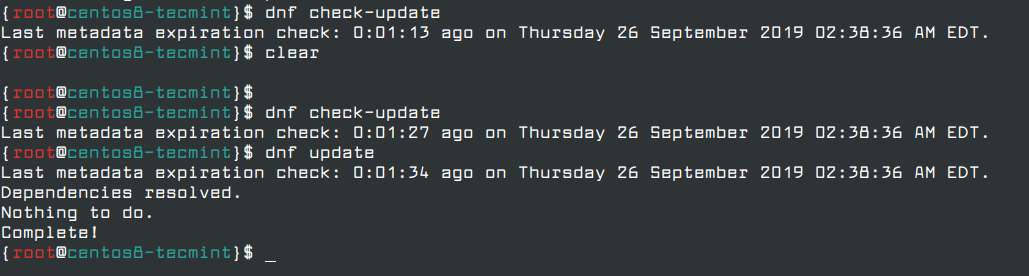
Once the software upgrade process finishes, in order to release disk space you can delete all downloaded software packages with all cached repositories information by running the following command.
# dnf clean all

Step 2: Install System Utilities
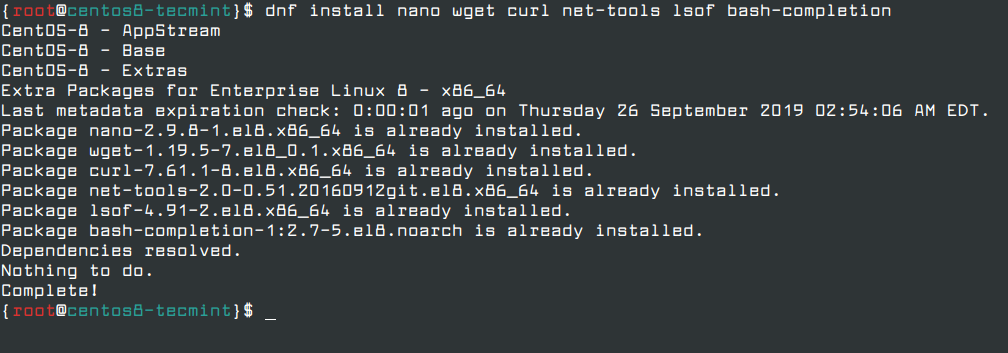
These following system utilities can be very useful for day-by-day system administration tasks: nano, vim editor, wget & curl (utilities used for downloading packages over network mostly) net-tools (utilities for managing local networking) lsof (useful for finding list of open files by process) and bash-completion (command line autocomplete).
# dnf install nano vim wget curl net-tools lsof bash-completion
Step 3: Setup Hostname and Networking
In CentOS/RHEL 8, there is a wide range of tools included in the repositories that used to configure and manage networking, from manually altering the network configuration file to using commands such as ifconfig, ip, nmcli and nmtui.
The easiest utility that a newbie can use to configure and manage network configurations such as setting network hostname and configuring static IP address is using nmtui graphical command-line utility.
Set Hostname in CentOS 8
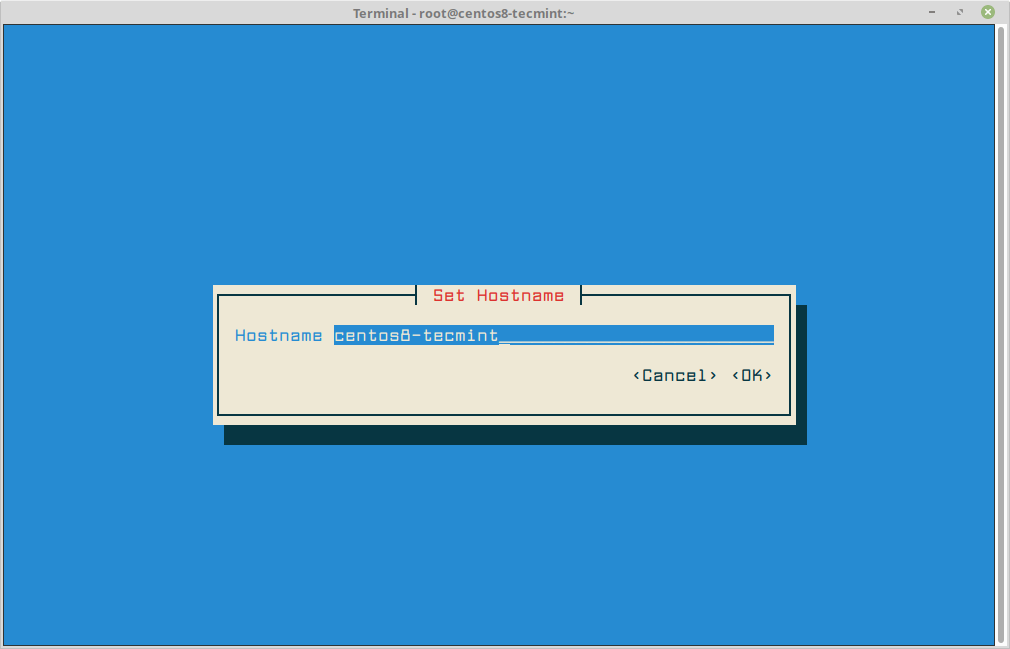
In order to set or change the system hostname run the following nmtui-hostname command, which will prompt you to enter your machine hostname and press OK to finish, as illustrated in the below screenshot.
# nmtui-hostname
Set Static IP Address in CentOS 8
To configure a network interface, run the following nmtui-edit command, which will prompt you to select the interface that you want to configure from the menu as shown in the below screenshot.
# nmtui-edit
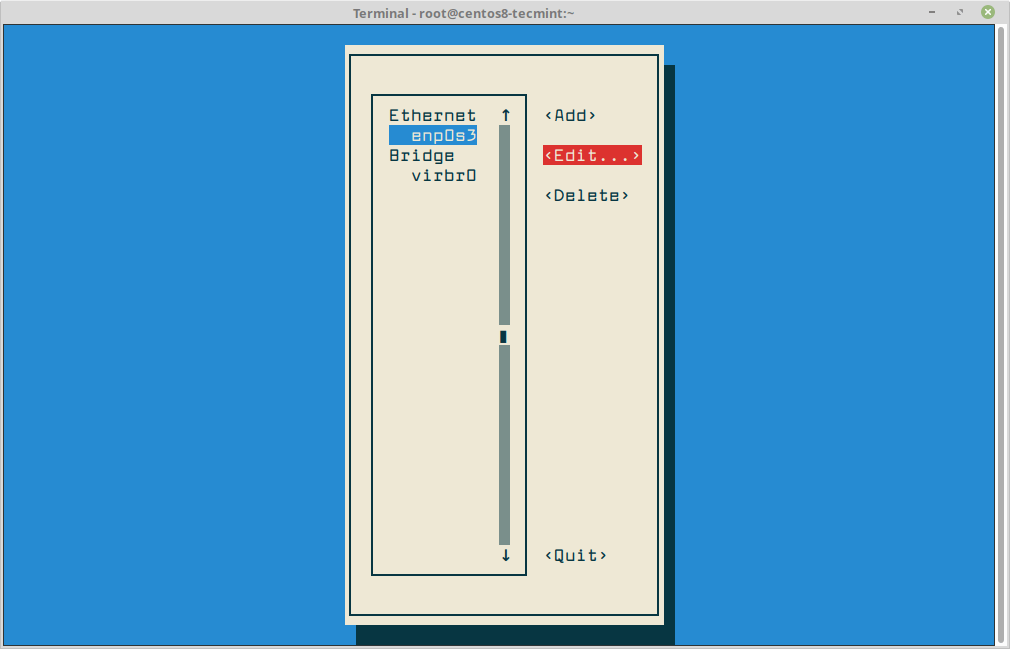
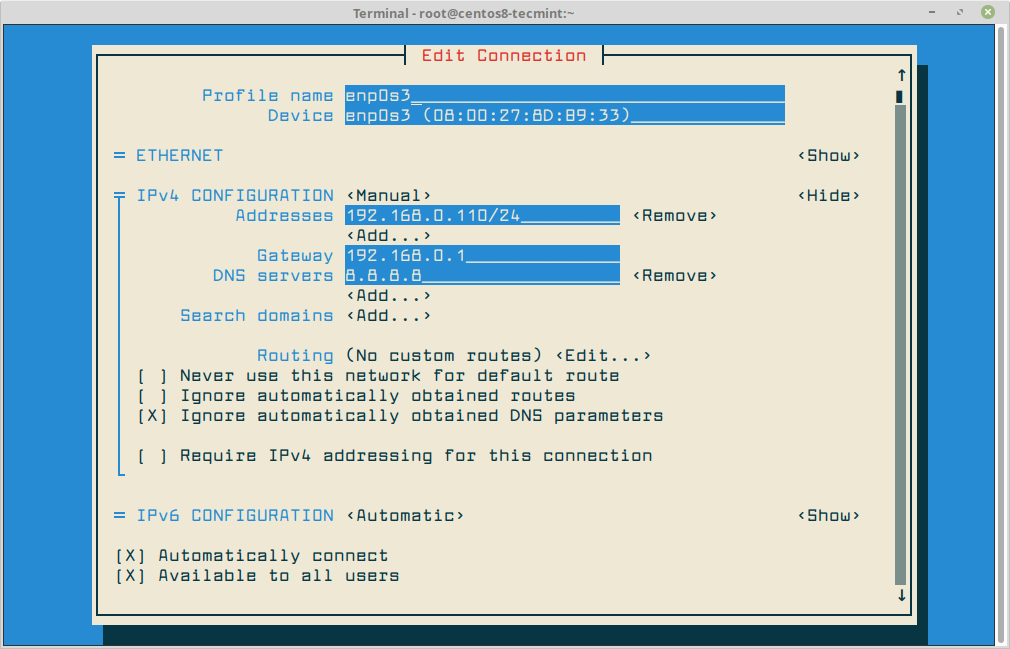
Once you click on the Edit button, it will prompt you to set up the network interface IP settings as illustrated in the below screenshot. When you finish, navigate to OK using [tab] a key to save the configuration and quit.
Once you are done with network configuration, you need to run the following command to apply the new network settings by selecting the interface you want to manage and hit on Deactivate/Activate option to decommission and bring up the interface with the IP settings, as presented in the below screenshot.
# nmtui-connect

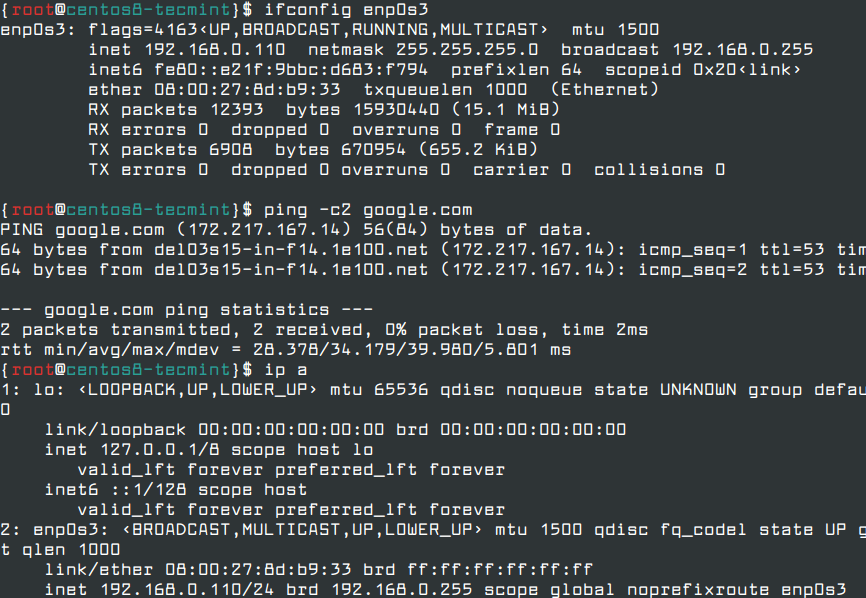
In order to verify the network configuration settings, you can check the content of the interface file or you can issue the below commands.
# ifconfig enp0s3
# ip a
# ping -c2 google.com
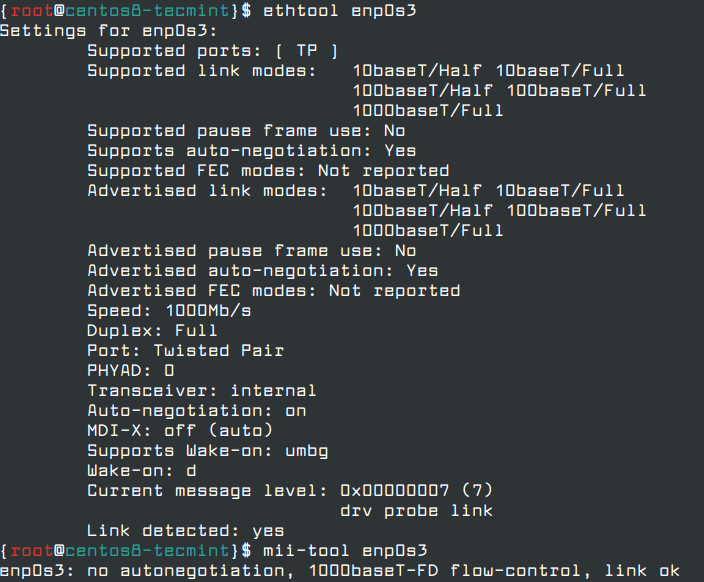
You can also use other useful network utilities such as ethtool and mii-tool to check the speed of network interface, network link status and obtain information about machine network interfaces.
# ethtool enp0s3
# mii-tool enp0s3
An important aspect of your machine networking, it is important to list all open network sockets in order to check what services are listening on what ports and what’s the status of the established network connections and list all files that are opened by processes.
# netstat -tulpn
# ss -tulpn
# lsof -i4 -6
Step 4: Create a New User Account
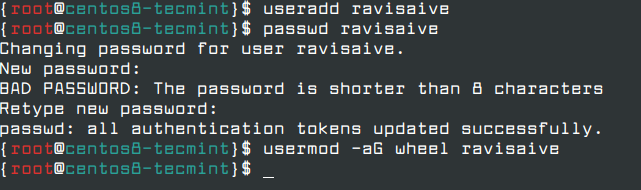
It is always advisable to have a normal user with root permissions to do administrative tasks when needed. In order to assign root privileges on a normal user, first, create a user with useradd command, set the password and add a user to the administrative wheel group.
# useradd ravisaive
# passwd ravisaive
# usermod -aG wheel ravisaive
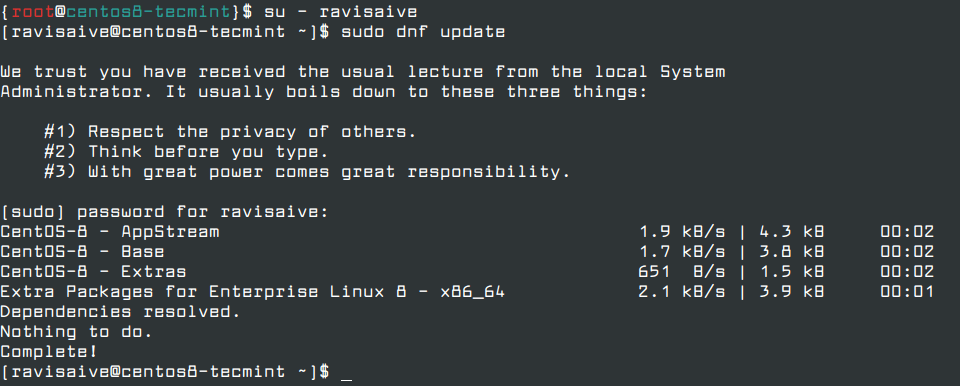
To verify that the new user has root privileges, log in to the system with the user’s credentials and run dnf command with Sudo permissions as shown.
# su - ravisaive
# sudo dnf update
Step 5: Setup SSH Passwordless Login on CentOS 8
In order to increase your server security, set up an SSH password-less authentication for your new user by generating a pair of SSH Key – which contains a public and private key, but you need to create one. This will increase the security of your server by requiring a private SSH key to connect to the system.
# su - ravisaive
$ ssh-keygen -t RSA
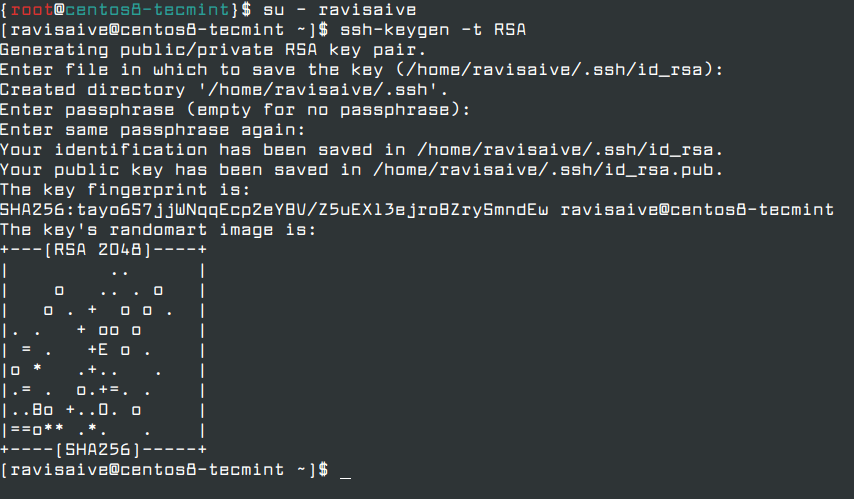
Once the key is generated, it will ask you to enter the passphrase in order to secure the private key. You can enter a strong passphrase or choose to leave the passphrase empty if you want to automate administrative tasks via SSH server.
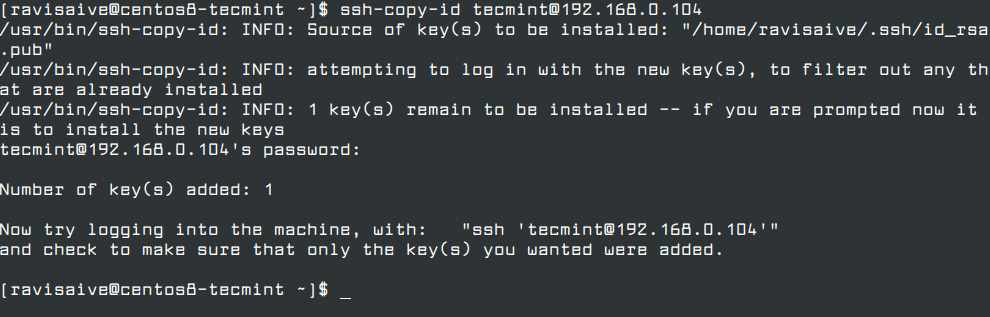
Once the SSH key has been generated, you need to copy the generated public key pair to a remote server by running the ssh-copy-id command with the username and IP address of the remote server as shown.
$ ssh-copy-id [email protected]
Once the SSH key has been copied, you can now try to login into your remote Linux server using the private key as the authentication method. You should be able to log in automatically without the SSH server asking for a password.
$ [email protected]

Step 6: Securing SSH Remote Logins
Here, we will secure our server little bit more by disabling remote SSH access to the root account in the SSH configuration file.
# vi /etc/ssh/sshd_config
Find the line that says #PermitRootLogin yes, uncomment the line by deleting the # from the beginning of the line and modify the line to.
PermitRootLogin no
Afterward, restart the SSH server to apply the recent new changes.
# systemctl restart sshd
Now verify the configuration by trying to log in as root account, you will get access SSH Permission Denied error as shown.
# ssh [email protected]

There are scenarios where you might want to disconnect all remote SSH connections automatically to your server after a certain period of inactivity.
Step 7: Configure Firewall on CentOS 8
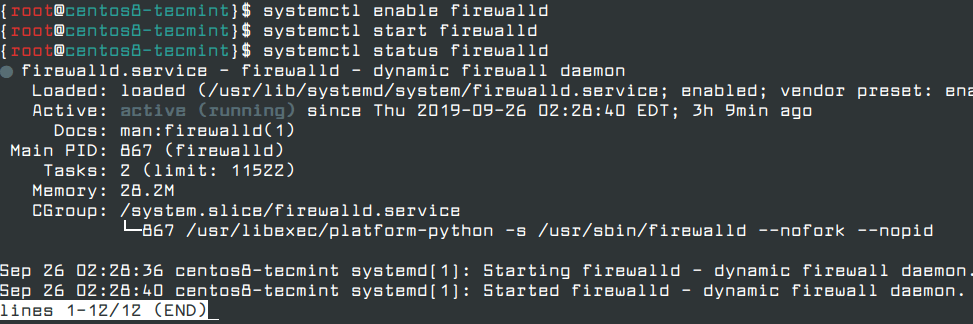
In CentOS/RHEL 8, the default firewall is Firewalld, which is used to manage iptables rules on the server. To enable and start the firewalld service on the server, run the following commands.
# systemctl enable firewalld
# systemctl start firewalld
# systemctl status firewalld
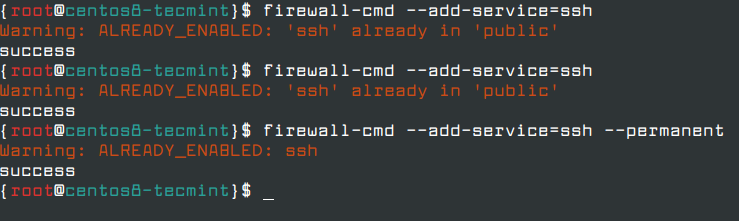
To open an incoming connection to a specific service (SSH), first, you need to verify that the service is present in the firewalld rules and, then, add the rule for the service by adding --permanent switch to commands as shown.
# firewall-cmd --add-service=[tab]  #List services
# firewall-cmd --add-service=ssh
# firewall-cmd --add-service=ssh --permanent
If you wish to open incoming connections to other network services such as HTTP or SMTP, just add the rules as shown by specifying the service name.
# firewall-cmd --permanent --add-service=http
# firewall-cmd --permanent --add-service=https
# firewall-cmd --permanent --add-service=smtp
To view all firewall rules on the server, run the following command.
# firewall-cmd --permanent --list-all
Step 8: Remove Unwanted Services in CentOS 8
It is strongly recommended after installing a fresh CentOS/RHEL 8 server, you need to remove and disable unwanted services running by default on the server to reduce the attacks on the server.
To list all running network services including TCP and UDP on the server, run the ss command or netstat command as illustrated in the below example.
# ss -tulpn
OR
# netstat -tulpn
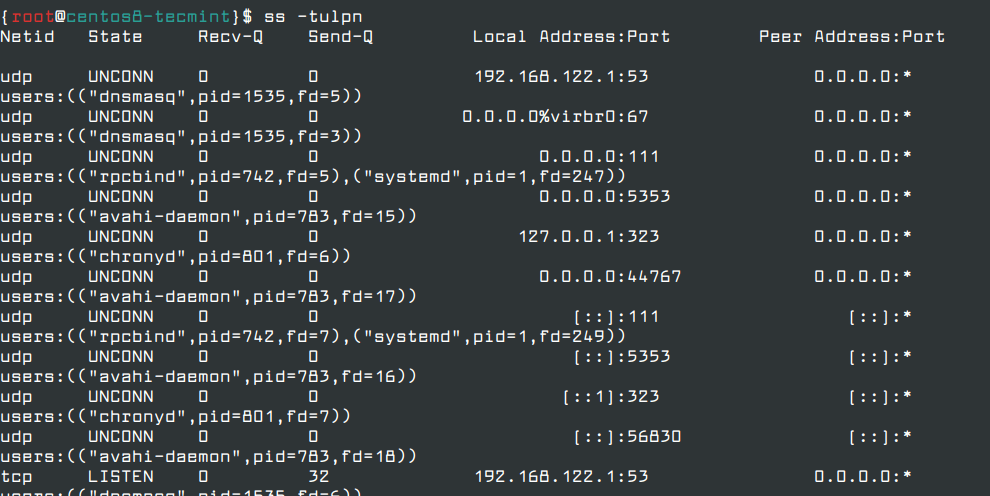
The above commands will list some interesting services which are running by default on the server, such as the Postfix mail server. If you are not planning to host mail system on the server, you must stop and remove it from the system as shown.
# systemctl stop postfix
# systemctl disable postfix
# dnf remove postfix
In addition to ss command and netstat command, you can also run ps, top or pstree commands to discover and identify all unwanted services and remove them from the system.
# dnf install psmisc
# pstree -p

Step 9: Manage Services in CentOS 8
In CentOS/RHEL 8, all services and daemons are managed via a systemctl command, and you can use this command to list all active, running, exited or failed services.
# systemctl list-units
To check if a daemon or service is automatically enabled during system starts, issue the following command.
# systemctl list-unit-files -t service

To learn more about systemctl command, read our article that explains – How to Manage Services Using ‘Systemctl’ in Linux.
That’s all! In this article, we have explained a few basic settings and commands every Linux system administrator needs to know and apply on a freshly installed CentOS/RHEL 8 system or in order to perform day to day tasks on the system.


What is that beautiful CLI font? :)
What about servers with GUI
@Noble,
Nothing to worry about, same instructions also applicable to CentOS 8 Server with GUI edition.
A scary thought: a server administrator requiring a GUI…
Scary in so many ways. Even the GUI for configuration is appalling to me though at least it’s not the terrible GUI…
Nobody asked for your opinion. Who do you think cares at all what is appalling to you?