Odoo is an opensource all-in-one business management software that ships with a suite of various business applications for various uses such as eCommerce, project management, helpdesk, accounting, inventory, and a website builder to mention a few.
In this article, you will learn how to install Odoo (Open Source ERP and CRM) on CentOS 8 and RHEL 8.
Step 1: Update the System and Install EPEL Repository
1. The first step in installing Odoo is to install the EPEL repository that provides a set of extra packages for enterprise Linux. But first, be sure to update the system as shown.
$ sudo dnf update
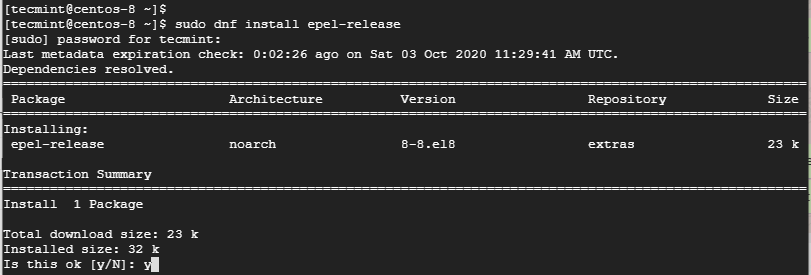
2. Once the update of the system is complete, install the EPEL repository as shown.
$ sudo dnf install epel-release
Step 2: Install Python3 and Other Dependencies
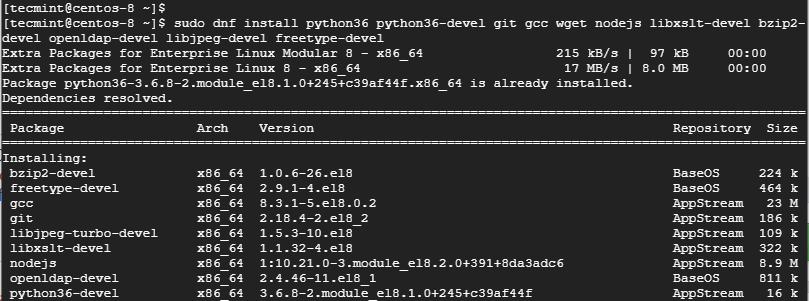
3. Next, install Python 3 and other requisite dependencies that are required by Odoo as shown.
$ sudo dnf install python36 python36-devel git gcc wget nodejs libxslt-devel bzip2-devel openldap-devel libjpeg-devel freetype-devel
Step 3: Install and Configure PostgreSQL in CentOS 8
4. PostgreSQL is a free and opensource relational database management system used in a vast array of applications to store data. We need to install PostgreSQL for Odoo and to do this, run the command.
$ sudo dnf install postgresql-server postgresql-contrib
5. Next, initialize a new PostgreSQL database cluster.
$ sudo postgresql-setup initdb

6. Once the database cluster has been initialized, restart, and enable PostgreSQL as shown.
$ sudo systemctl restart postgresql
$ sudo systemctl enable postgresql
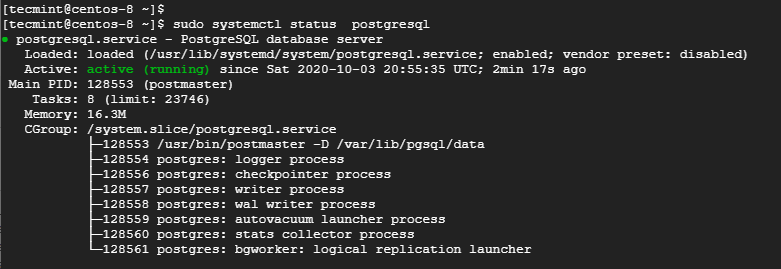
7. To confirm that the database is up and running, execute.
$ sudo systemctl status postgresql
Step 4: Install the Wkhtmltopdf Tool in CentOS 8
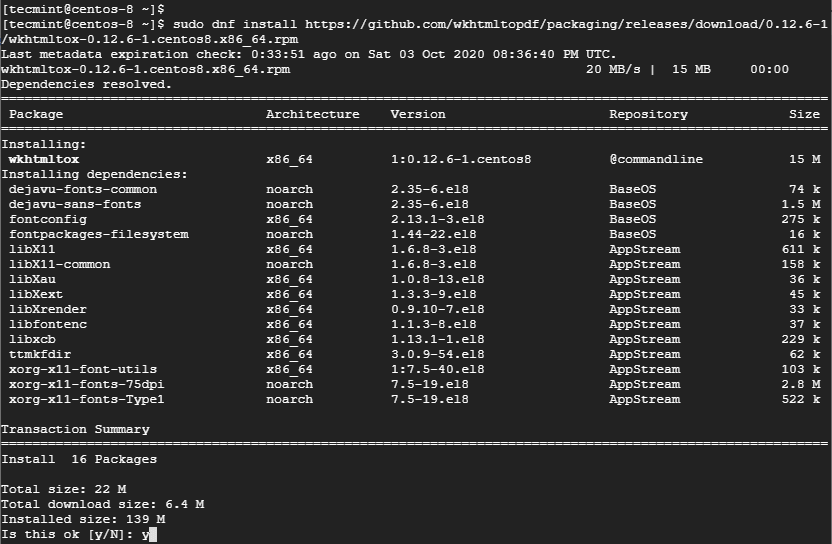
8. For Odoo to print PDF reports, it requires a package called Wkhtmltopdf. This is used to render HTML to PDF and other image formats. The rpm package is available on Github and you can install it as shown.
$ sudo dnf install https://github.com/wkhtmltopdf/wkhtmltopdf/releases/download/0.12.5/wkhtmltox-0.12.5-1.centos8.x86_64.rpm
Step 5: Install and Configure Odoo in CentOS 8
9. We will add a new system user that we will use to run the Odoo service. In this illustration, we will create a user called Odoo, however, feel free to choose an arbitrary username. The home directory is located in the /opt/odoo directory.
$ sudo useradd -m -U -r -s /bin/bash odoo -d /opt/odoo
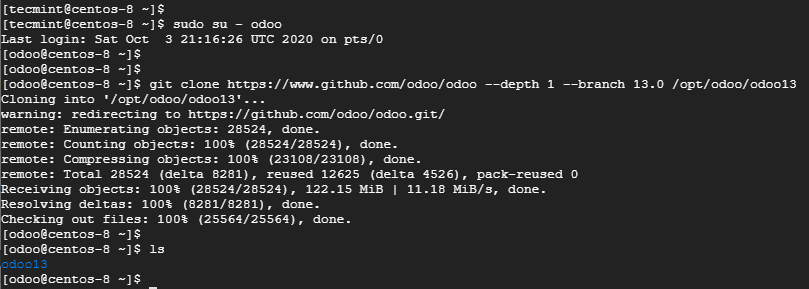
10. To begin installing Odoo, first switch to the Odoo user that we created above.
$ sudo su - odoo
11. Then clone the git repository.
$ git clone https://www.github.com/odoo/odoo --depth 1 --branch 13.0 /opt/odoo/odoo13
12. Next, clone the virtual environment as shown.
$ cd /opt/odoo
$ python3 -m venv odoo13-venv
13. Once the virtual environment is created, activate it using the following command.
$ source odoo13-venv/bin/activate
As you can observe, the prompt changes as shown.

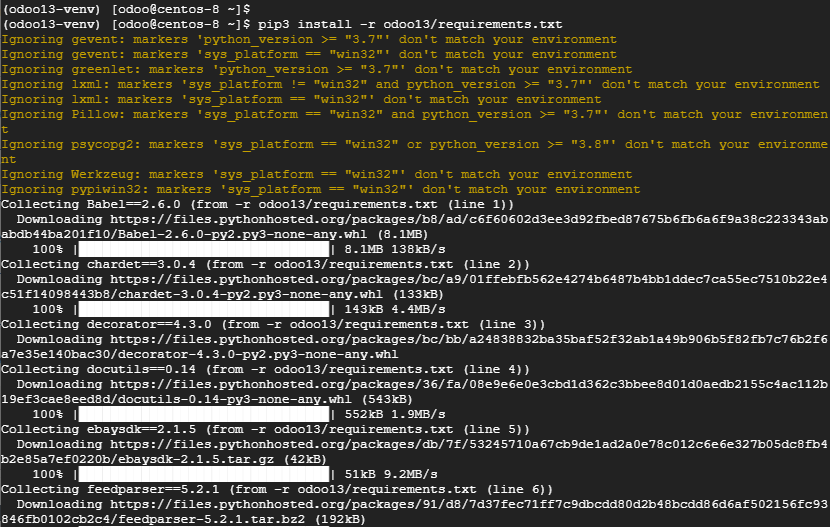
14. Inside the virtual environment, install the required Python modules for the installation of Odoo to go smoothly.
$ pip3 install -r odoo13/requirements.txt
15. Once the installation of the Python modules is complete, exit the virtual environment and go back to the sudo user.
$ deactivate && exit
16. Although optional. Best practice dictates the installation of custom modules in a separate directory. With that in mind, we will proceed to create a directory for custom modules and later assign the directory ownership to the ‘Odoo‘ user.
$ sudo mkdir /opt/odoo/odoo13-custom-addons
$ sudo chown -R odoo:odoo /opt/odoo/odoo13-custom-addons
17. In the same way, we will create a custom log directory and log file as shown.
$ sudo mkdir /var/log/odoo13
$ sudo touch /var/log/odoo13/odoo.log
$ sudo chown -R odoo:odoo /var/log/odoo13/
18. Next, create a custom configuration file for Odoo as shown.
$ sudo vim /etc/odoo.conf
Paste the following configuration and save the file.
[options]
; This is the password that allows database operations:
admin_passwd = strong_password
db_host = False
db_port = False
db_user = odoo
db_password = False
xmlrpc_port = 8069
; longpolling_port = 8072
logfile = /var/log/odoo13/odoo.log
logrotate = True
addons_path = /opt/odoo/odoo13/addons,/opt/odoo/odoo13-custom-addons
Be sure to replace the strong_password with your preferred password.
Step 6: Create an Odoo Systemd Unit File
19. Now, create a systemd unit file for Odoo.
$ sudo vim /etc/systemd/system/odoo13.service
Paste the following configuration and save the file.
[Unit]
Description=Odoo13
#Requires=postgresql-10.6.service
#After=network.target postgresql-10.6.service

[Service]
Type=simple
SyslogIdentifier=odoo13
PermissionsStartOnly=true
User=odoo
Group=odoo
ExecStart=/opt/odoo/odoo13-venv/bin/python3 /opt/odoo/odoo13/odoo-bin -c /etc/odoo.conf
StandardOutput=journal+console

[Install]
WantedBy=multi-user.target
20. Reload systemd of the new changes made to the file.
$ sudo systemctl daemon-reload
21. Then start and enable Odoo as shown.
$ sudo systemctl start odoo13
$ sudo systemctl enable odoo13
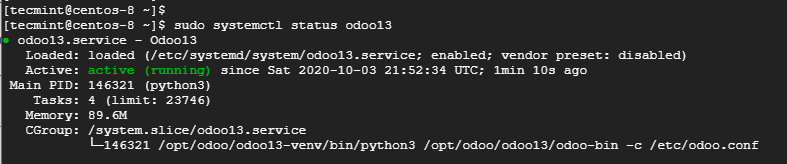
22. To confirm the status of Odoo, run the command:
$ sudo systemctl status odoo13
23. You can also use the netstat command to check if Odoo is listening on port 8069 – which is its default port.
$ sudo netstat -pnltu | grep 8069

24. For Odoo to be accessible on a browser, open the port across the firewall.
$ sudo firewall-cmd --add-port=8069/tcp --zone=public --permanent
$ sudo firewall-cmd --reload
Step 7: Install Nginx as Reverse Proxy for Odoo
25. Finally, we will install the Nginx web server which will act as a reverse proxy to our Odoo instance. So, run the command:
$ sudo dnf install nginx
26. Next, create a new virtual host file.
$ sudo vim /etc/nginx/conf.d/odoo13.conf
and paste the following configuration as shown.
upstream odoo {
 server 127.0.0.1:8069;
}
server {
    listen 80;
    server_name server-IP;

    access_log /var/log/nginx/odoo13.access.log;
    error_log /var/log/nginx/odoo13.error.log;

        location / {
        proxy_set_header X-Forwarded-Host $host;
        proxy_set_header X-Forwarded-For $proxy_add_x_forwarded_for;
        proxy_set_header X-Forwarded-Proto $scheme;
        proxy_set_header X-Real-IP $remote_addr;

        proxy_redirect off;
        proxy_pass http://odoo;
    }
location ~* /web/static/ {
        proxy_cache_valid 200 90m;
        proxy_buffering on;
        expires 864000;
        proxy_pass http://odoo;
    }
    gzip_types text/css text/less text/plain text/xml application/xml application/json application/javascript;
    gzip on;
}
Save and exit the configuration file.
27. Now start and enable Nginx webserver.
$ sudo systemctl start nginx
$ sudo systemctl enable nginx
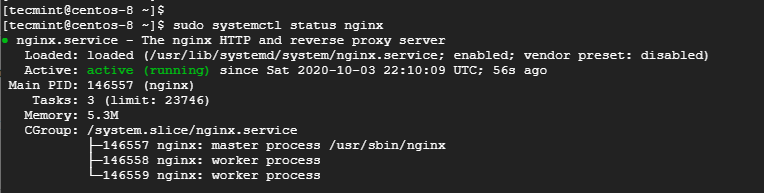
28. Confirm that Nginx is running as shown.
$ sudo systemctl status nginx
At this point, we are all done with the configuration. The last step is to finalize the setup on a web browser.
Step 8: Finalizing Odoo Setup
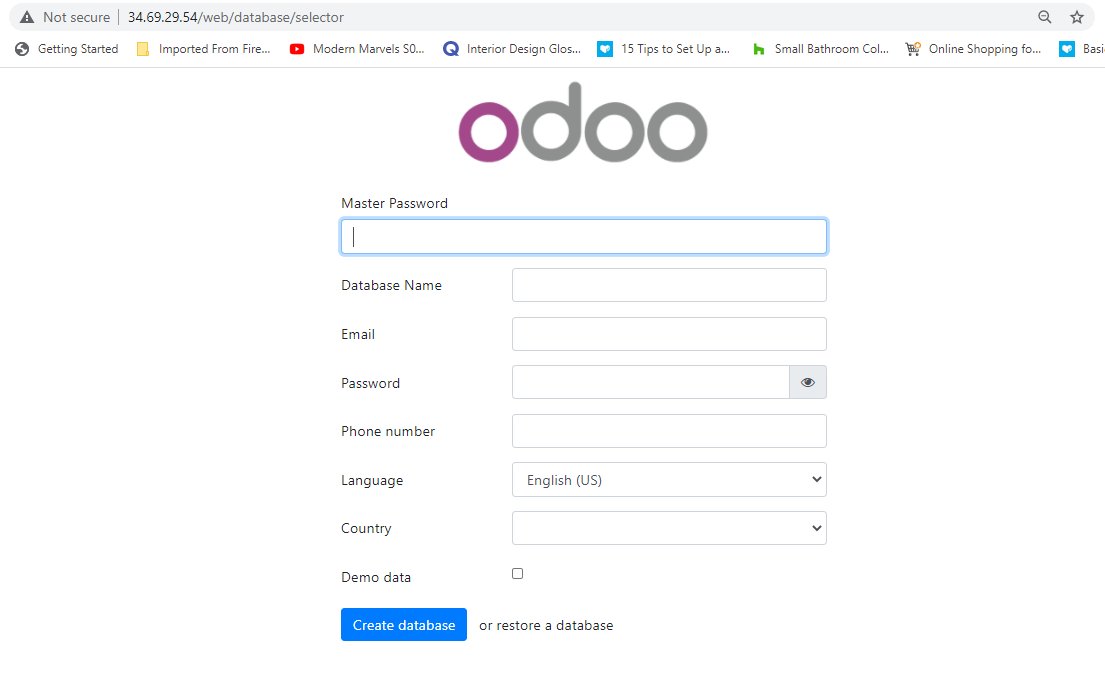
29. Launch a web browser and visit your server’s IP as shown.
http://server-ip/
A similar web page to the one below will be displayed. For the master password, use the password specified in Step 5 while creating a custom Odoo config file. Then proceed to fill out all the other entries and click on the ‘Create database’ button.
30. This ushers you to Odoo’s dashboard showing the various applications that can be installed.
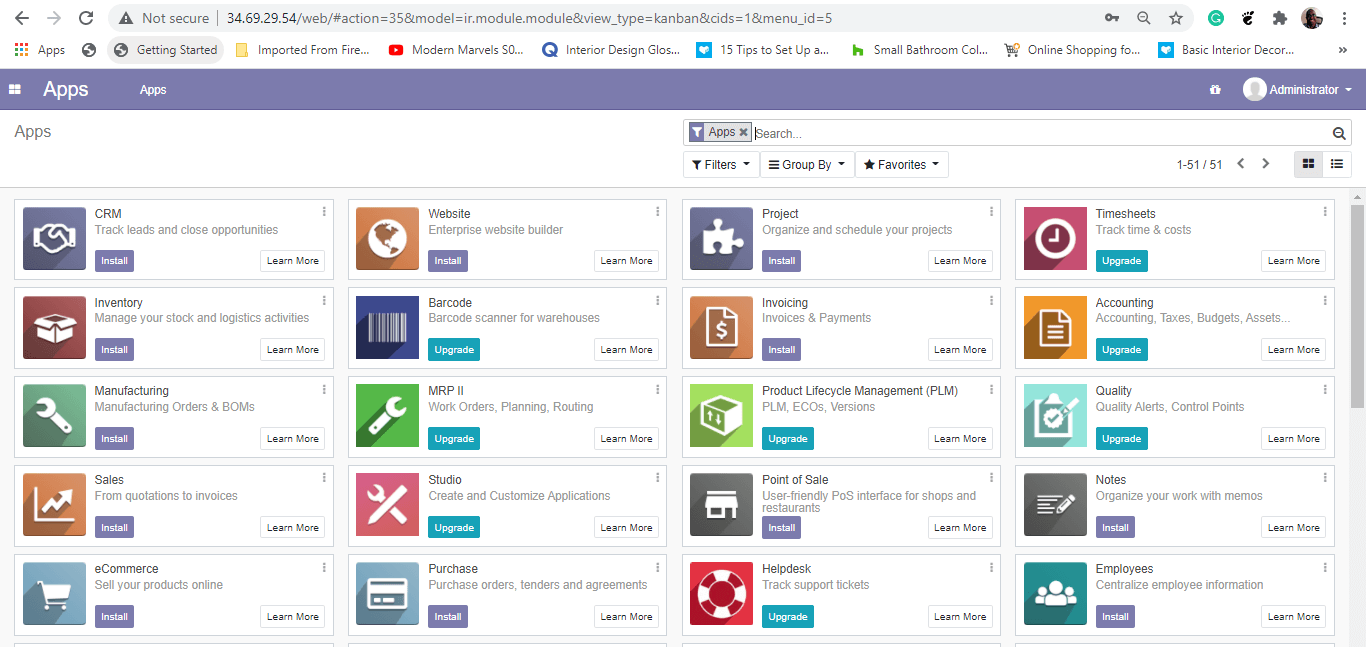
And this wraps up our tutorial for today. In this guide, you learned how to install Odoo on CentOS 8.


Very helpful. I’m using this tutorial to install odoo 16 on centos 9, and its works correctly.
Thanks, Omar for the kind words! We are glad you were able to get Odoo installed on your CentOS 9 system.
Hi,
Thank you for this tutorial. It helps install Odoo13 on CentOS 8.
It works fine but sometimes the server shuts down and indicated in the log that some modules are mixing.
I have already installed more than 10 modules. The last one is chardet.
I use pip3 install chardet and then restart odoo and it works fine until the next stop.
How can I install all the Python dependencies for those modules?
I ran this while installing:
sudo dnf install python36 python36-devel git gcc wget nodejs libxslt-devel bzip2-devel openldap-devel libjpeg-devel freetype-develHi, Ravi you really did a great job.
However, I am getting this error after restarting odoo13
Please I would be glad if you can help me.
Hey Olusola, kindly check that the Odoo configuration file is correct as shown in Step 5 point 18. Also, confirm that the system file is as indicated in Step 6.
For the Odoo starting steps 21 & 22, it’s written “odoo” instead “odoo13“!
I’ve tried the provided command (ending by “odoo“) & centos told me he can’t find “odoo.service“.
So I’ve tried to add 13 to odoo, & it’s worked!
@Frederic,
Thanks for pointing out, I have corrected the article…
No problem :) if i can help….